Replacing the Lithium-Ion Coin-cell Button Battery for CMOS/Memory in a Yaesu FT-470 Handie-Talkie
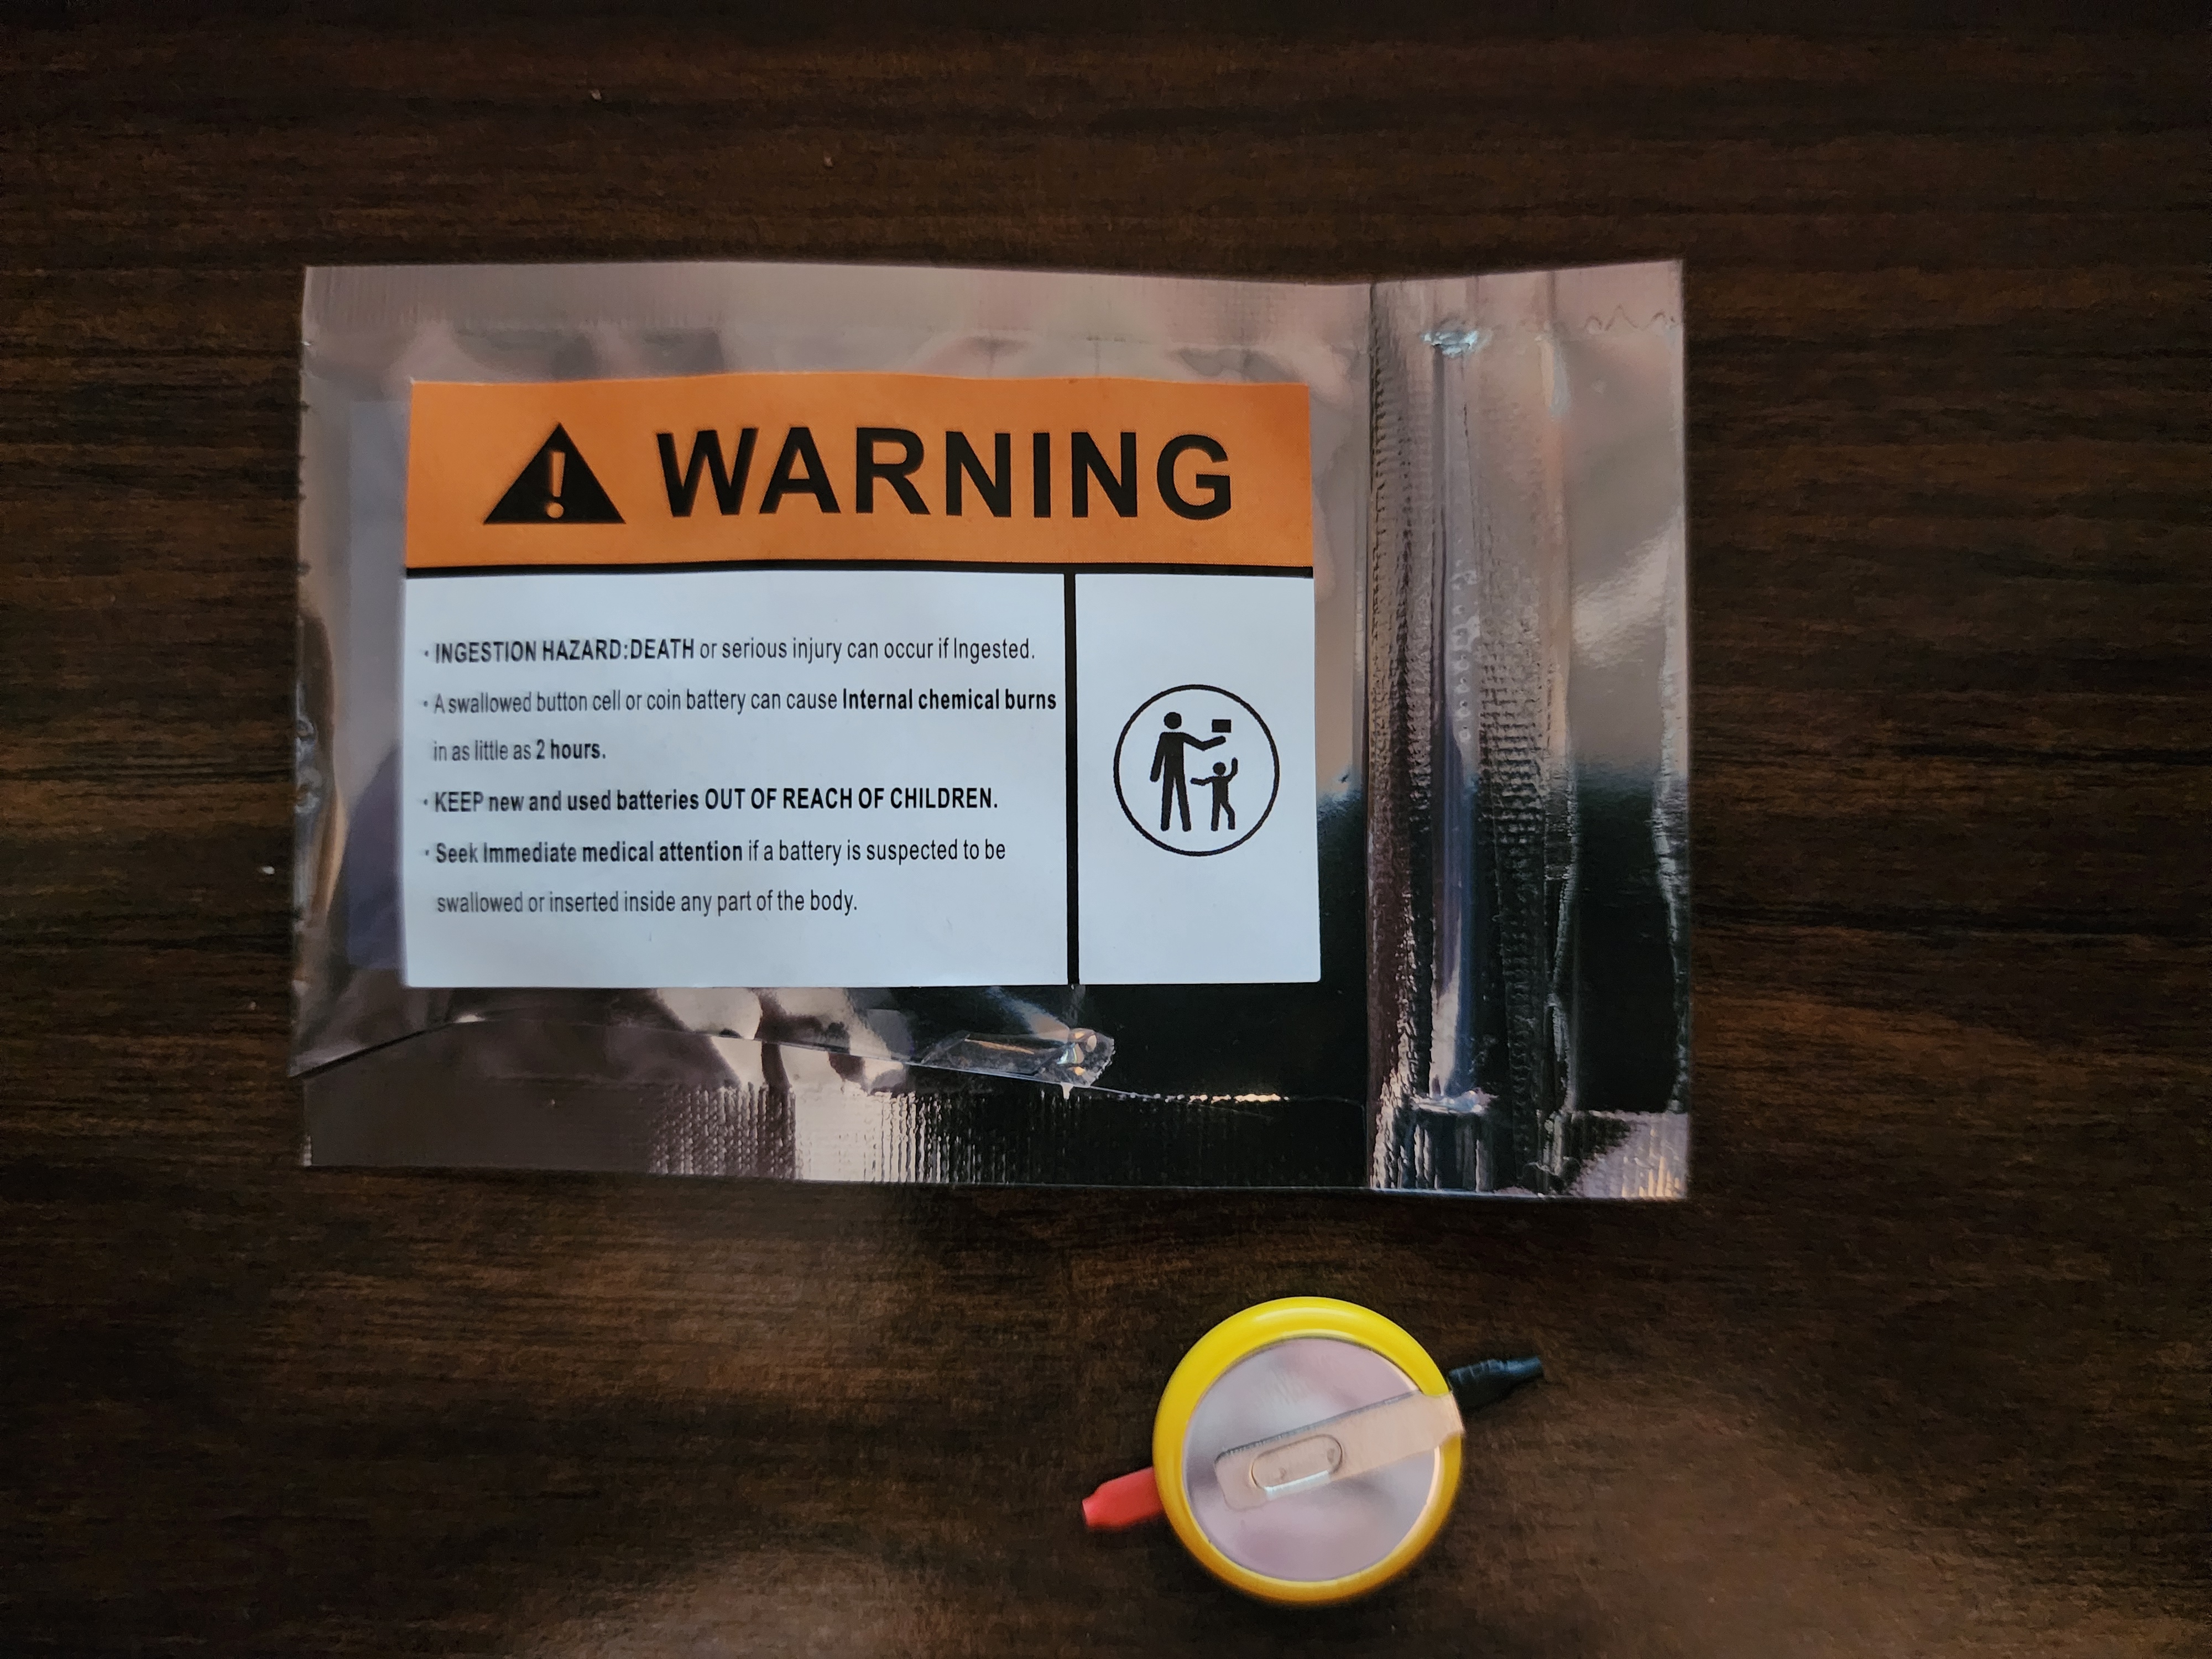
This battery is a CR2025 coin-cell battery. ("2025" means it is 20mm in diameter and 25mm thick.) When you go to purchase a new battery, get one with the solder tabs already soldered/spot-welded on. The manufacturer probably spot-welds these on before putting the battery together, reducing risk of damage to the innards. If you try to [de]solder the tabs yourself, you may inflict heat-damage to the cell. The price with the tabs is not too far from the price without the tabs ($6 or so for a single battery, online, at the time of writing).
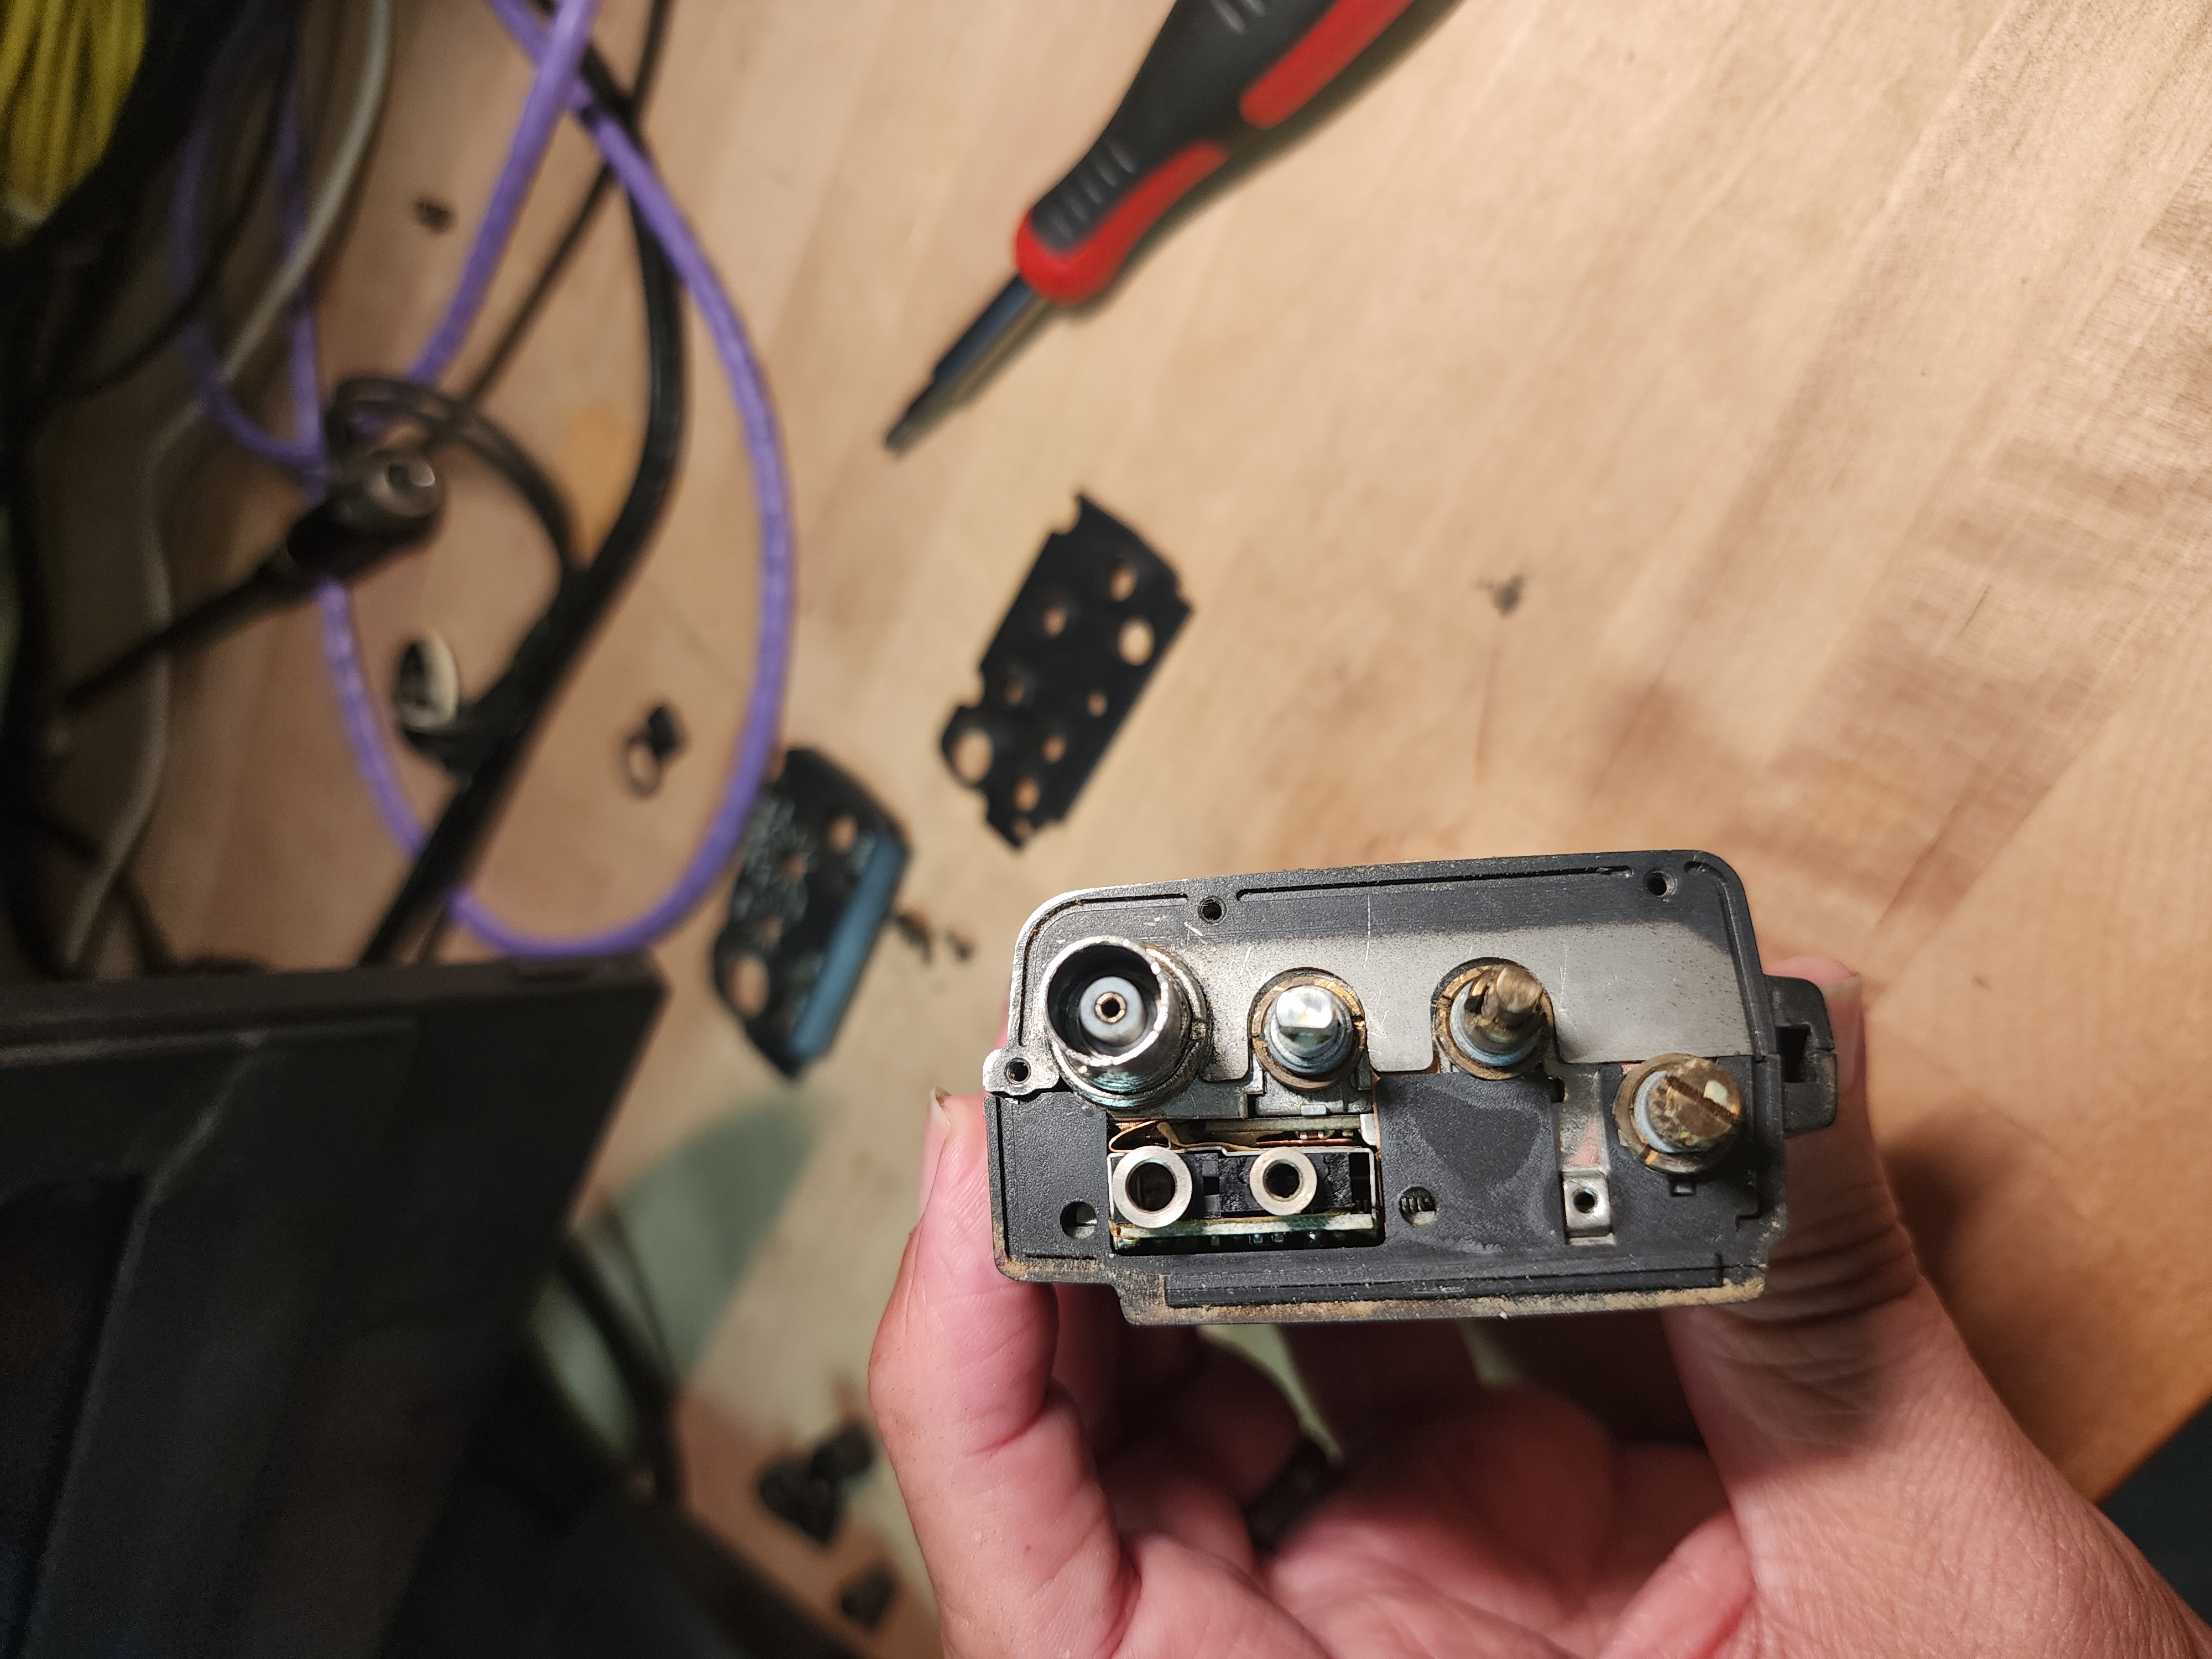
While you have your radio open, you might want to double-check the solder connection on the center of the antenna connector; this connection has been known to come loose from the connector being twisted.
The Push-To-Talk (PTT) button is easy to replace at this point, if you can get hold of a new one, if it has become hard to work.
Also, the strap handle, if it's broken.
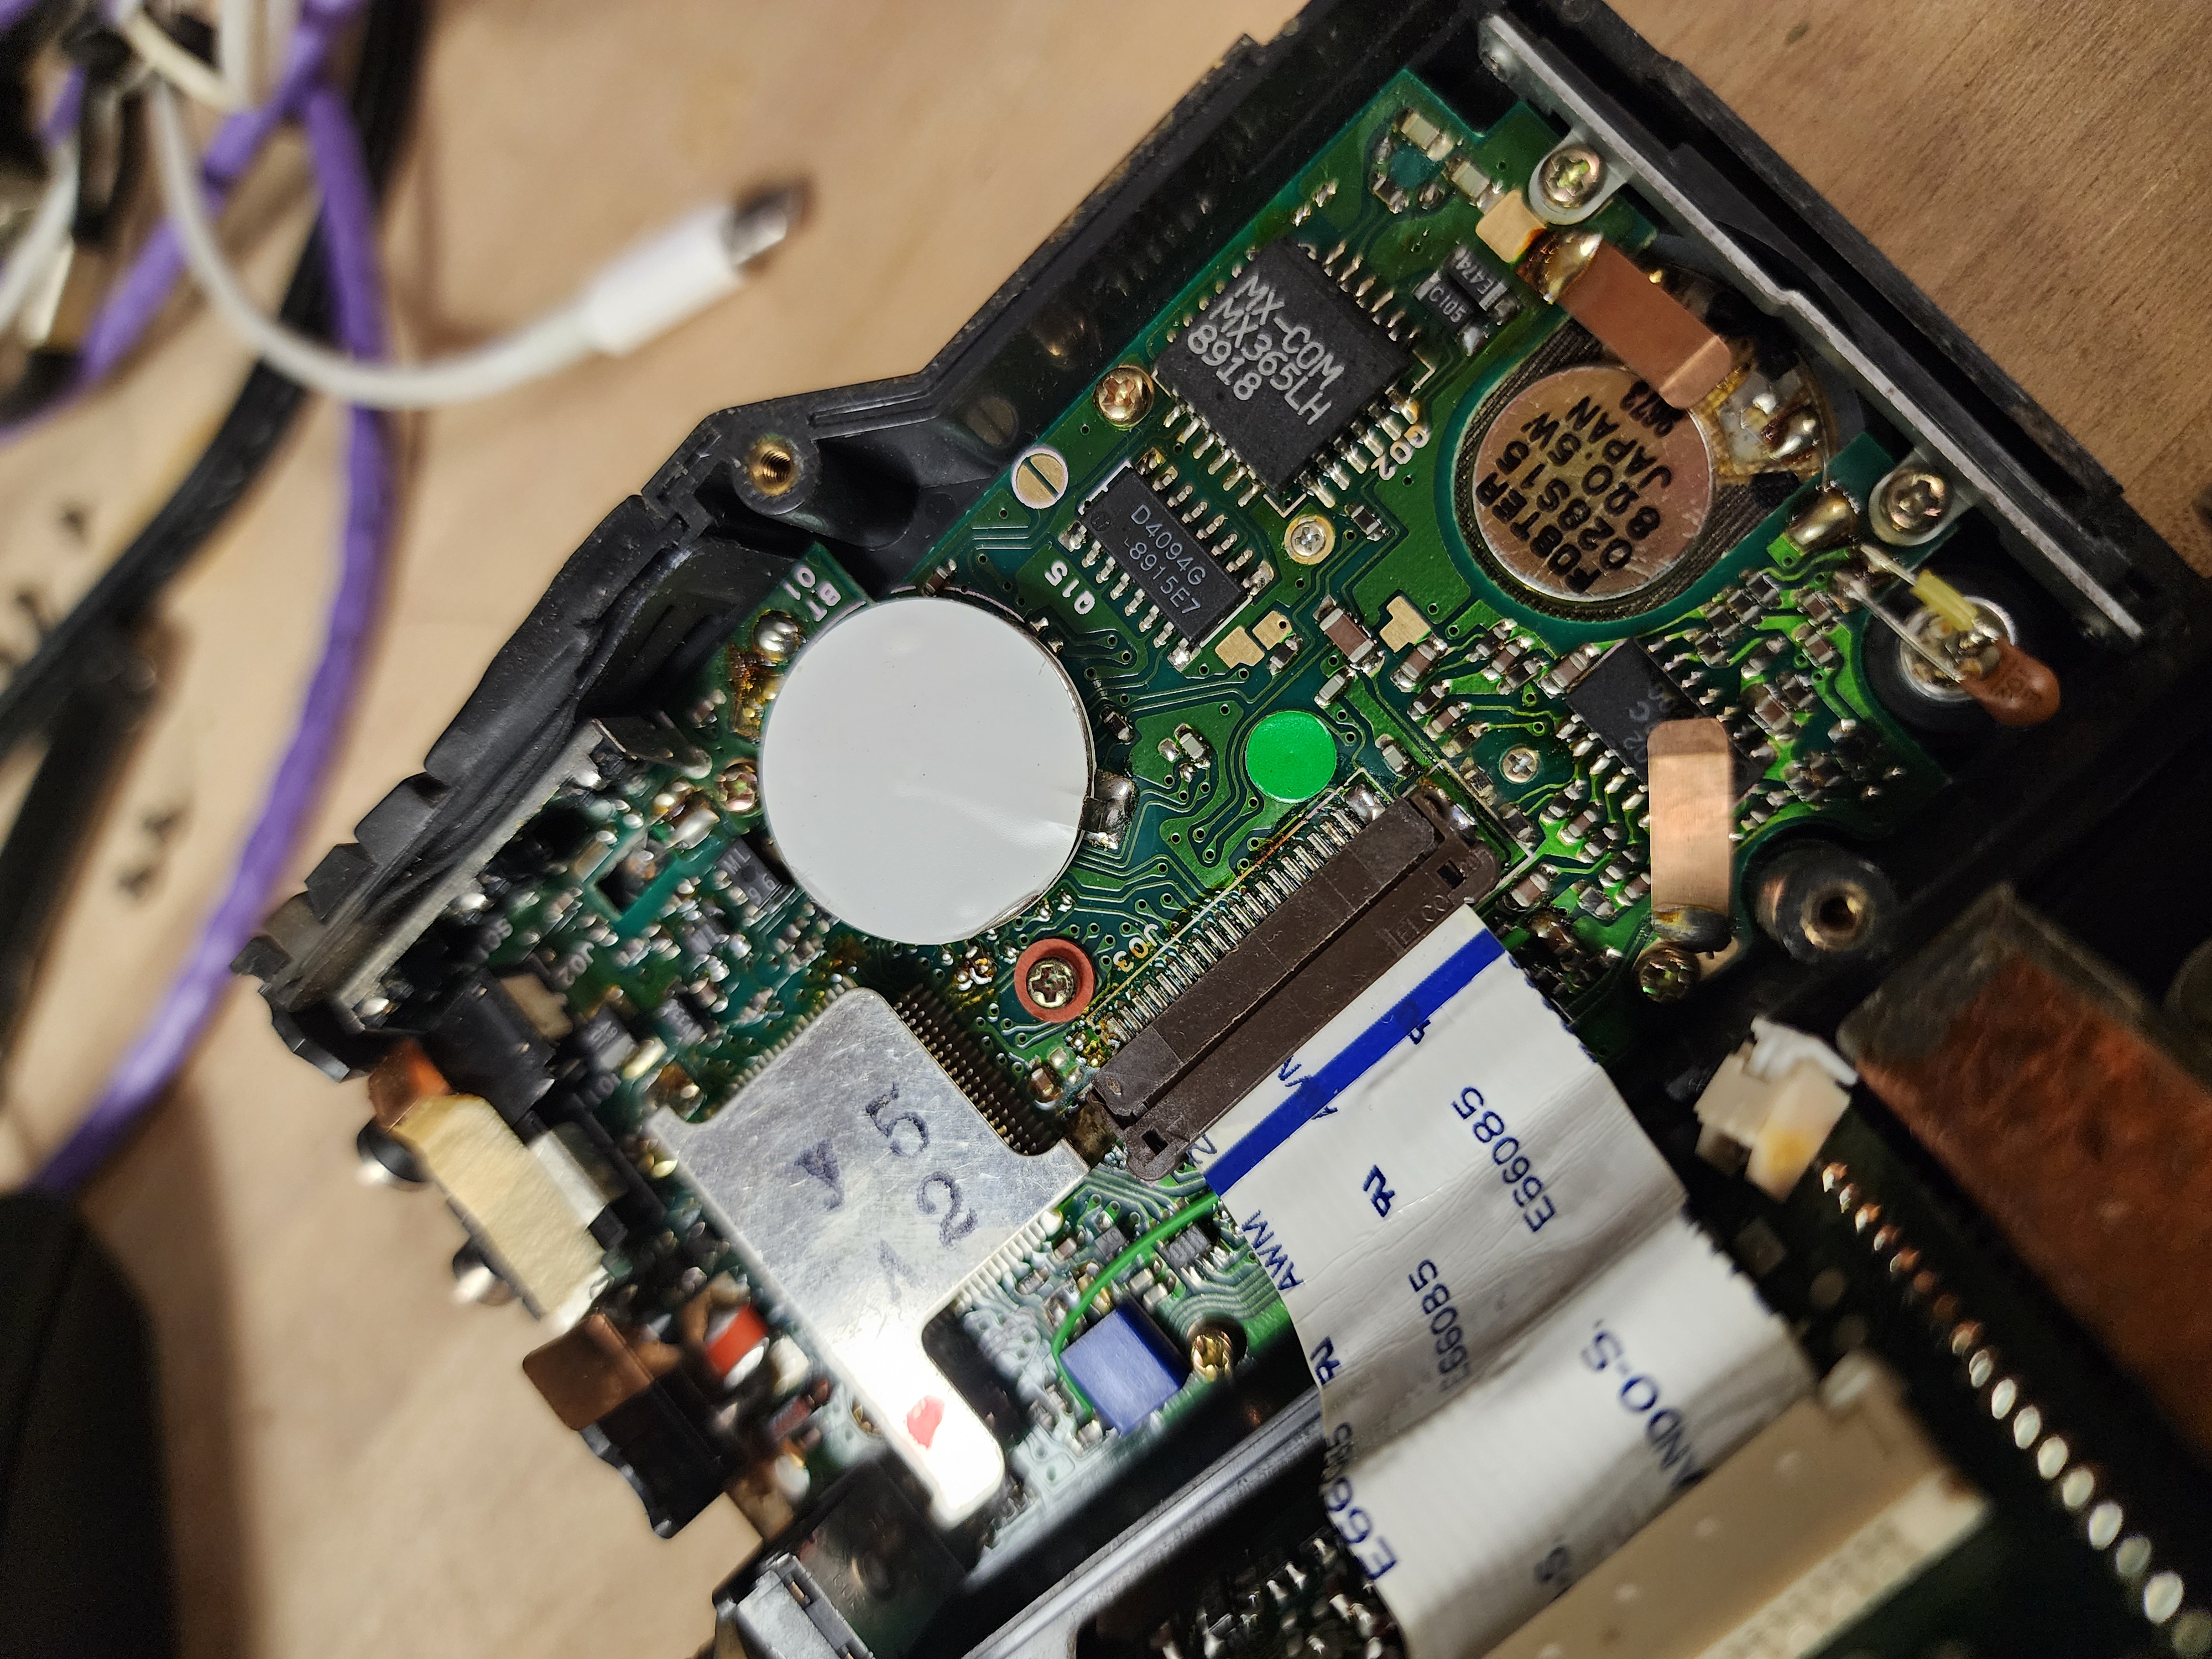
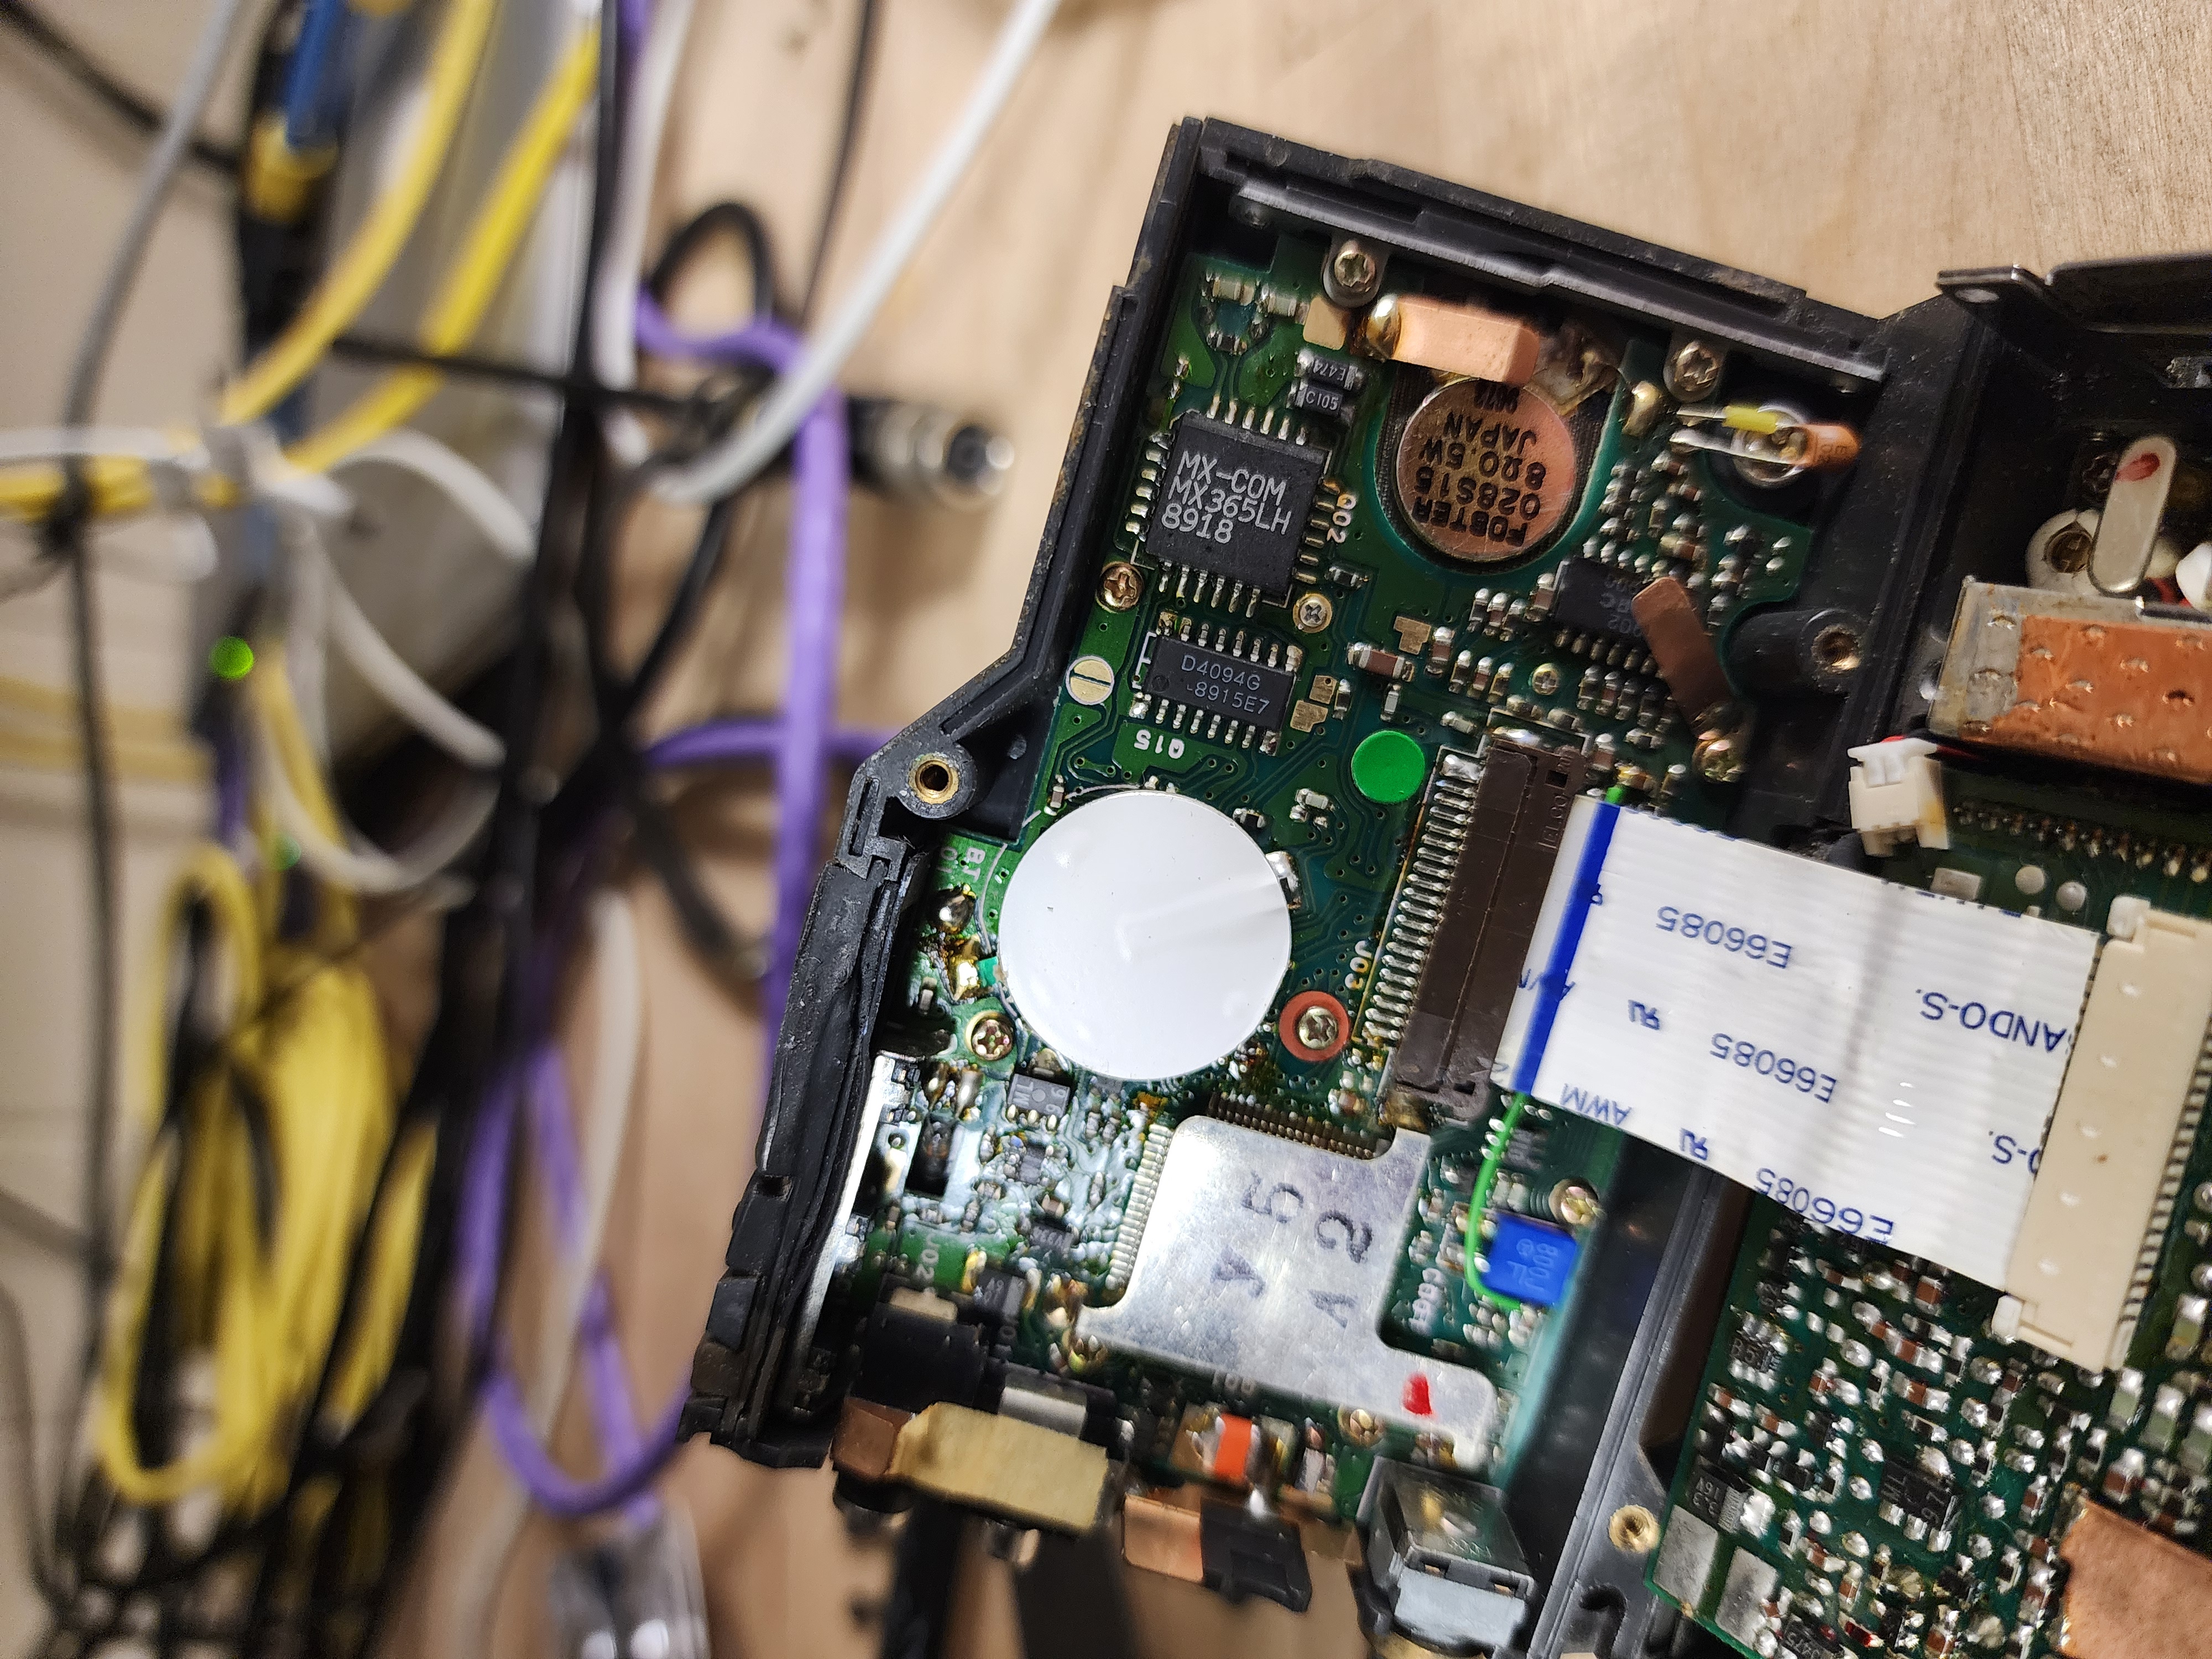
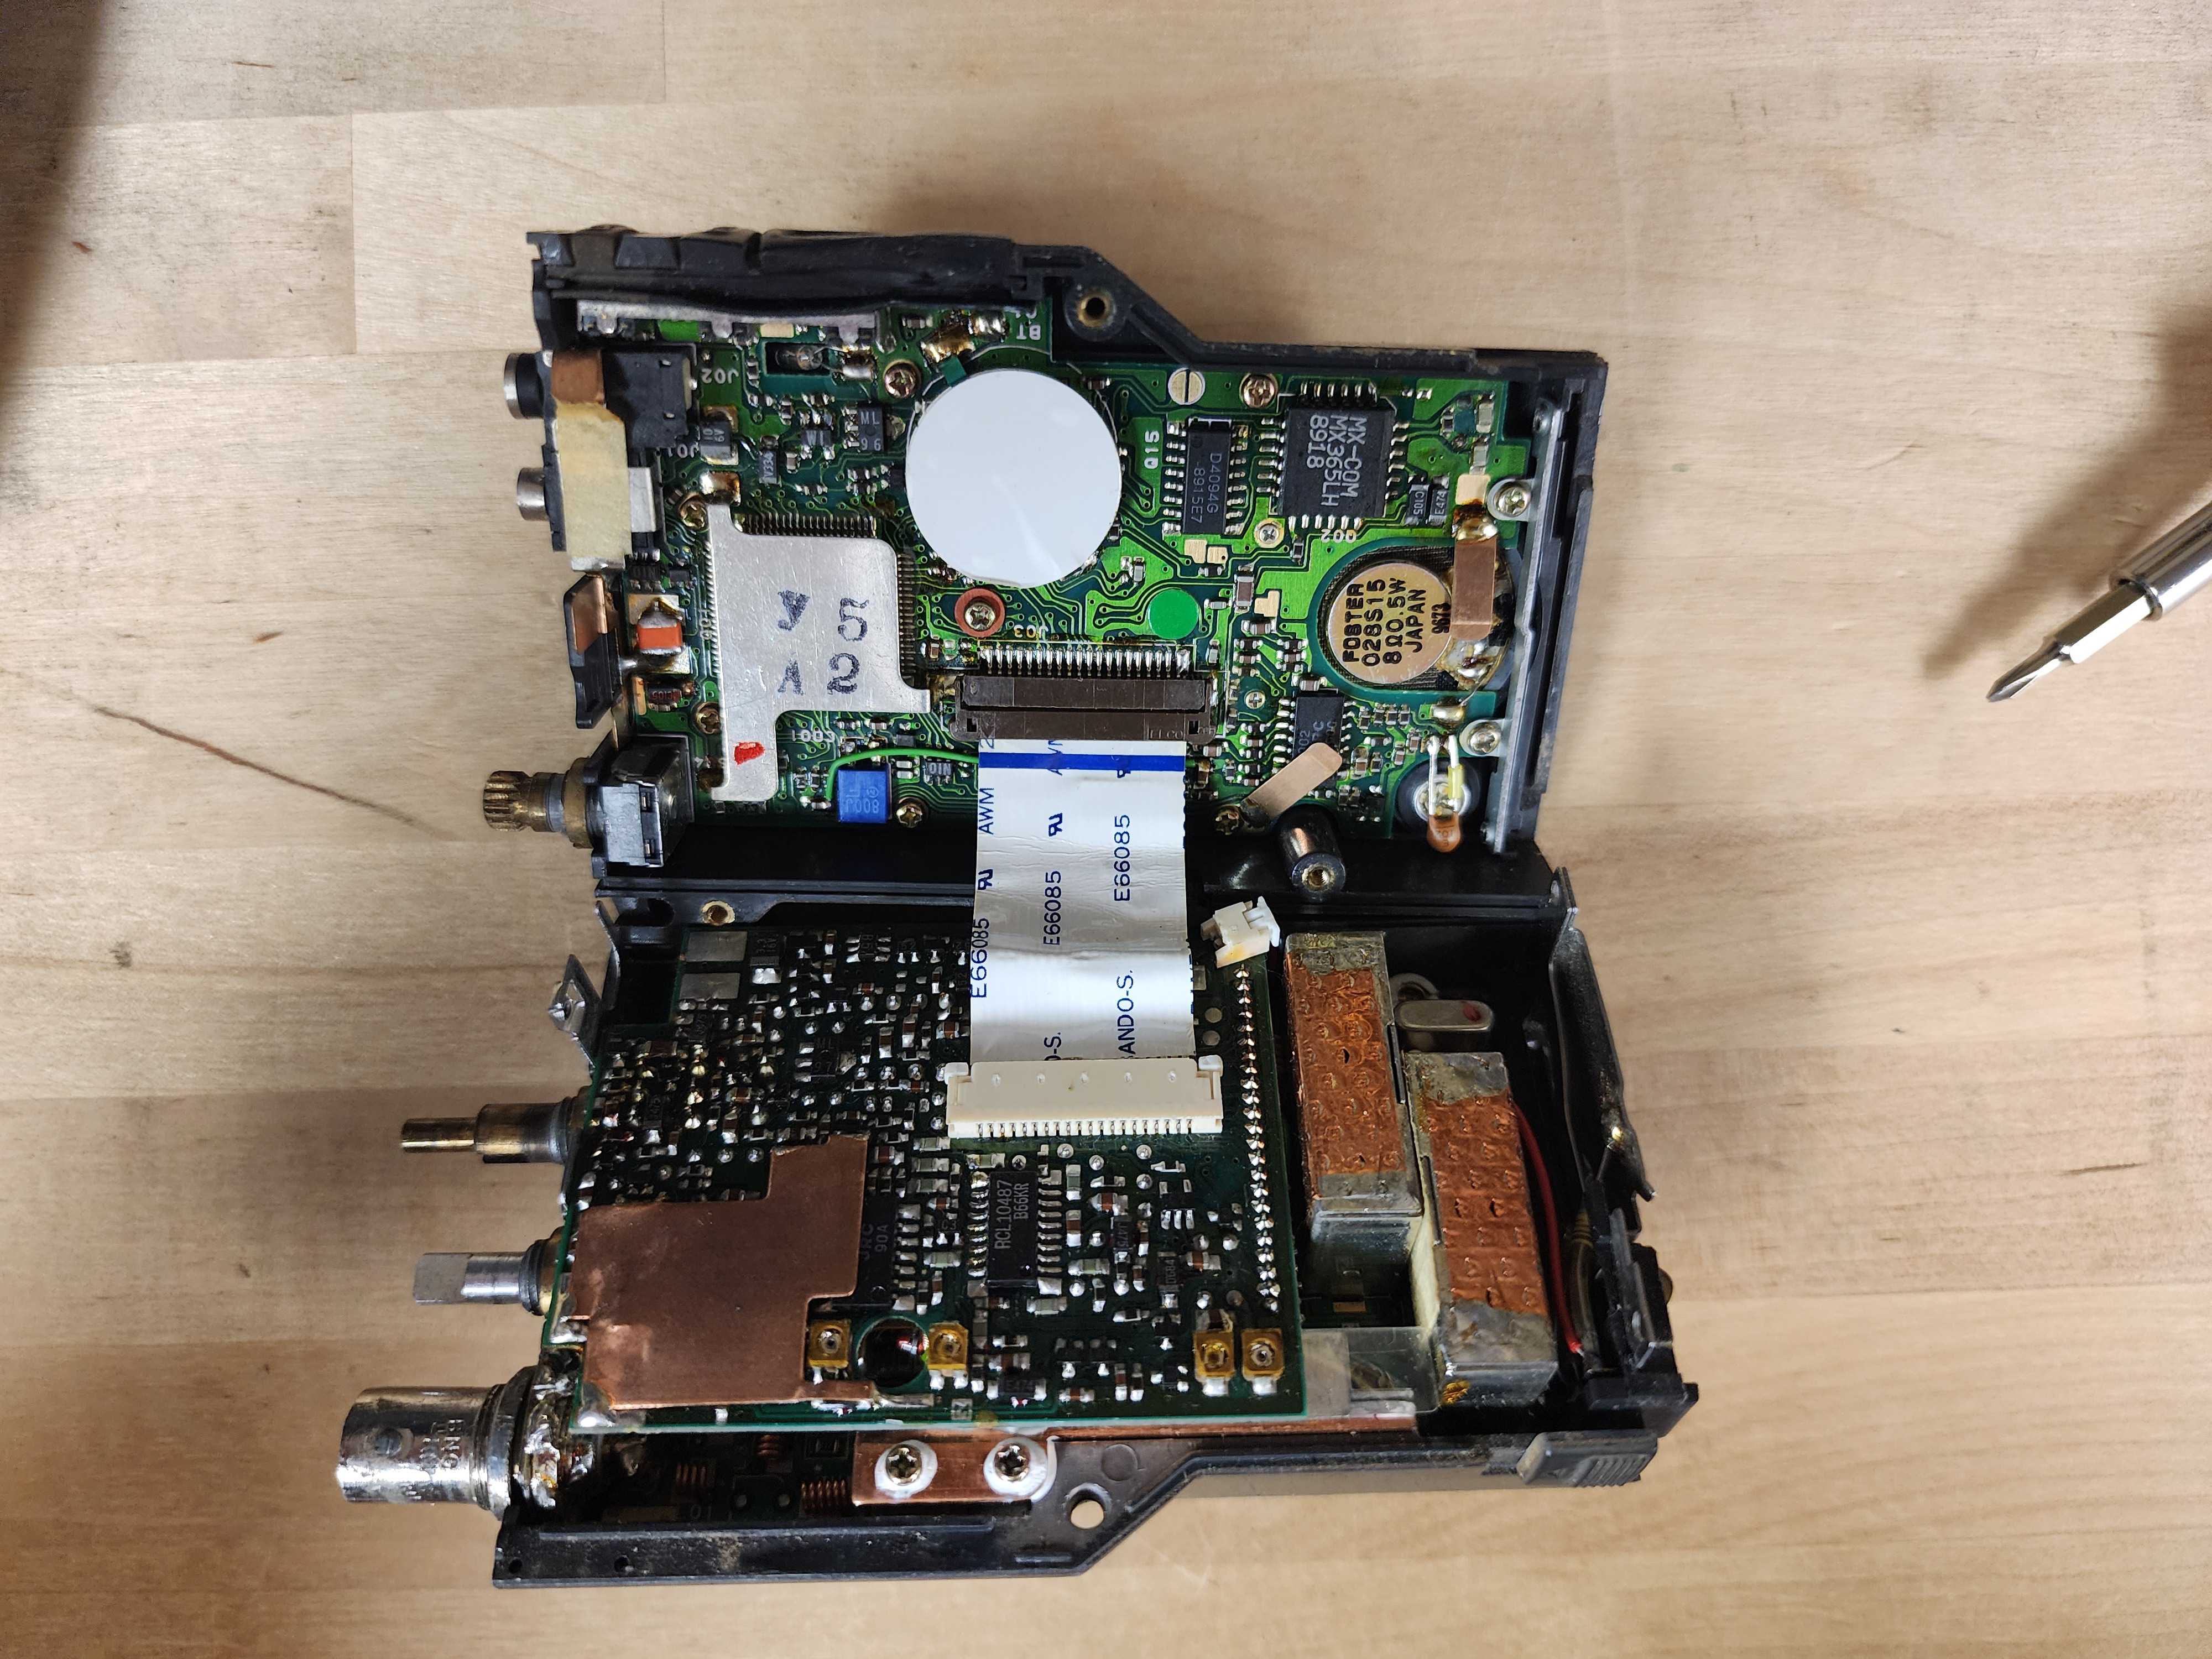
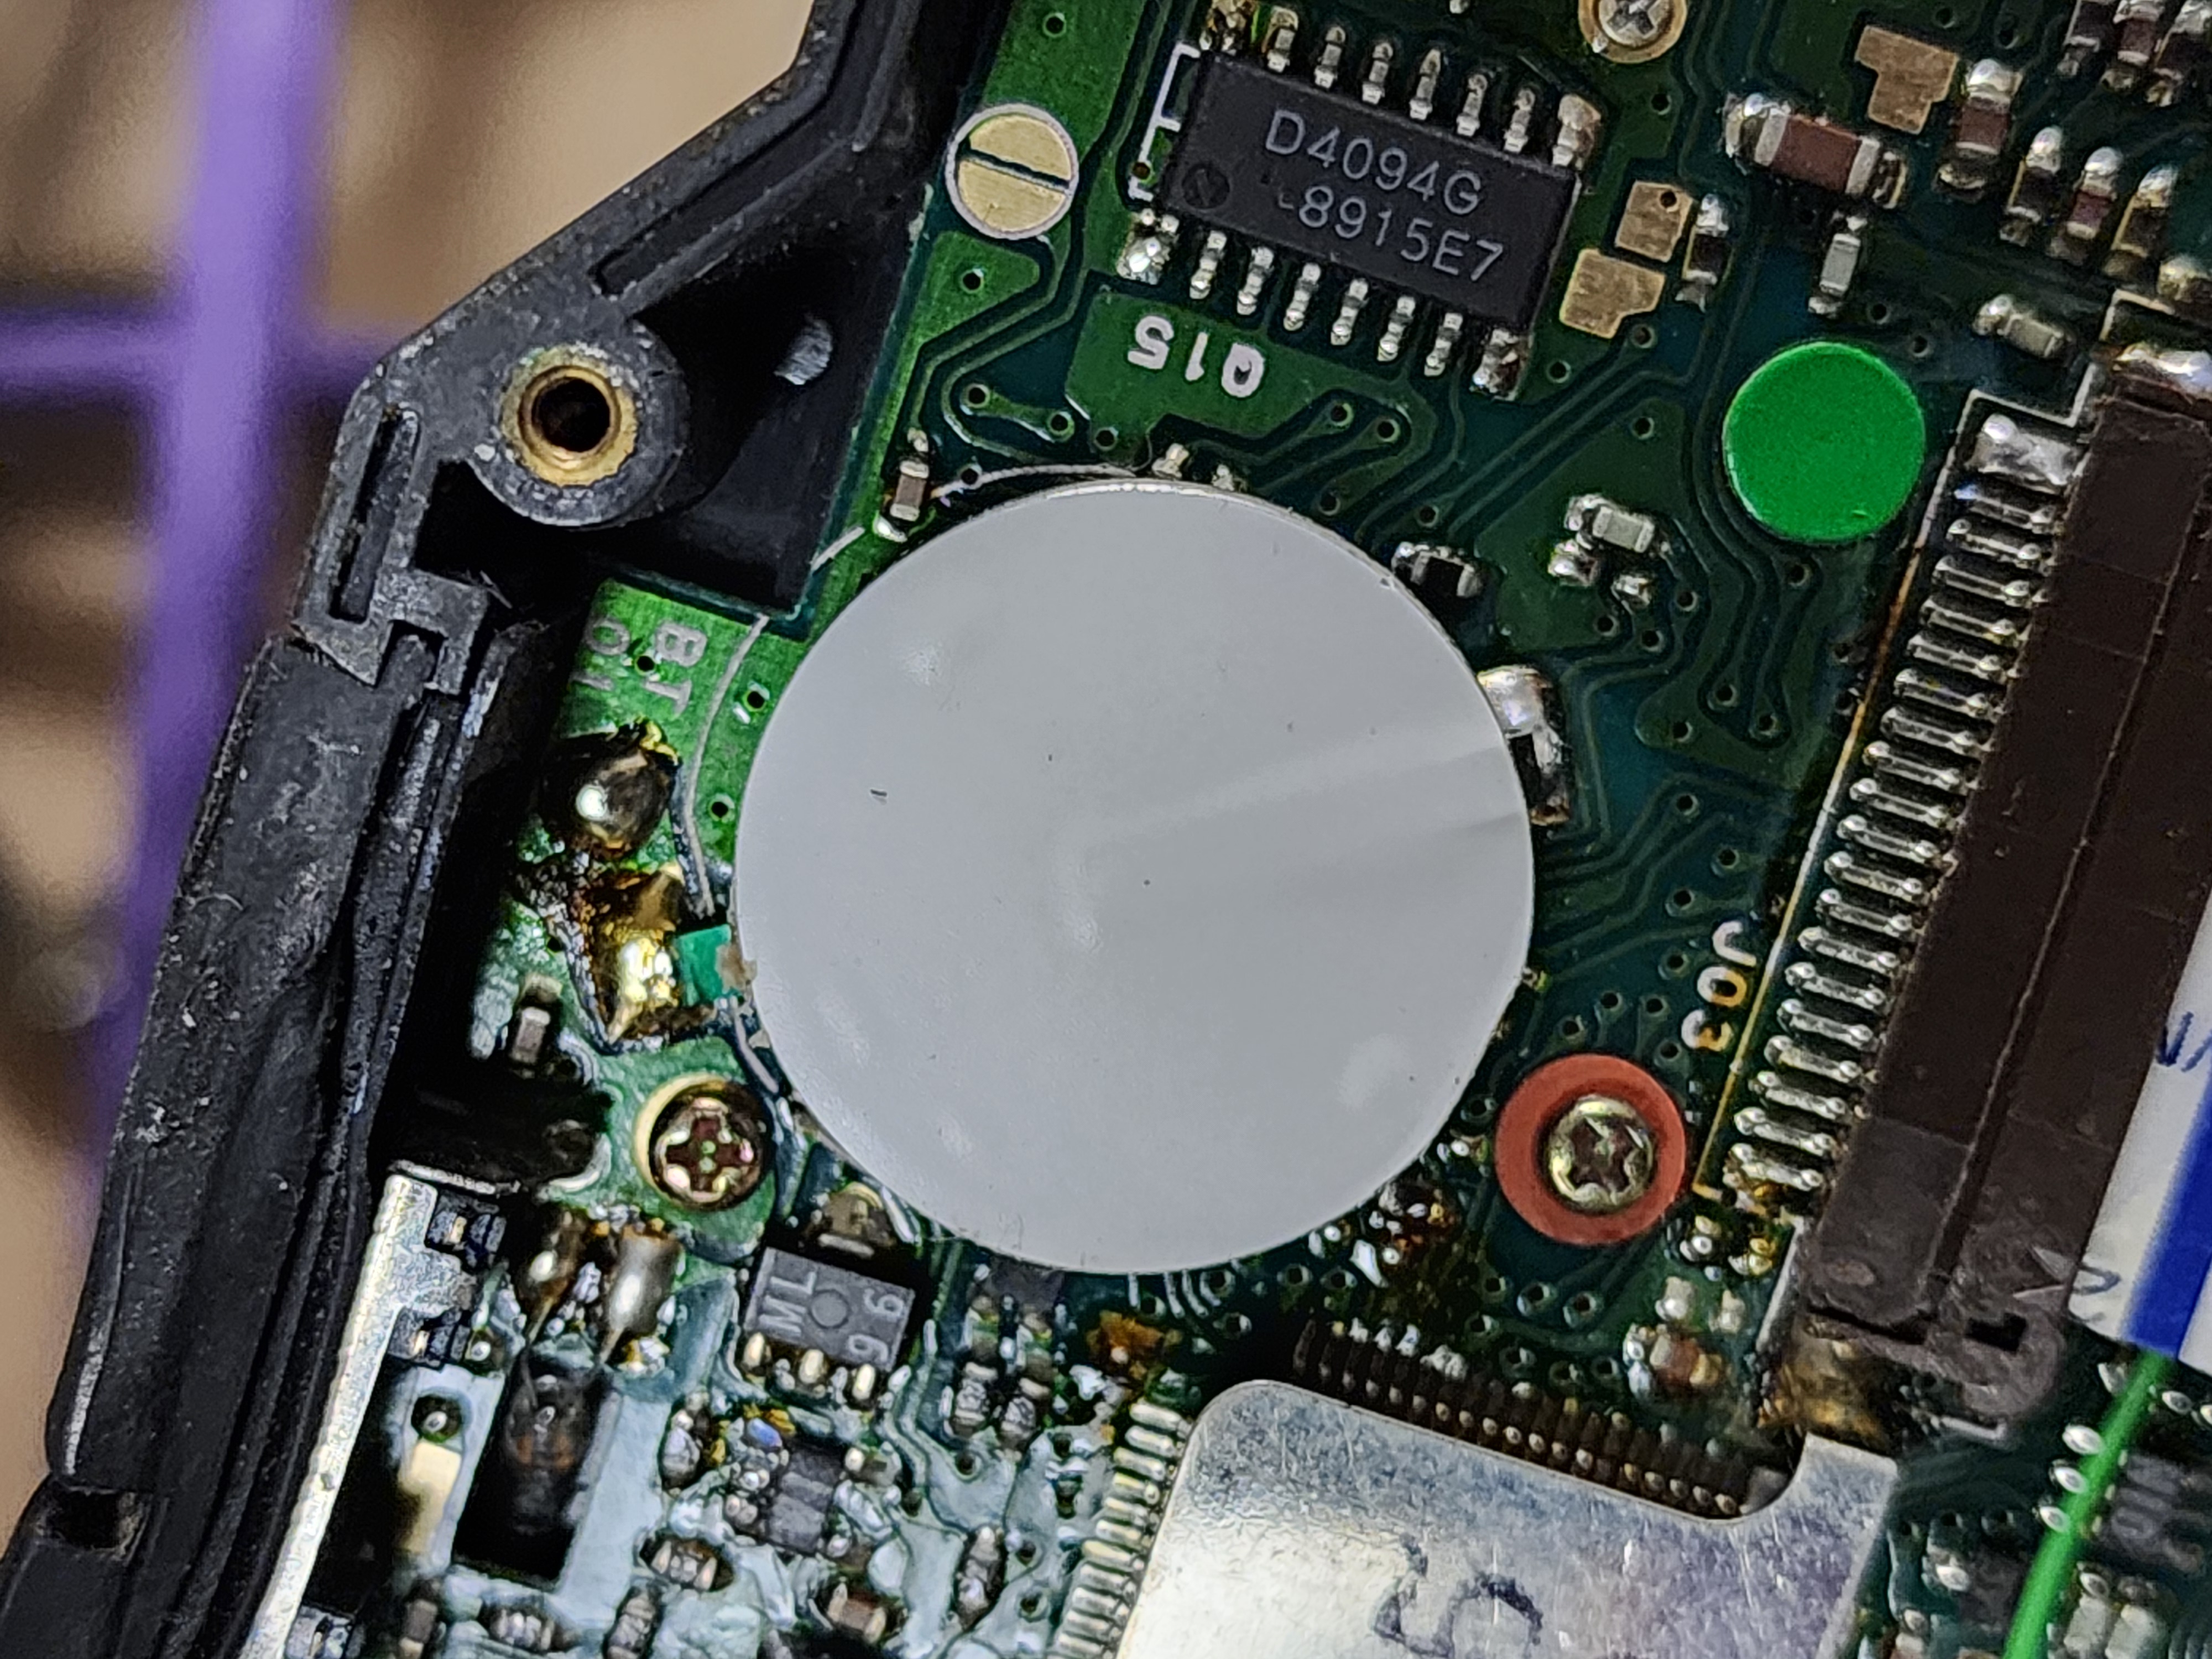
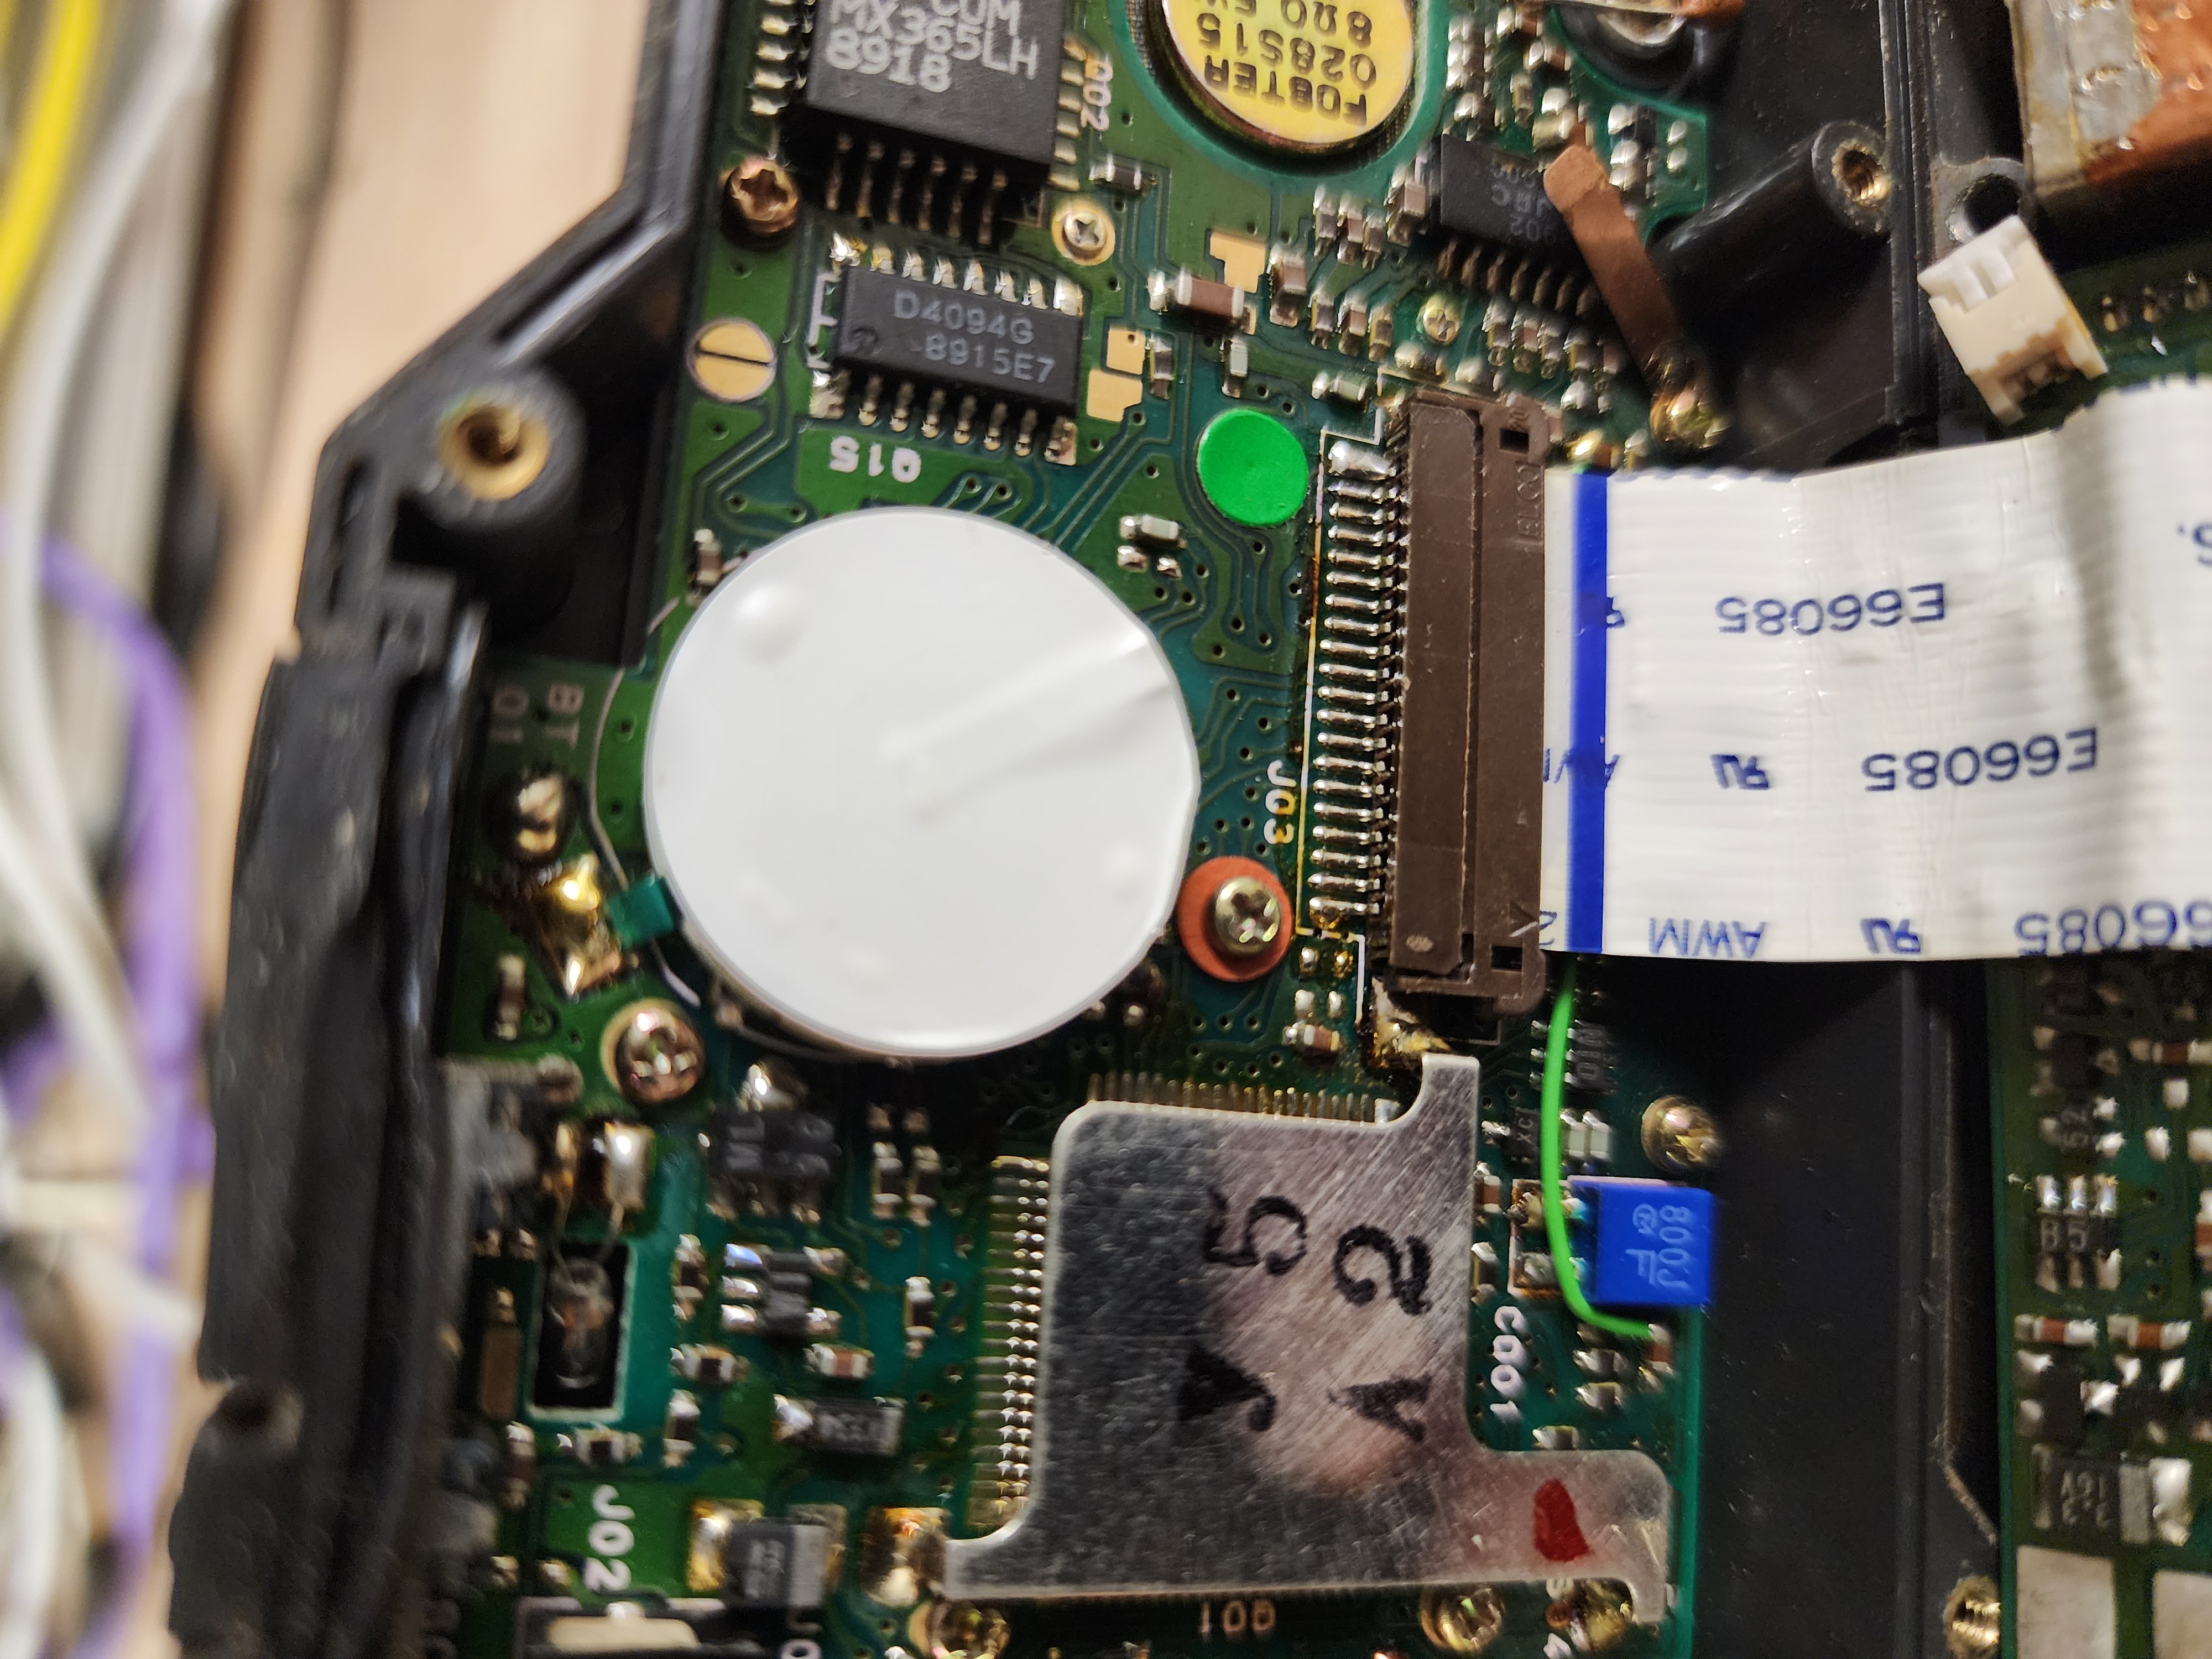
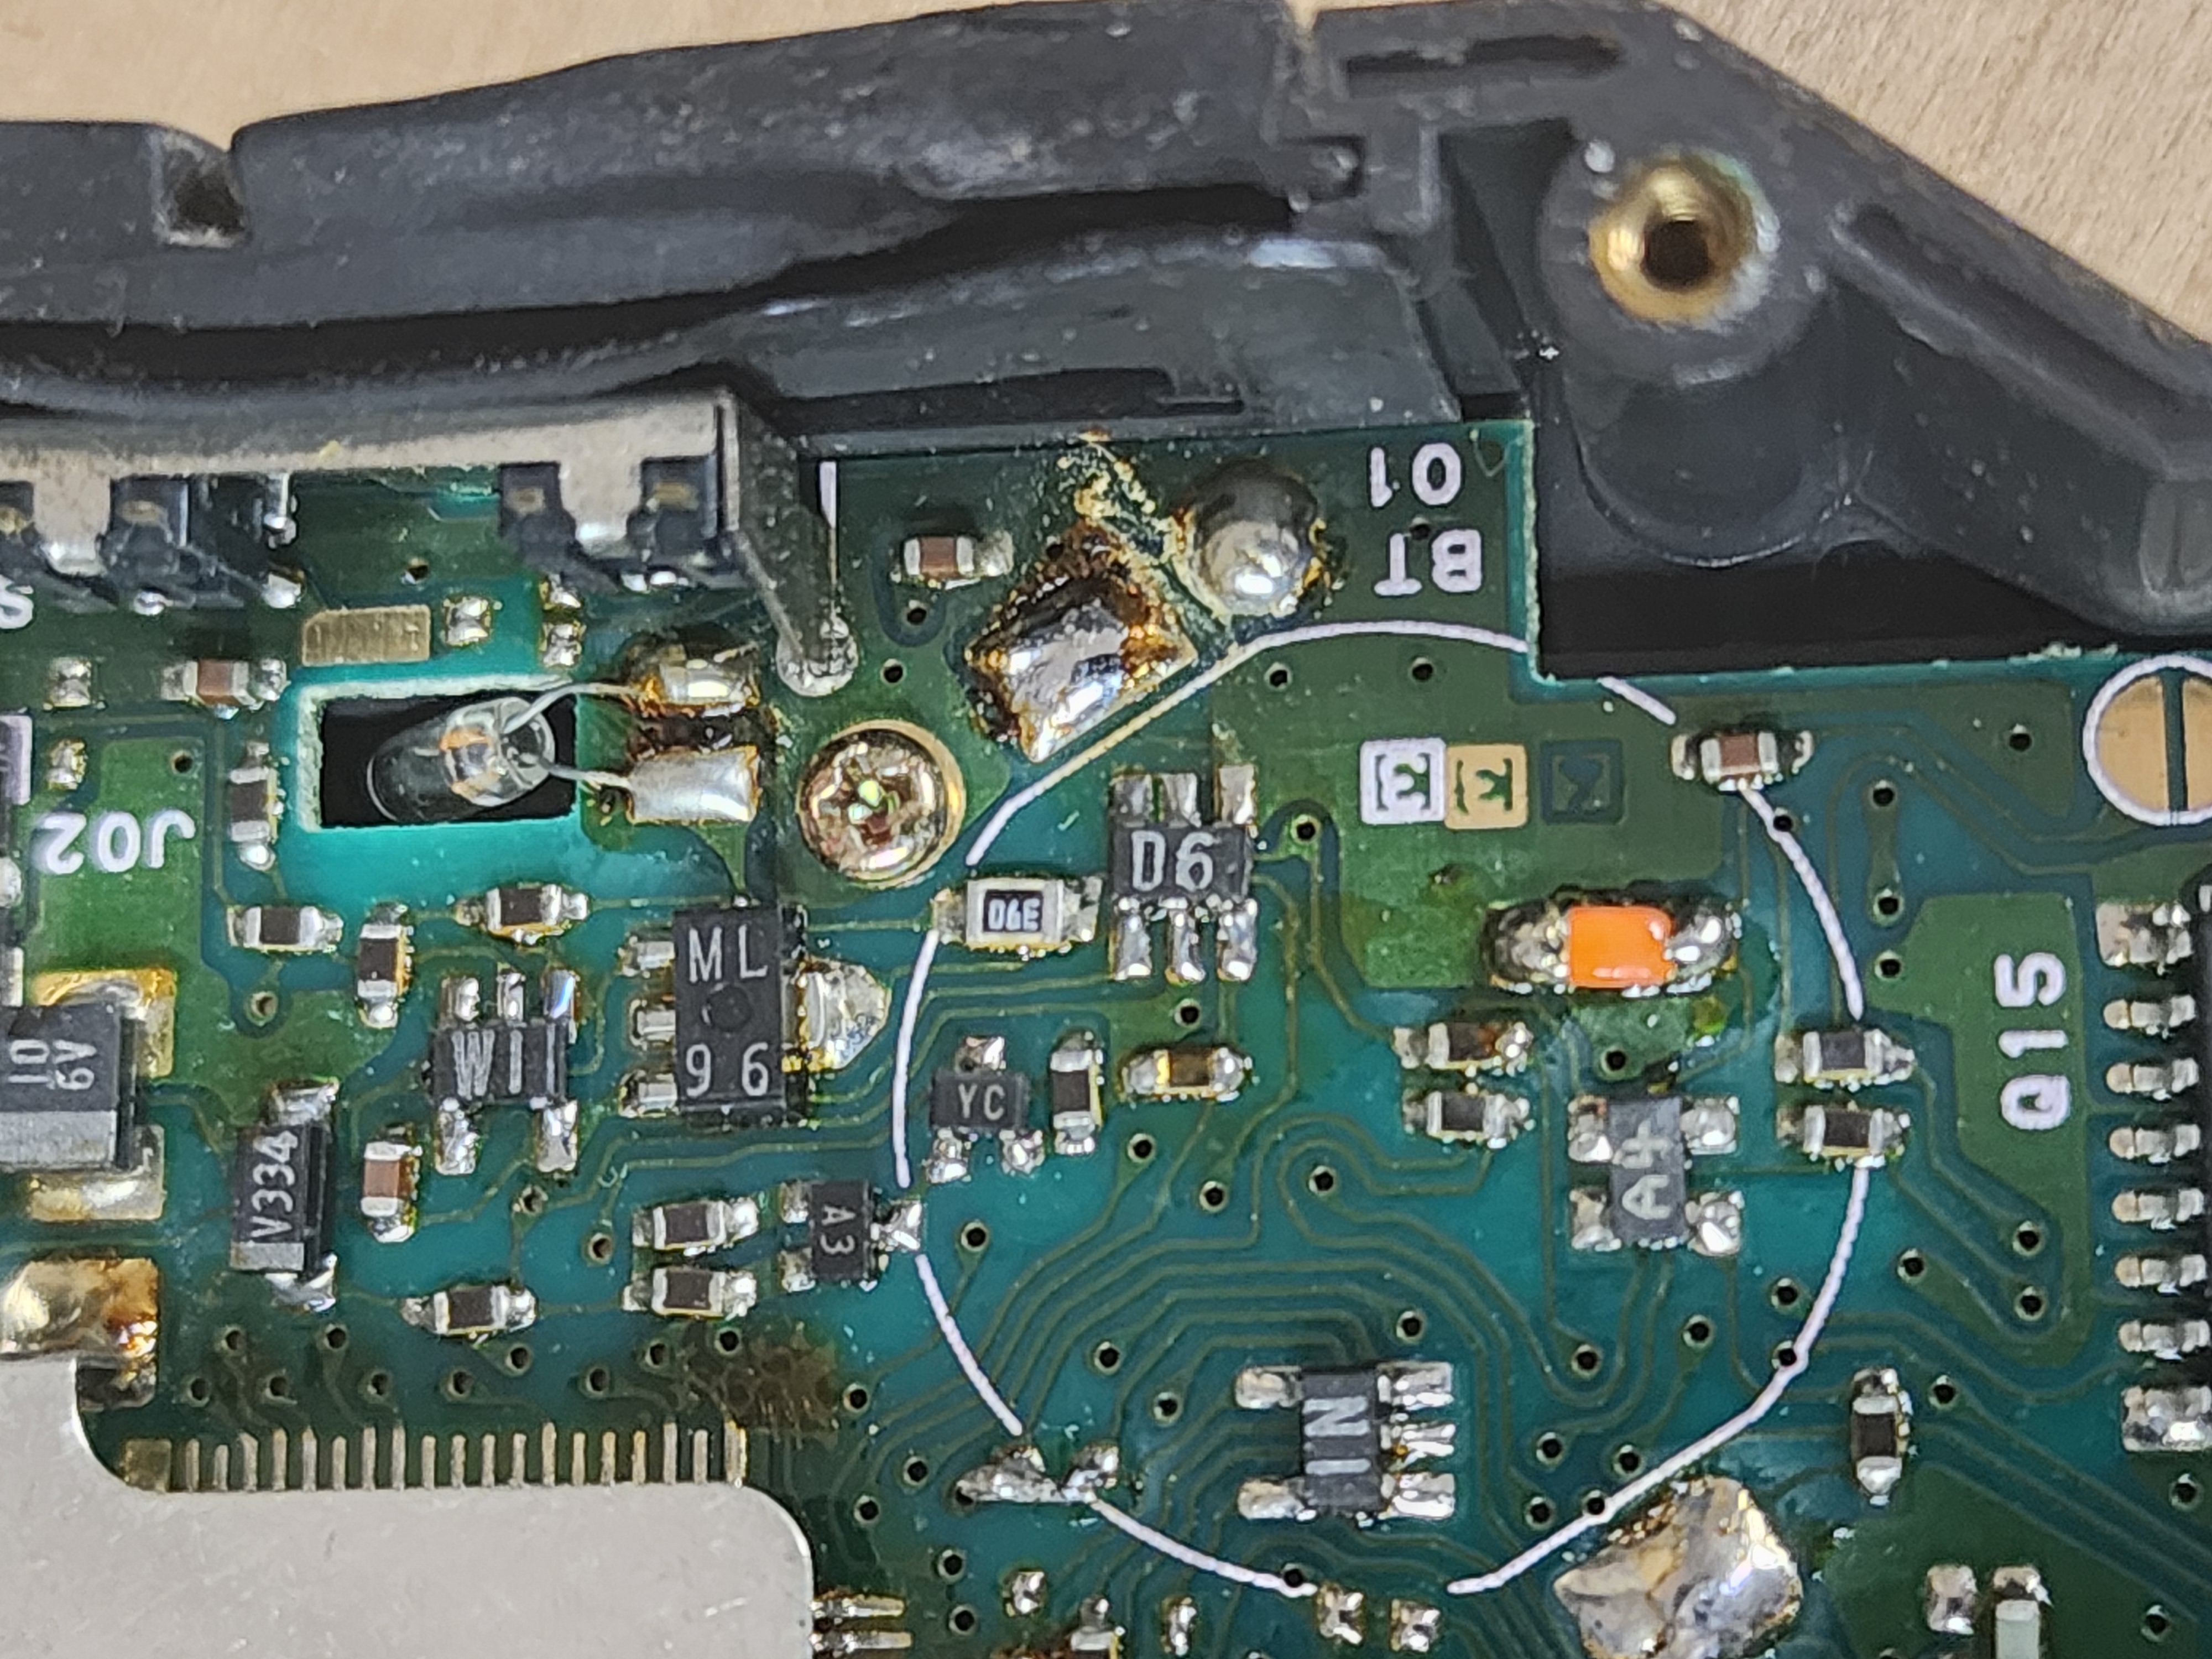
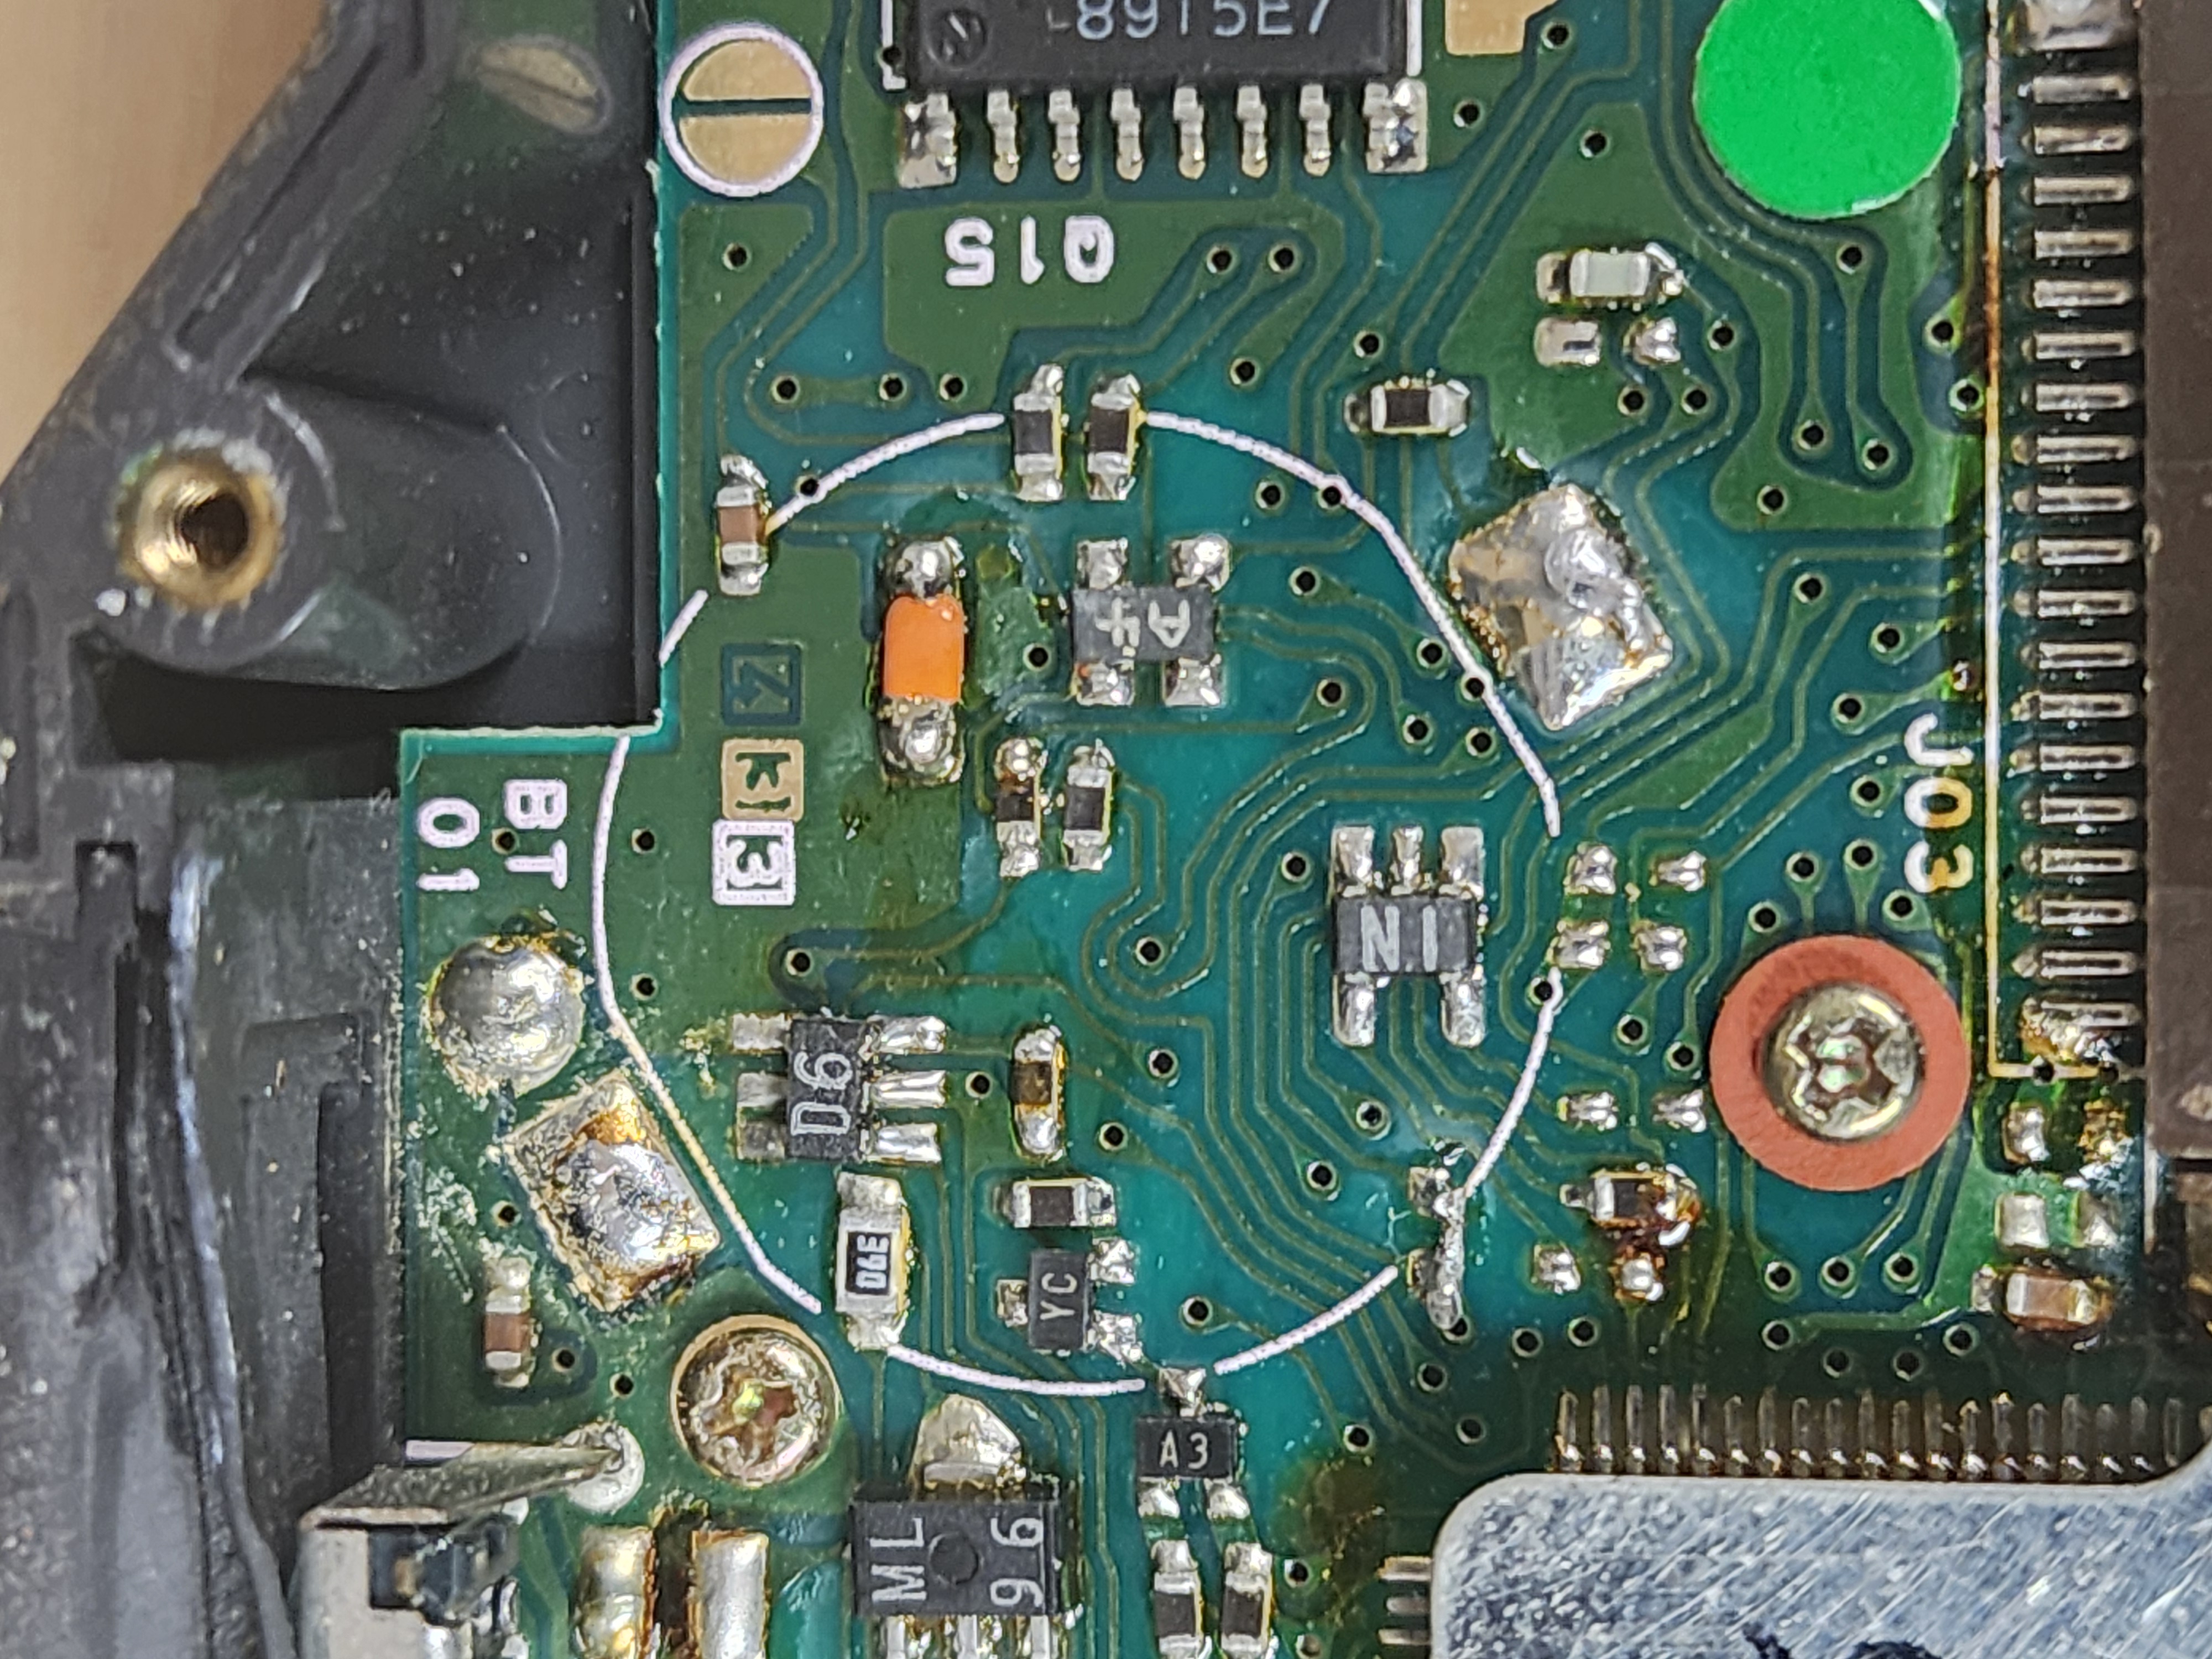
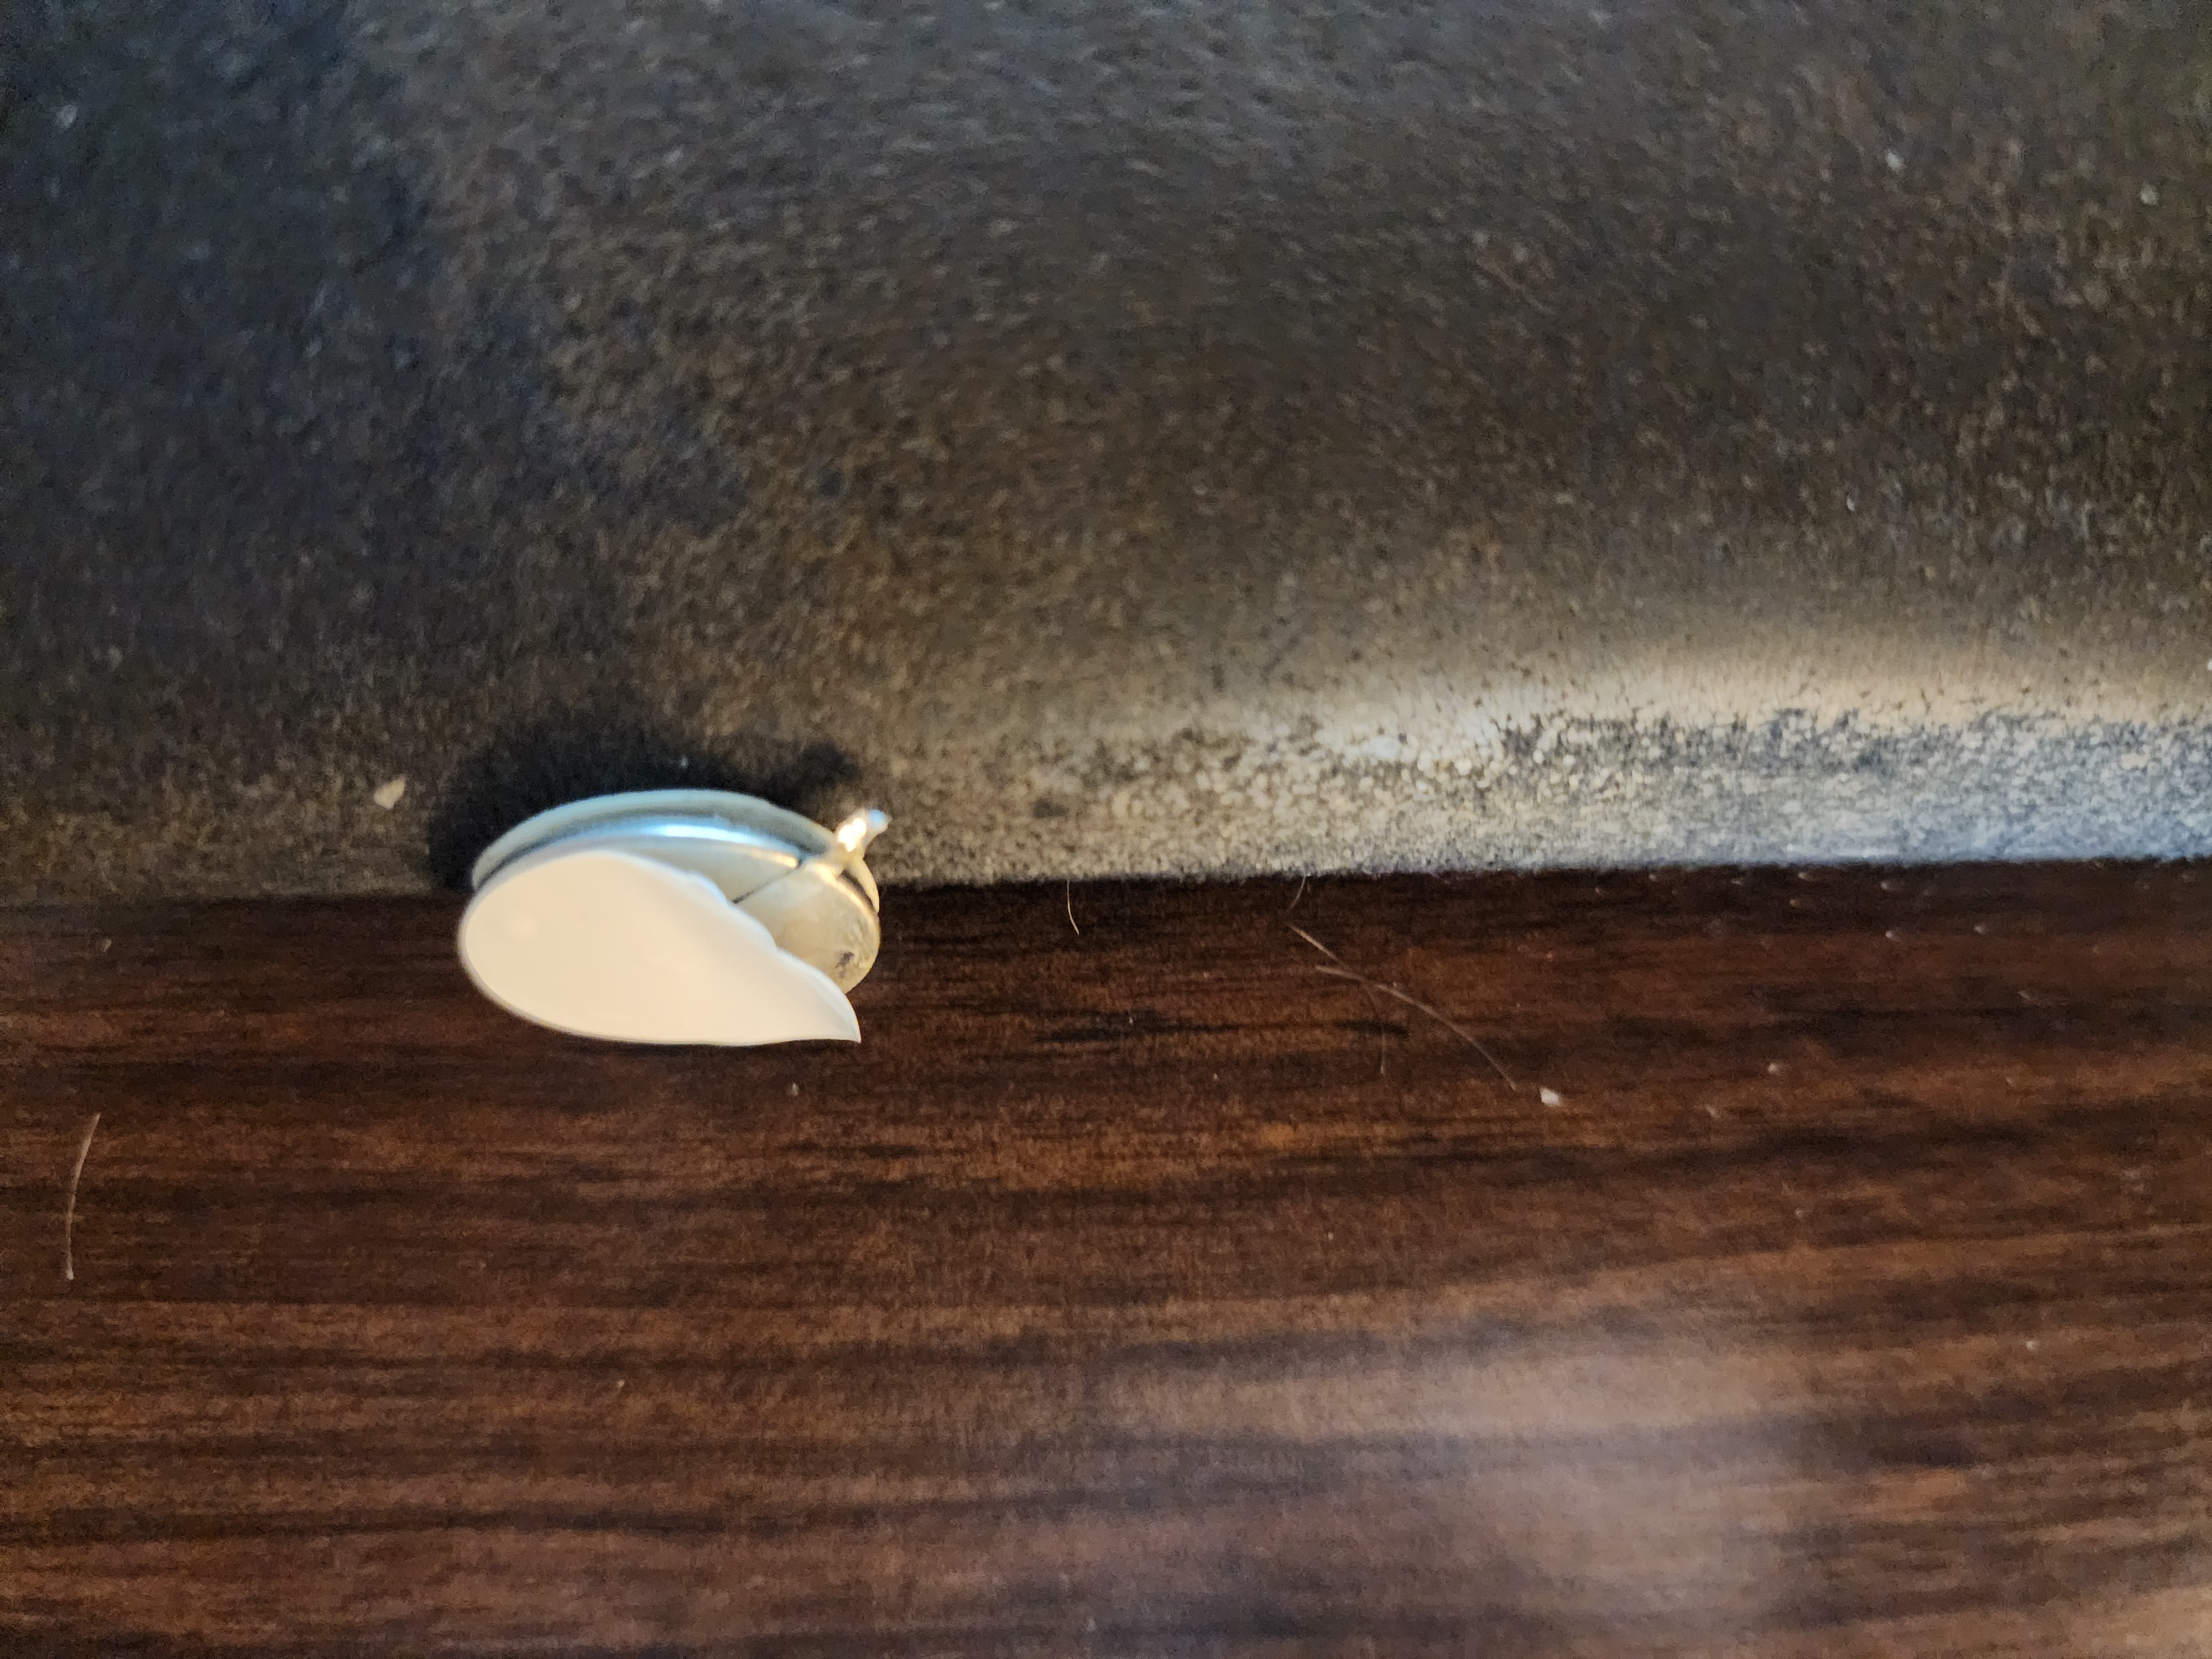
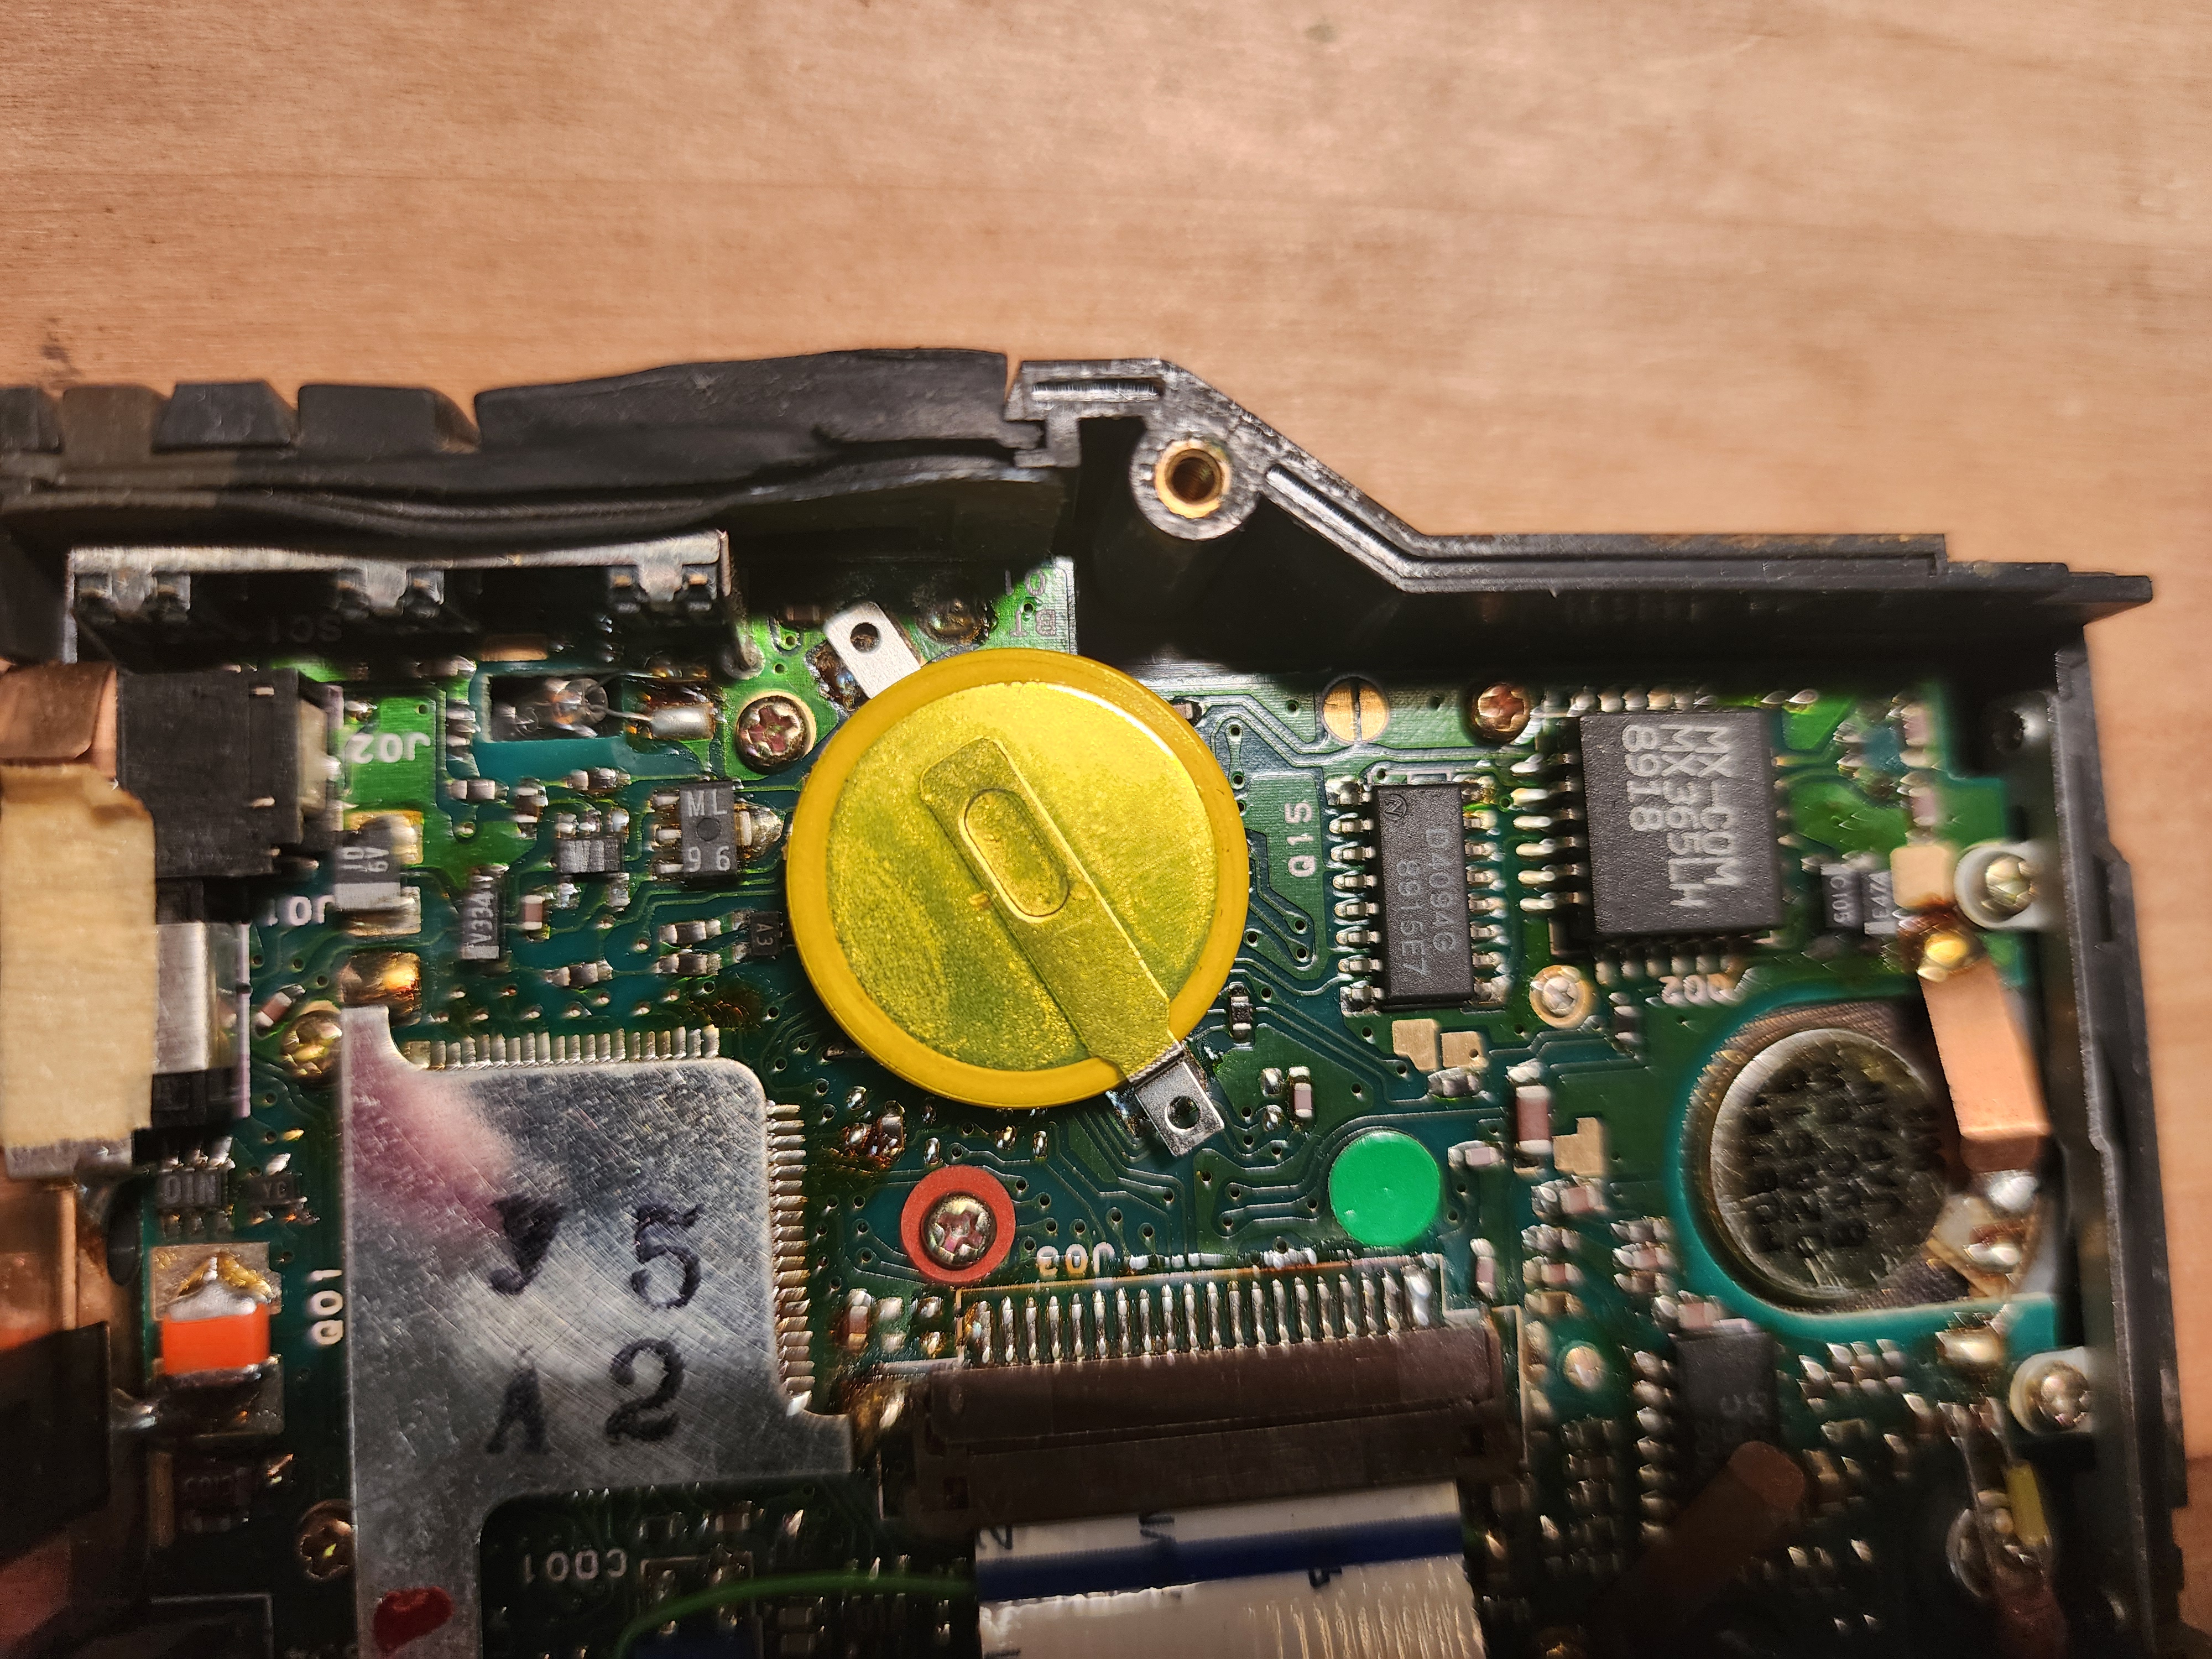
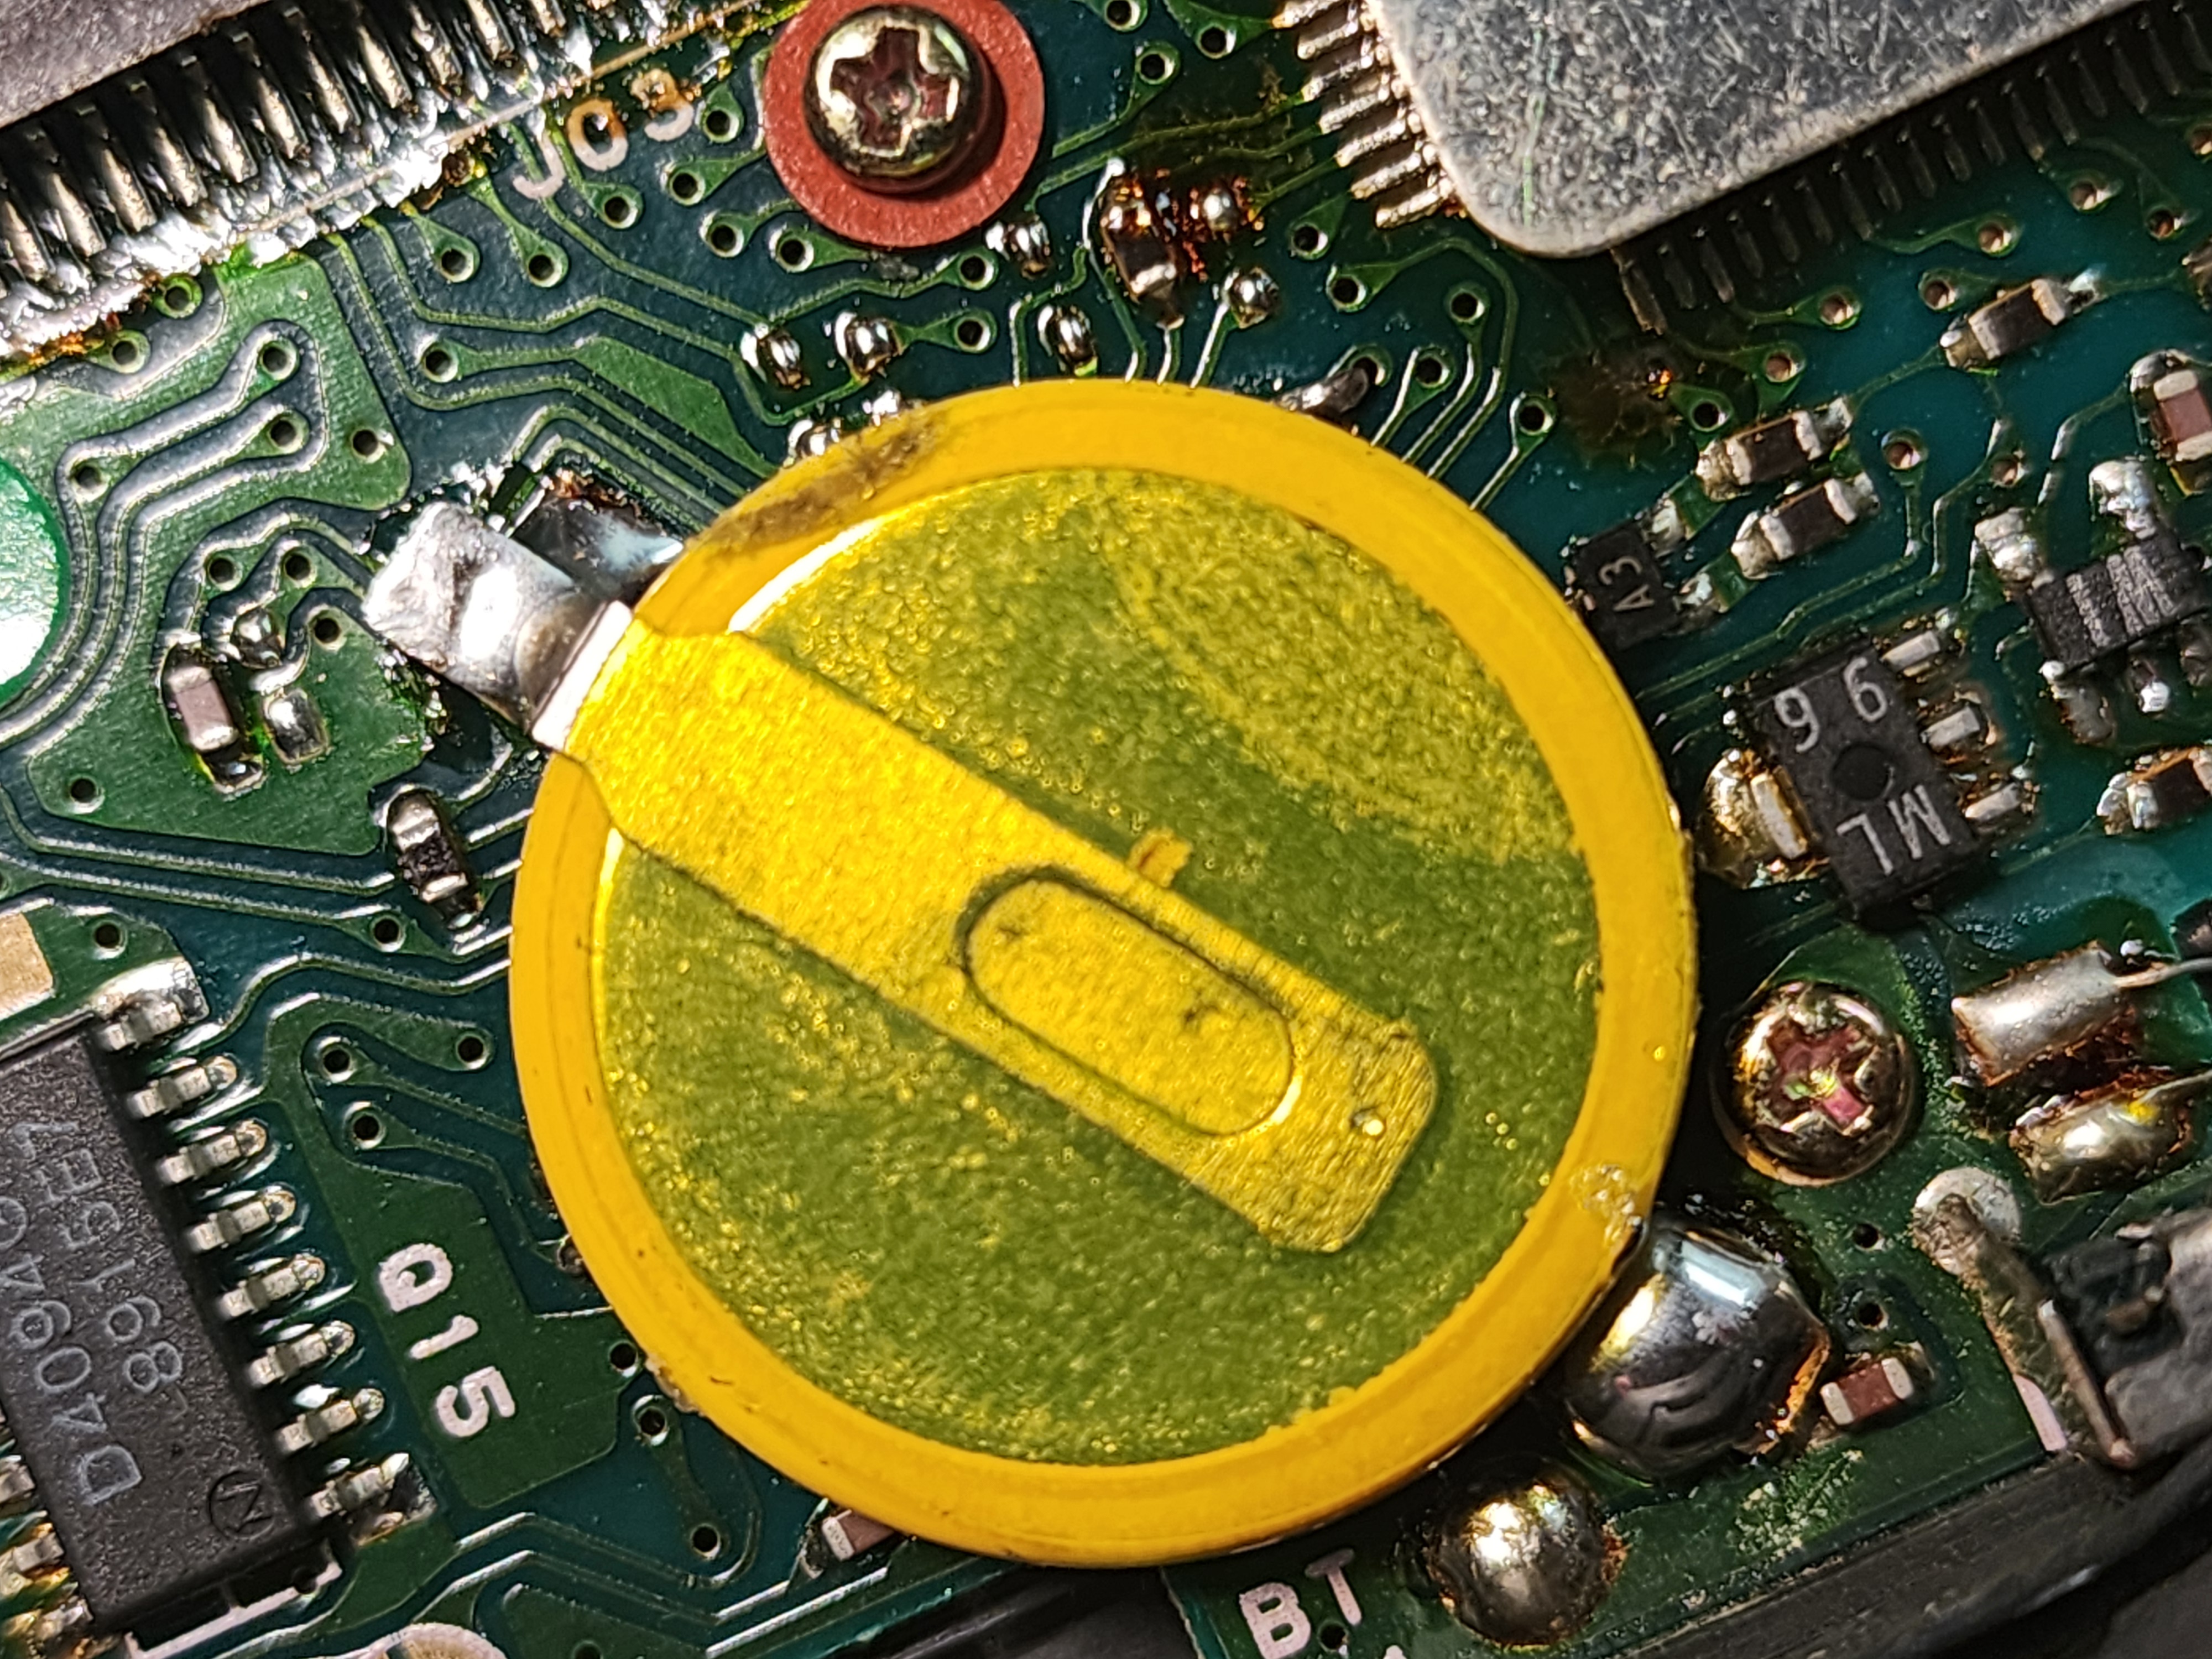
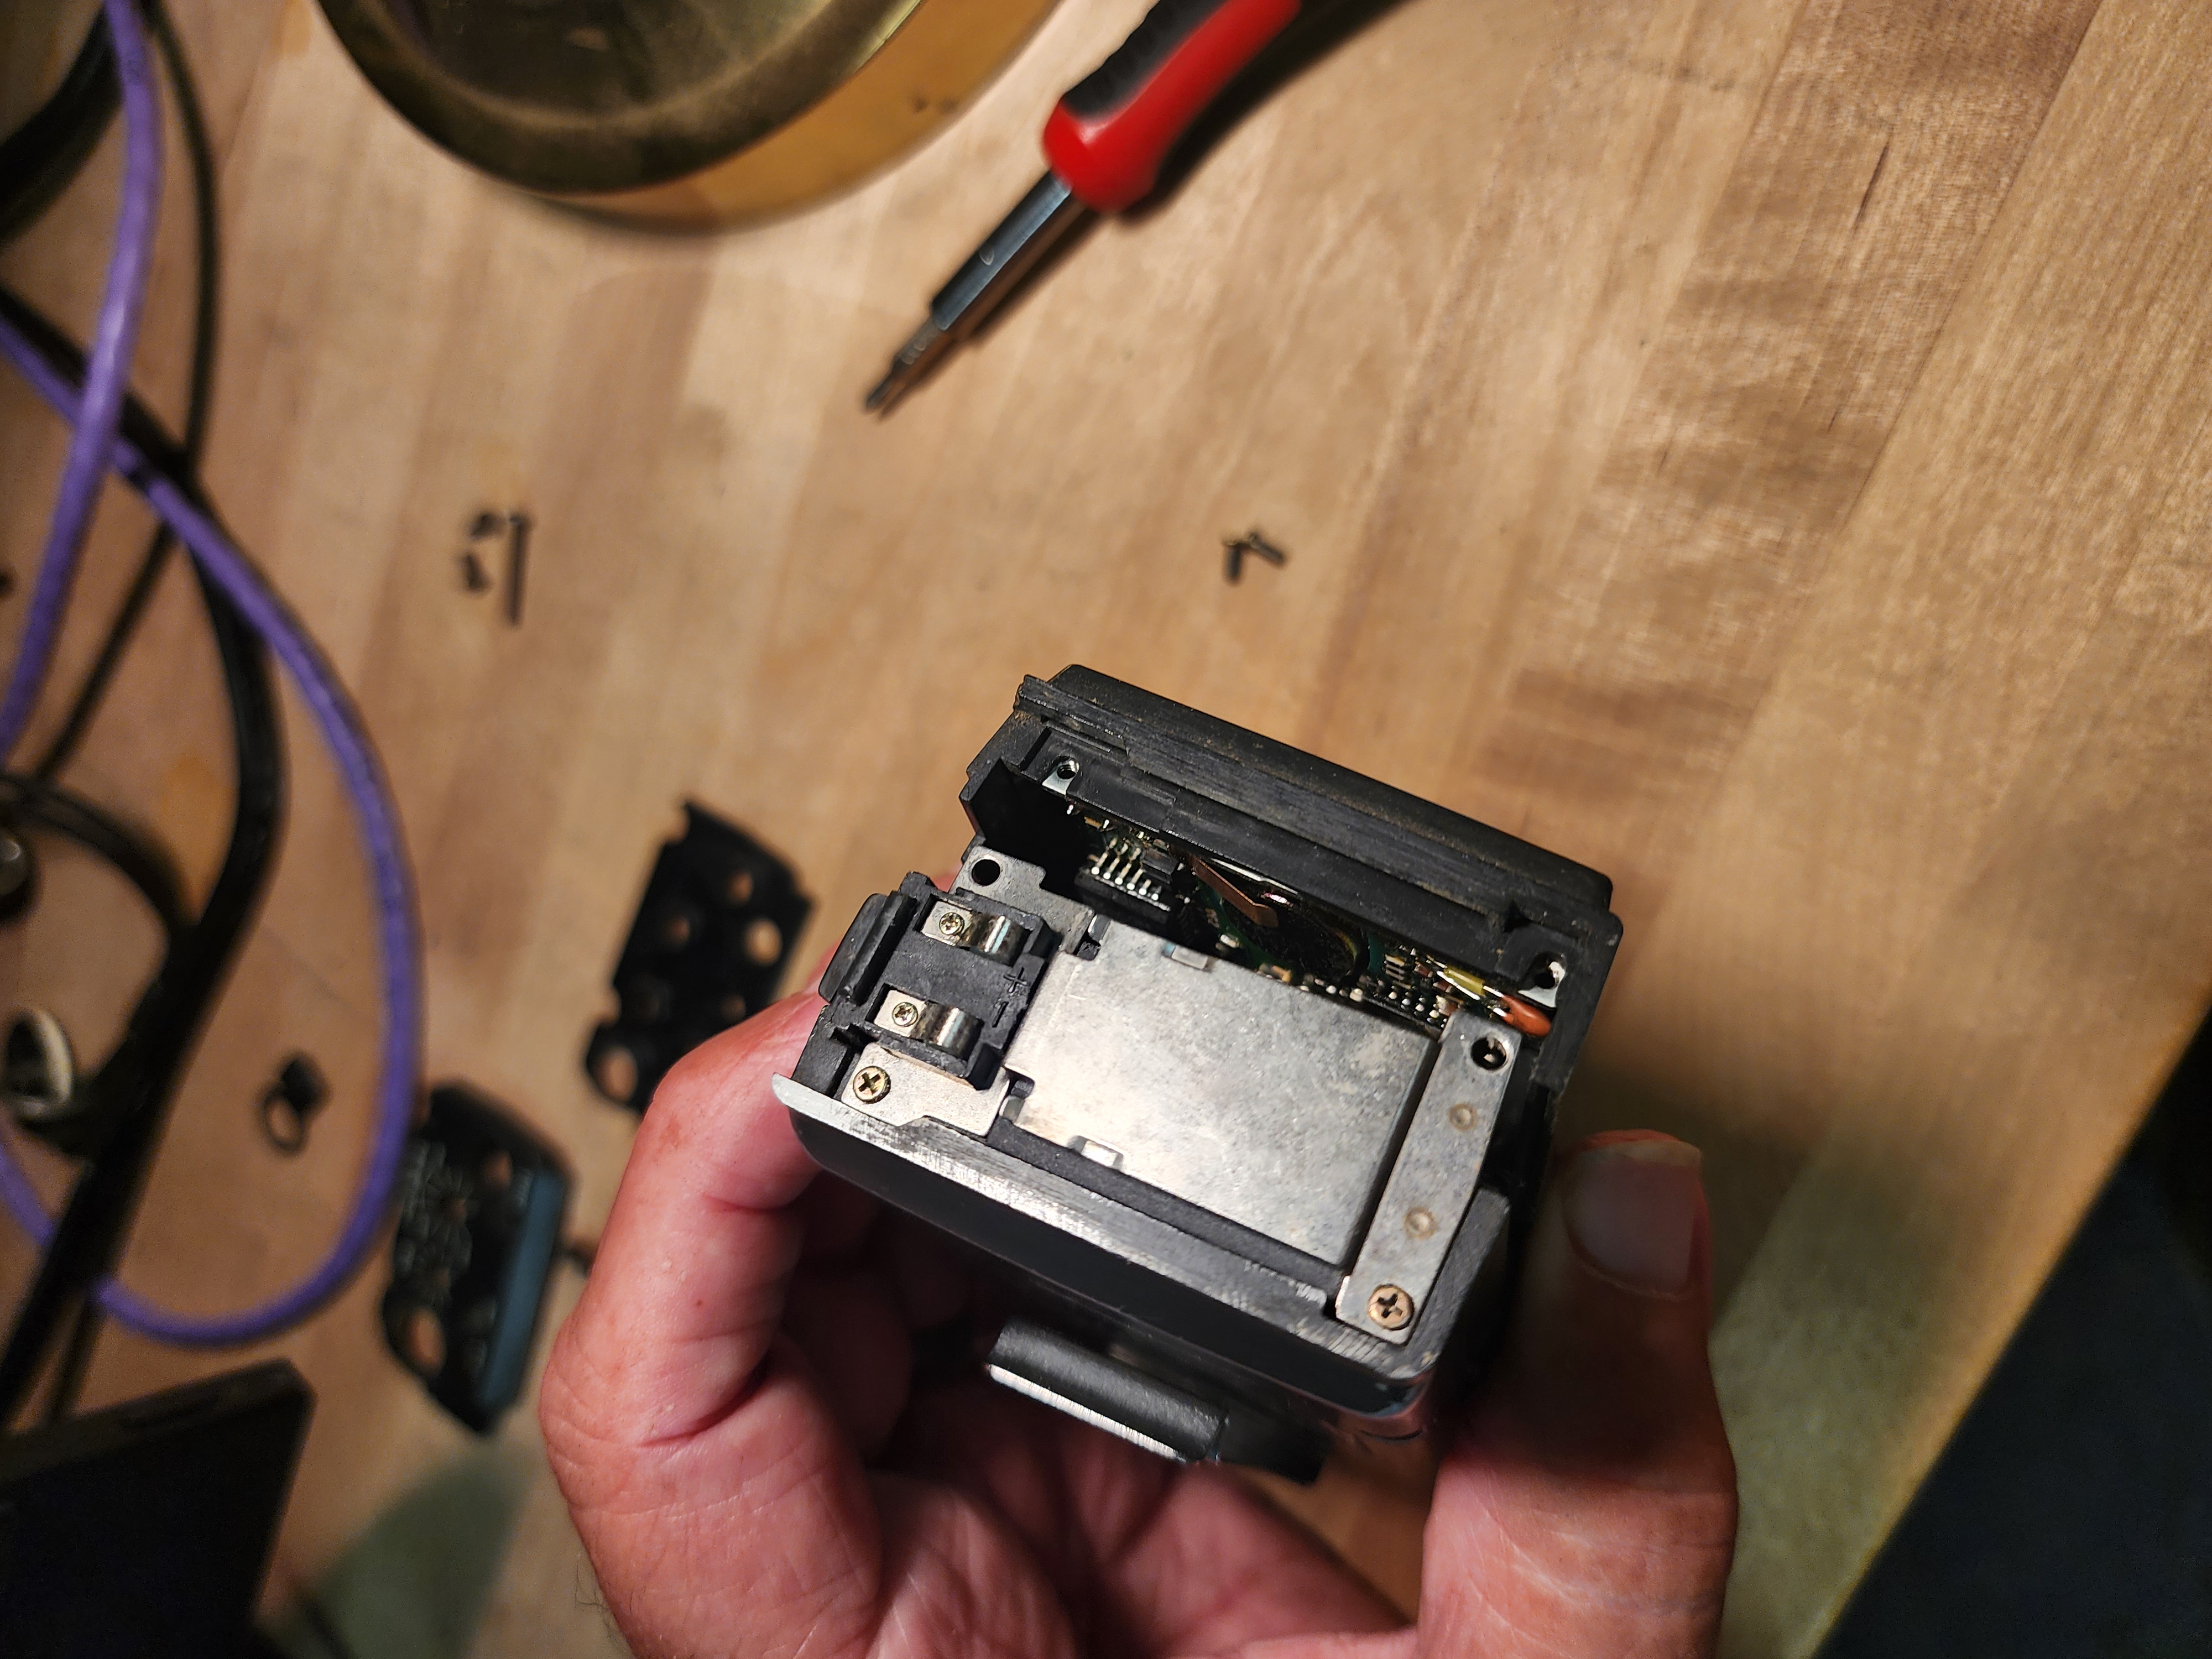
Here are some images of the coin-cell area of the radio.
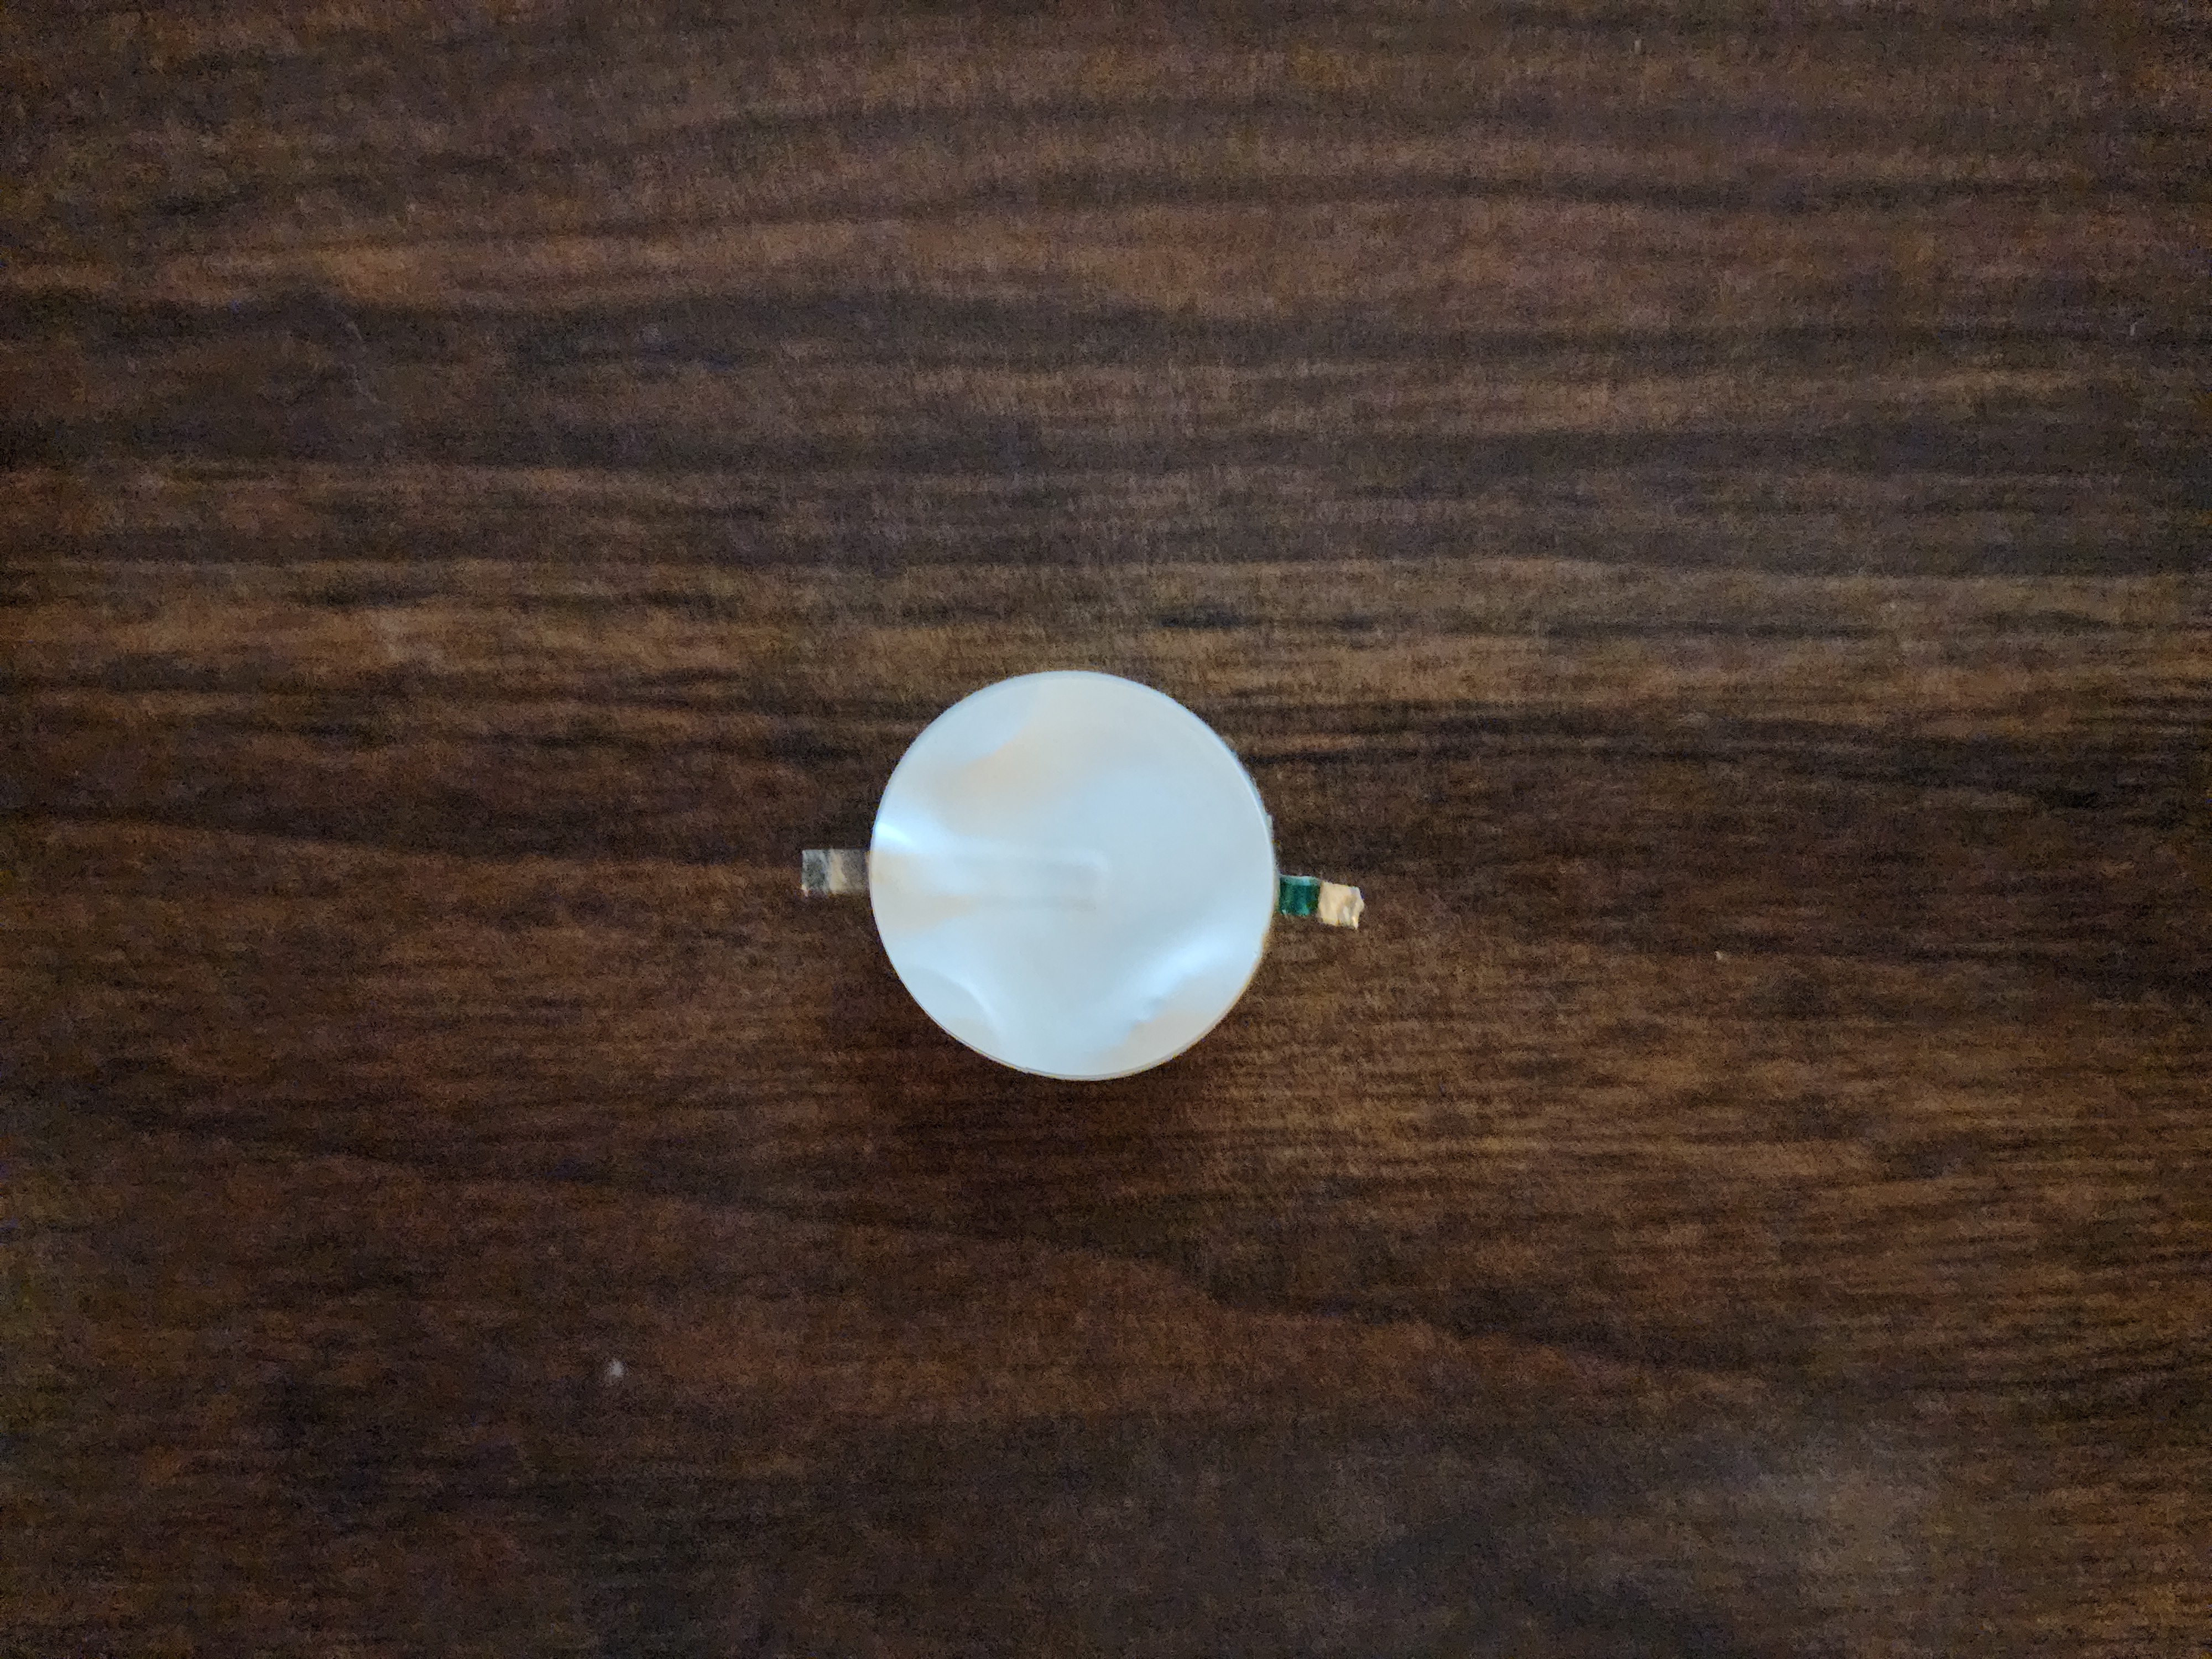
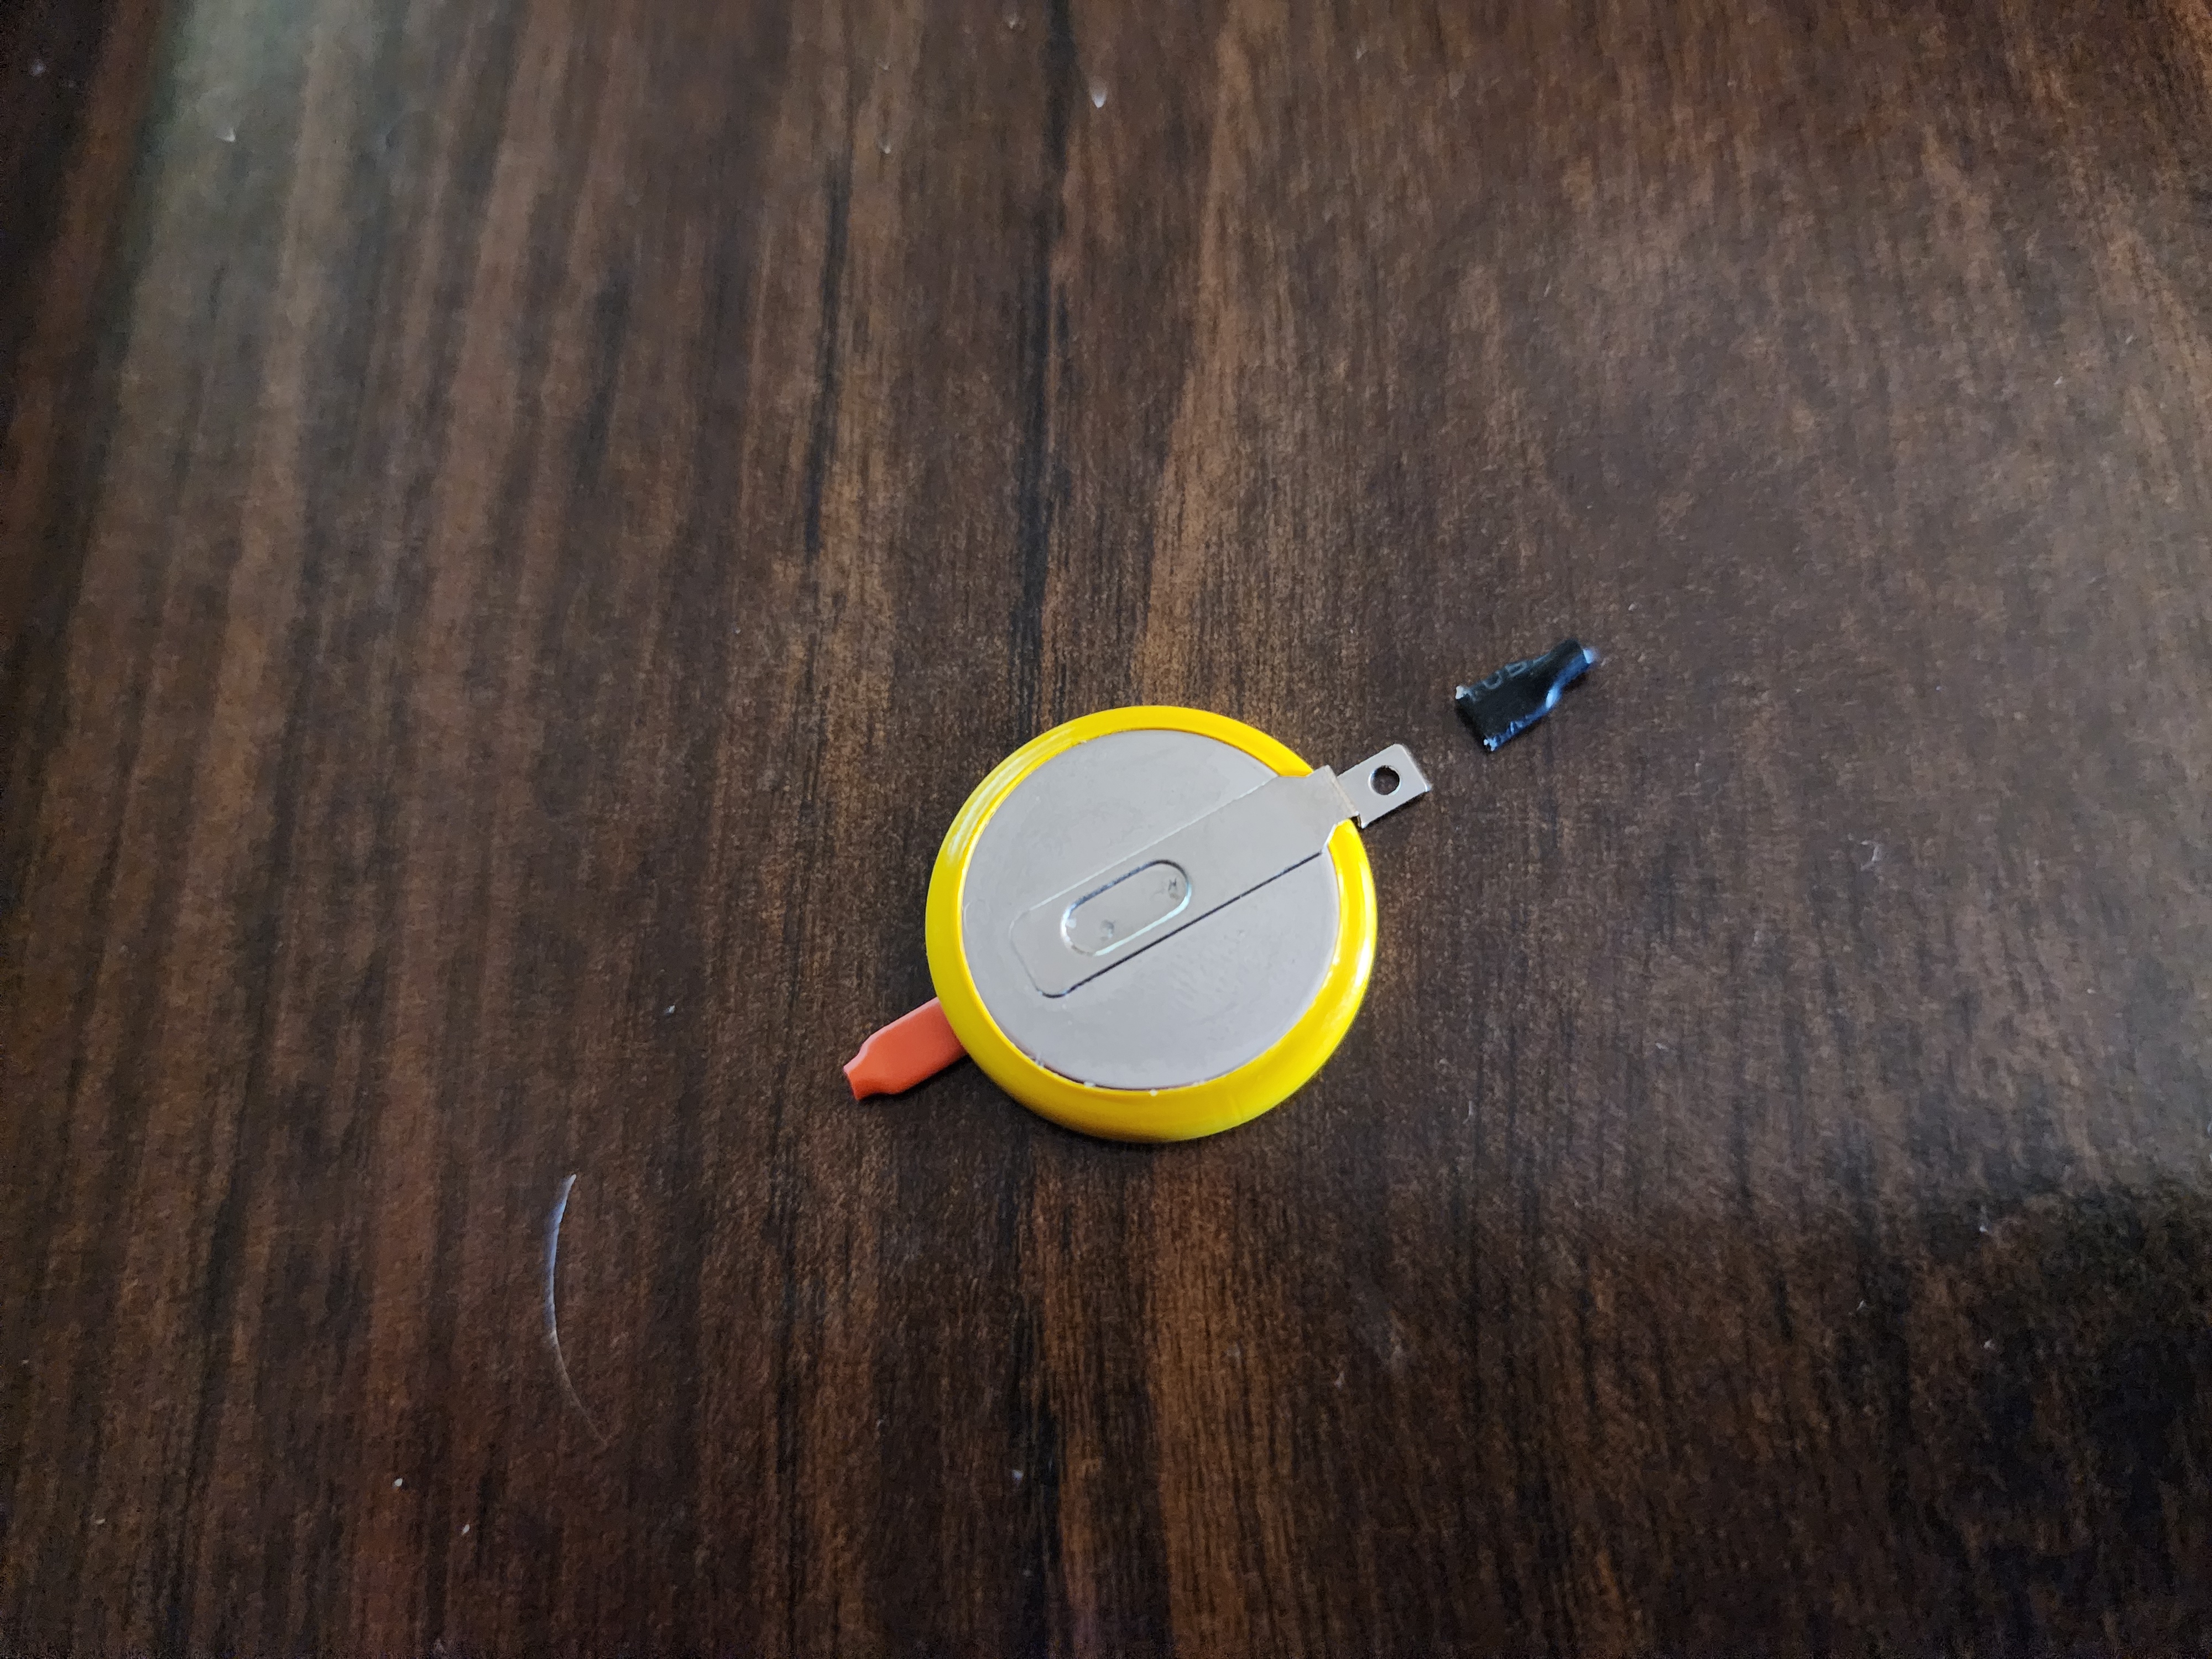
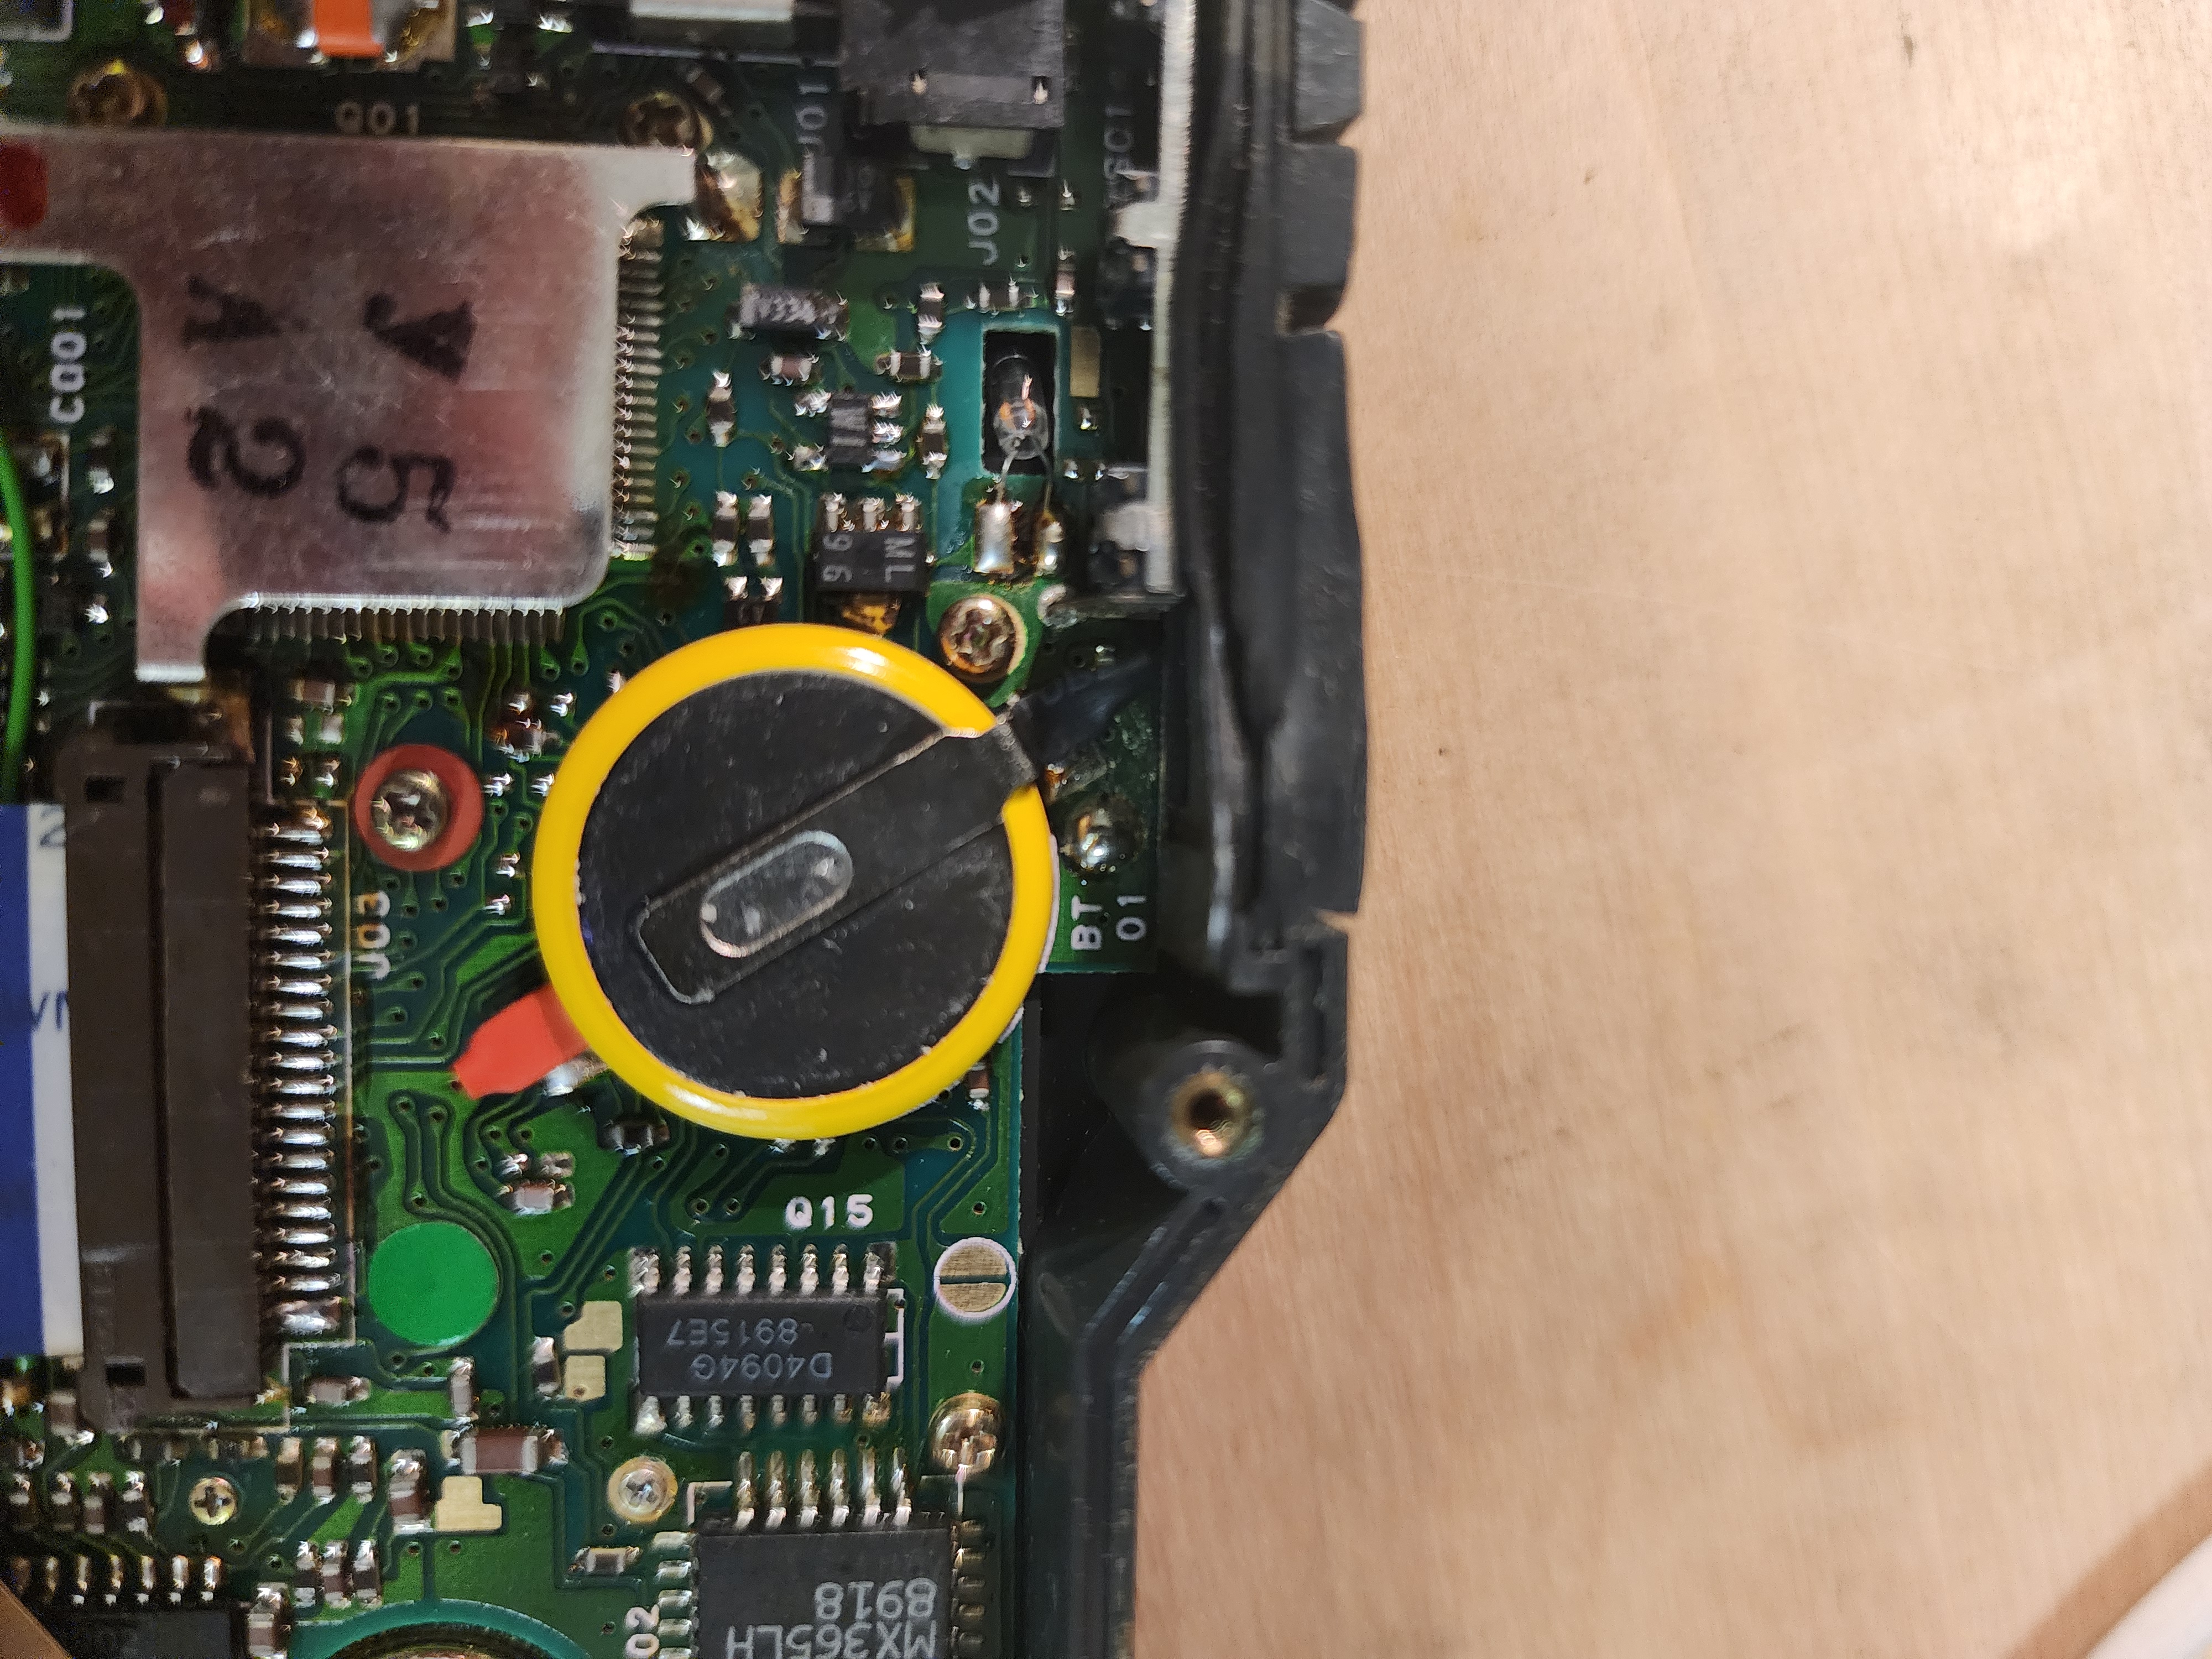
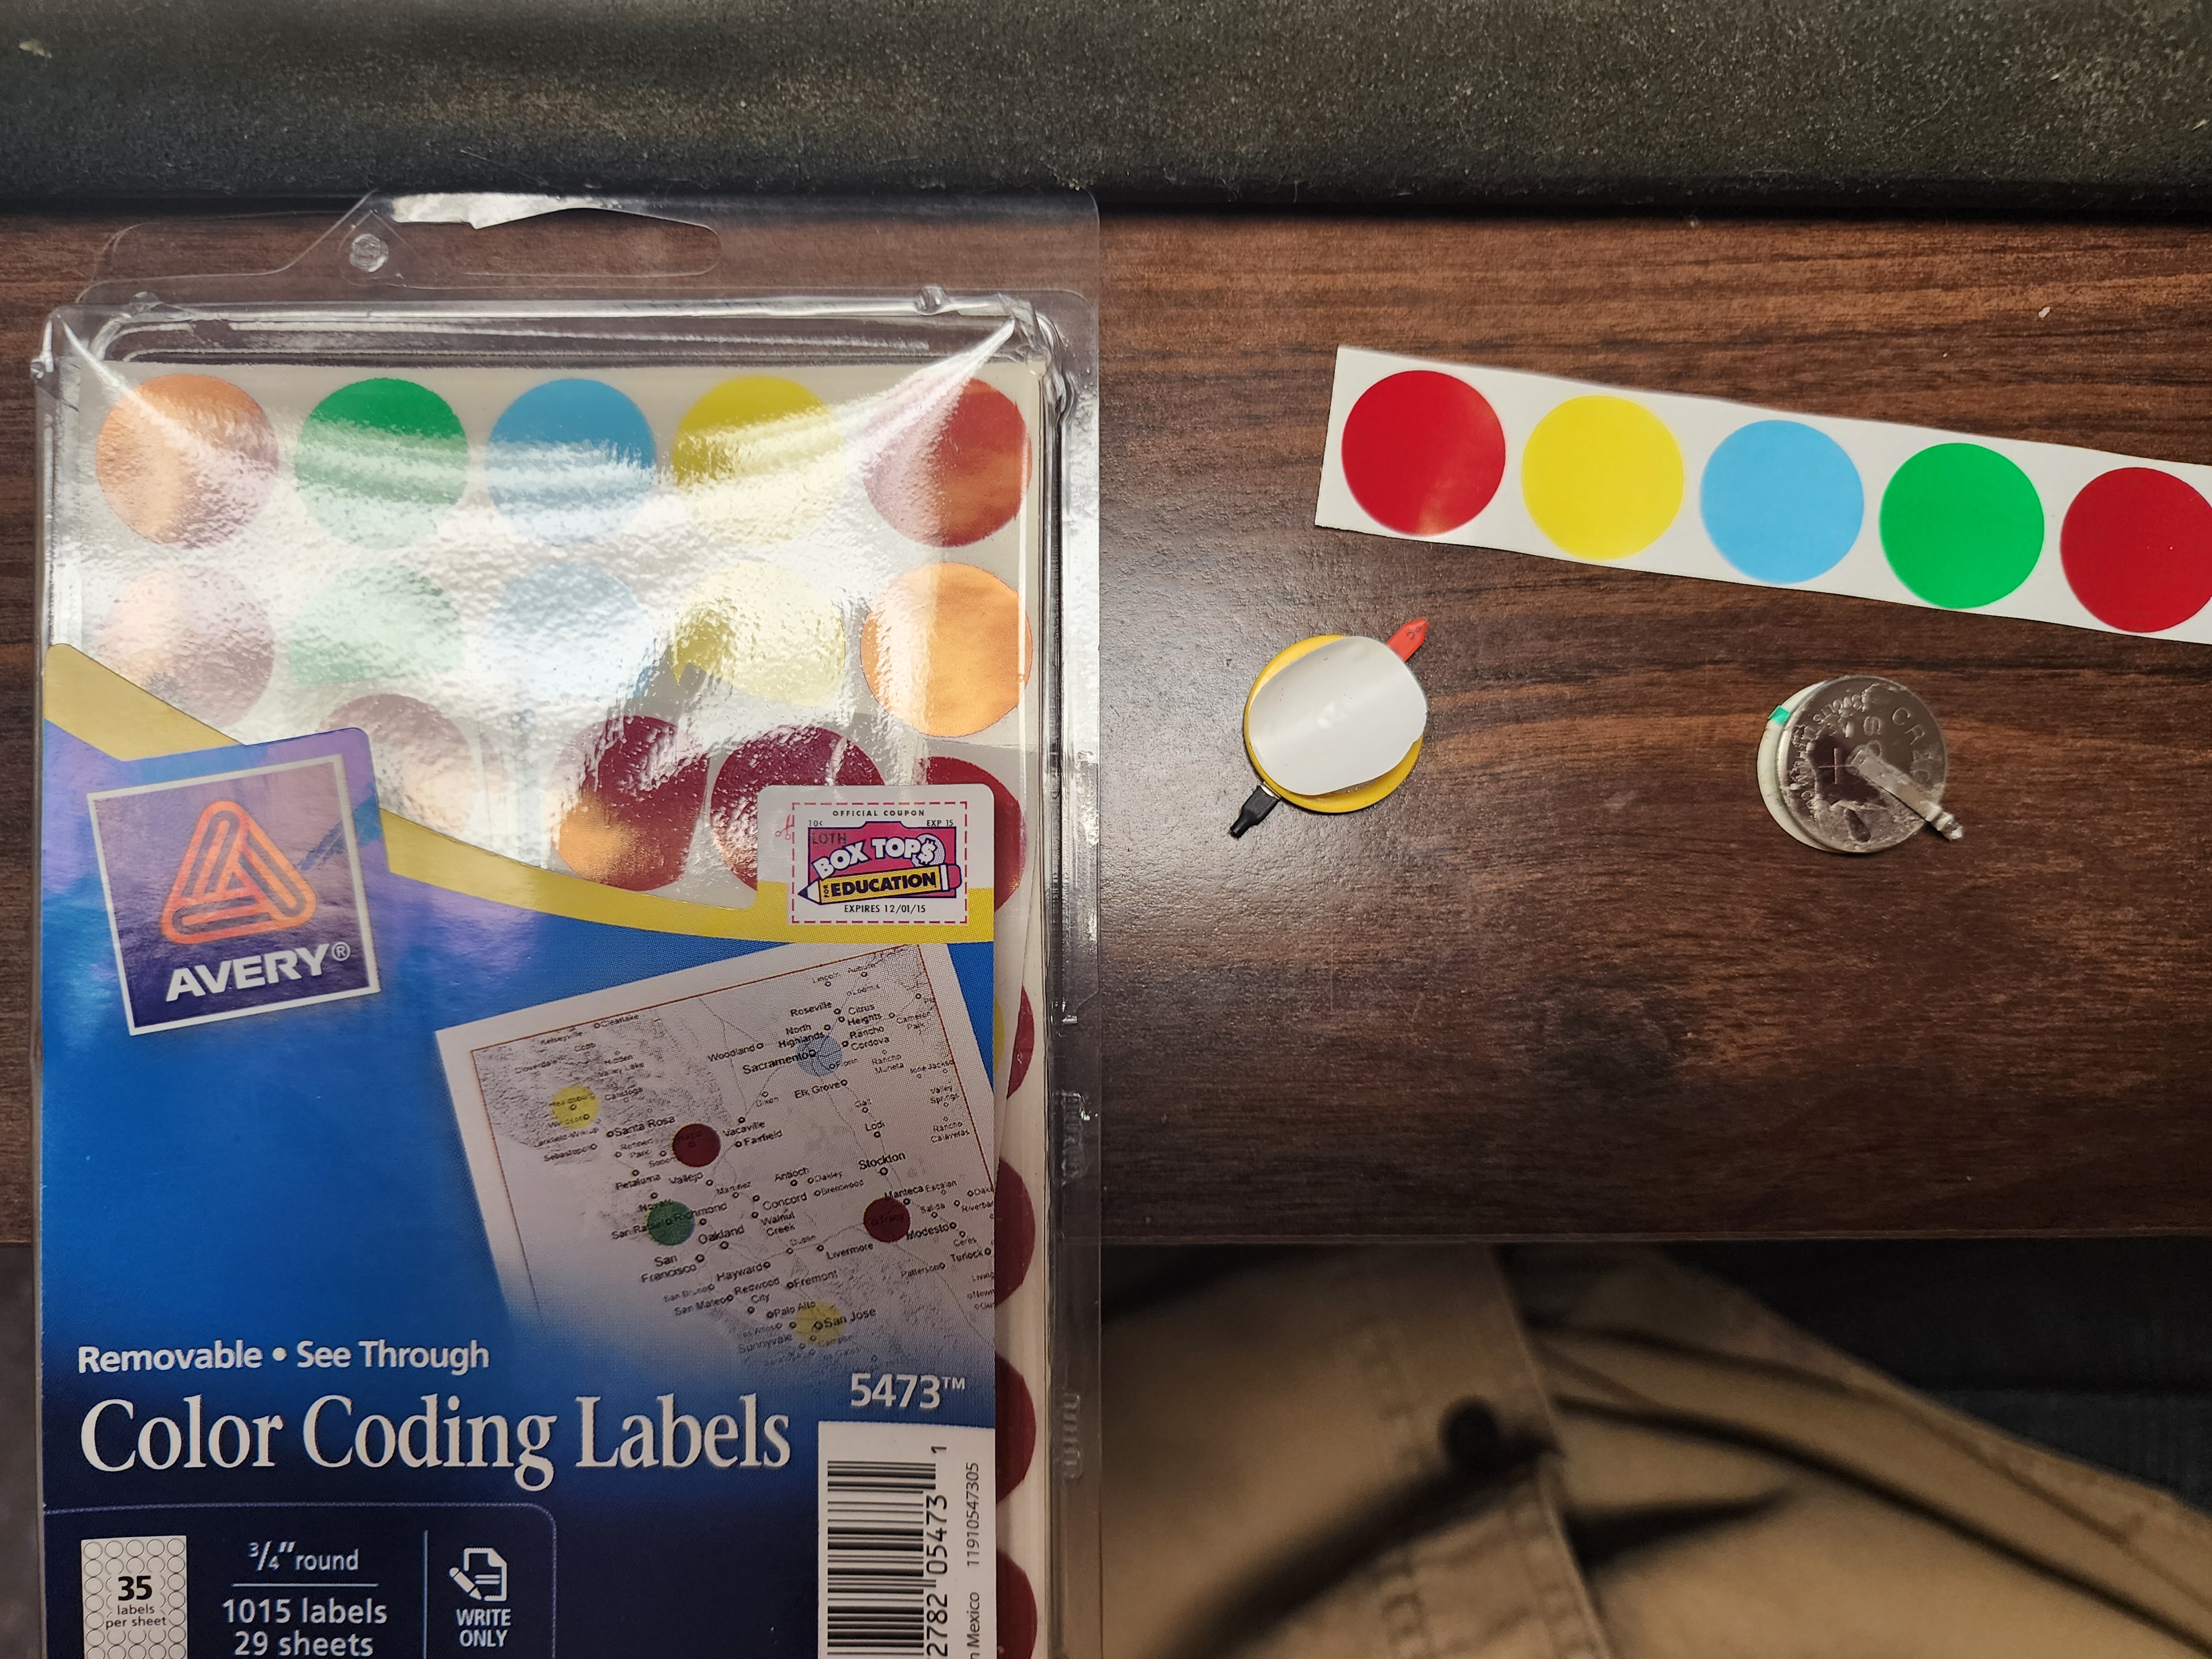
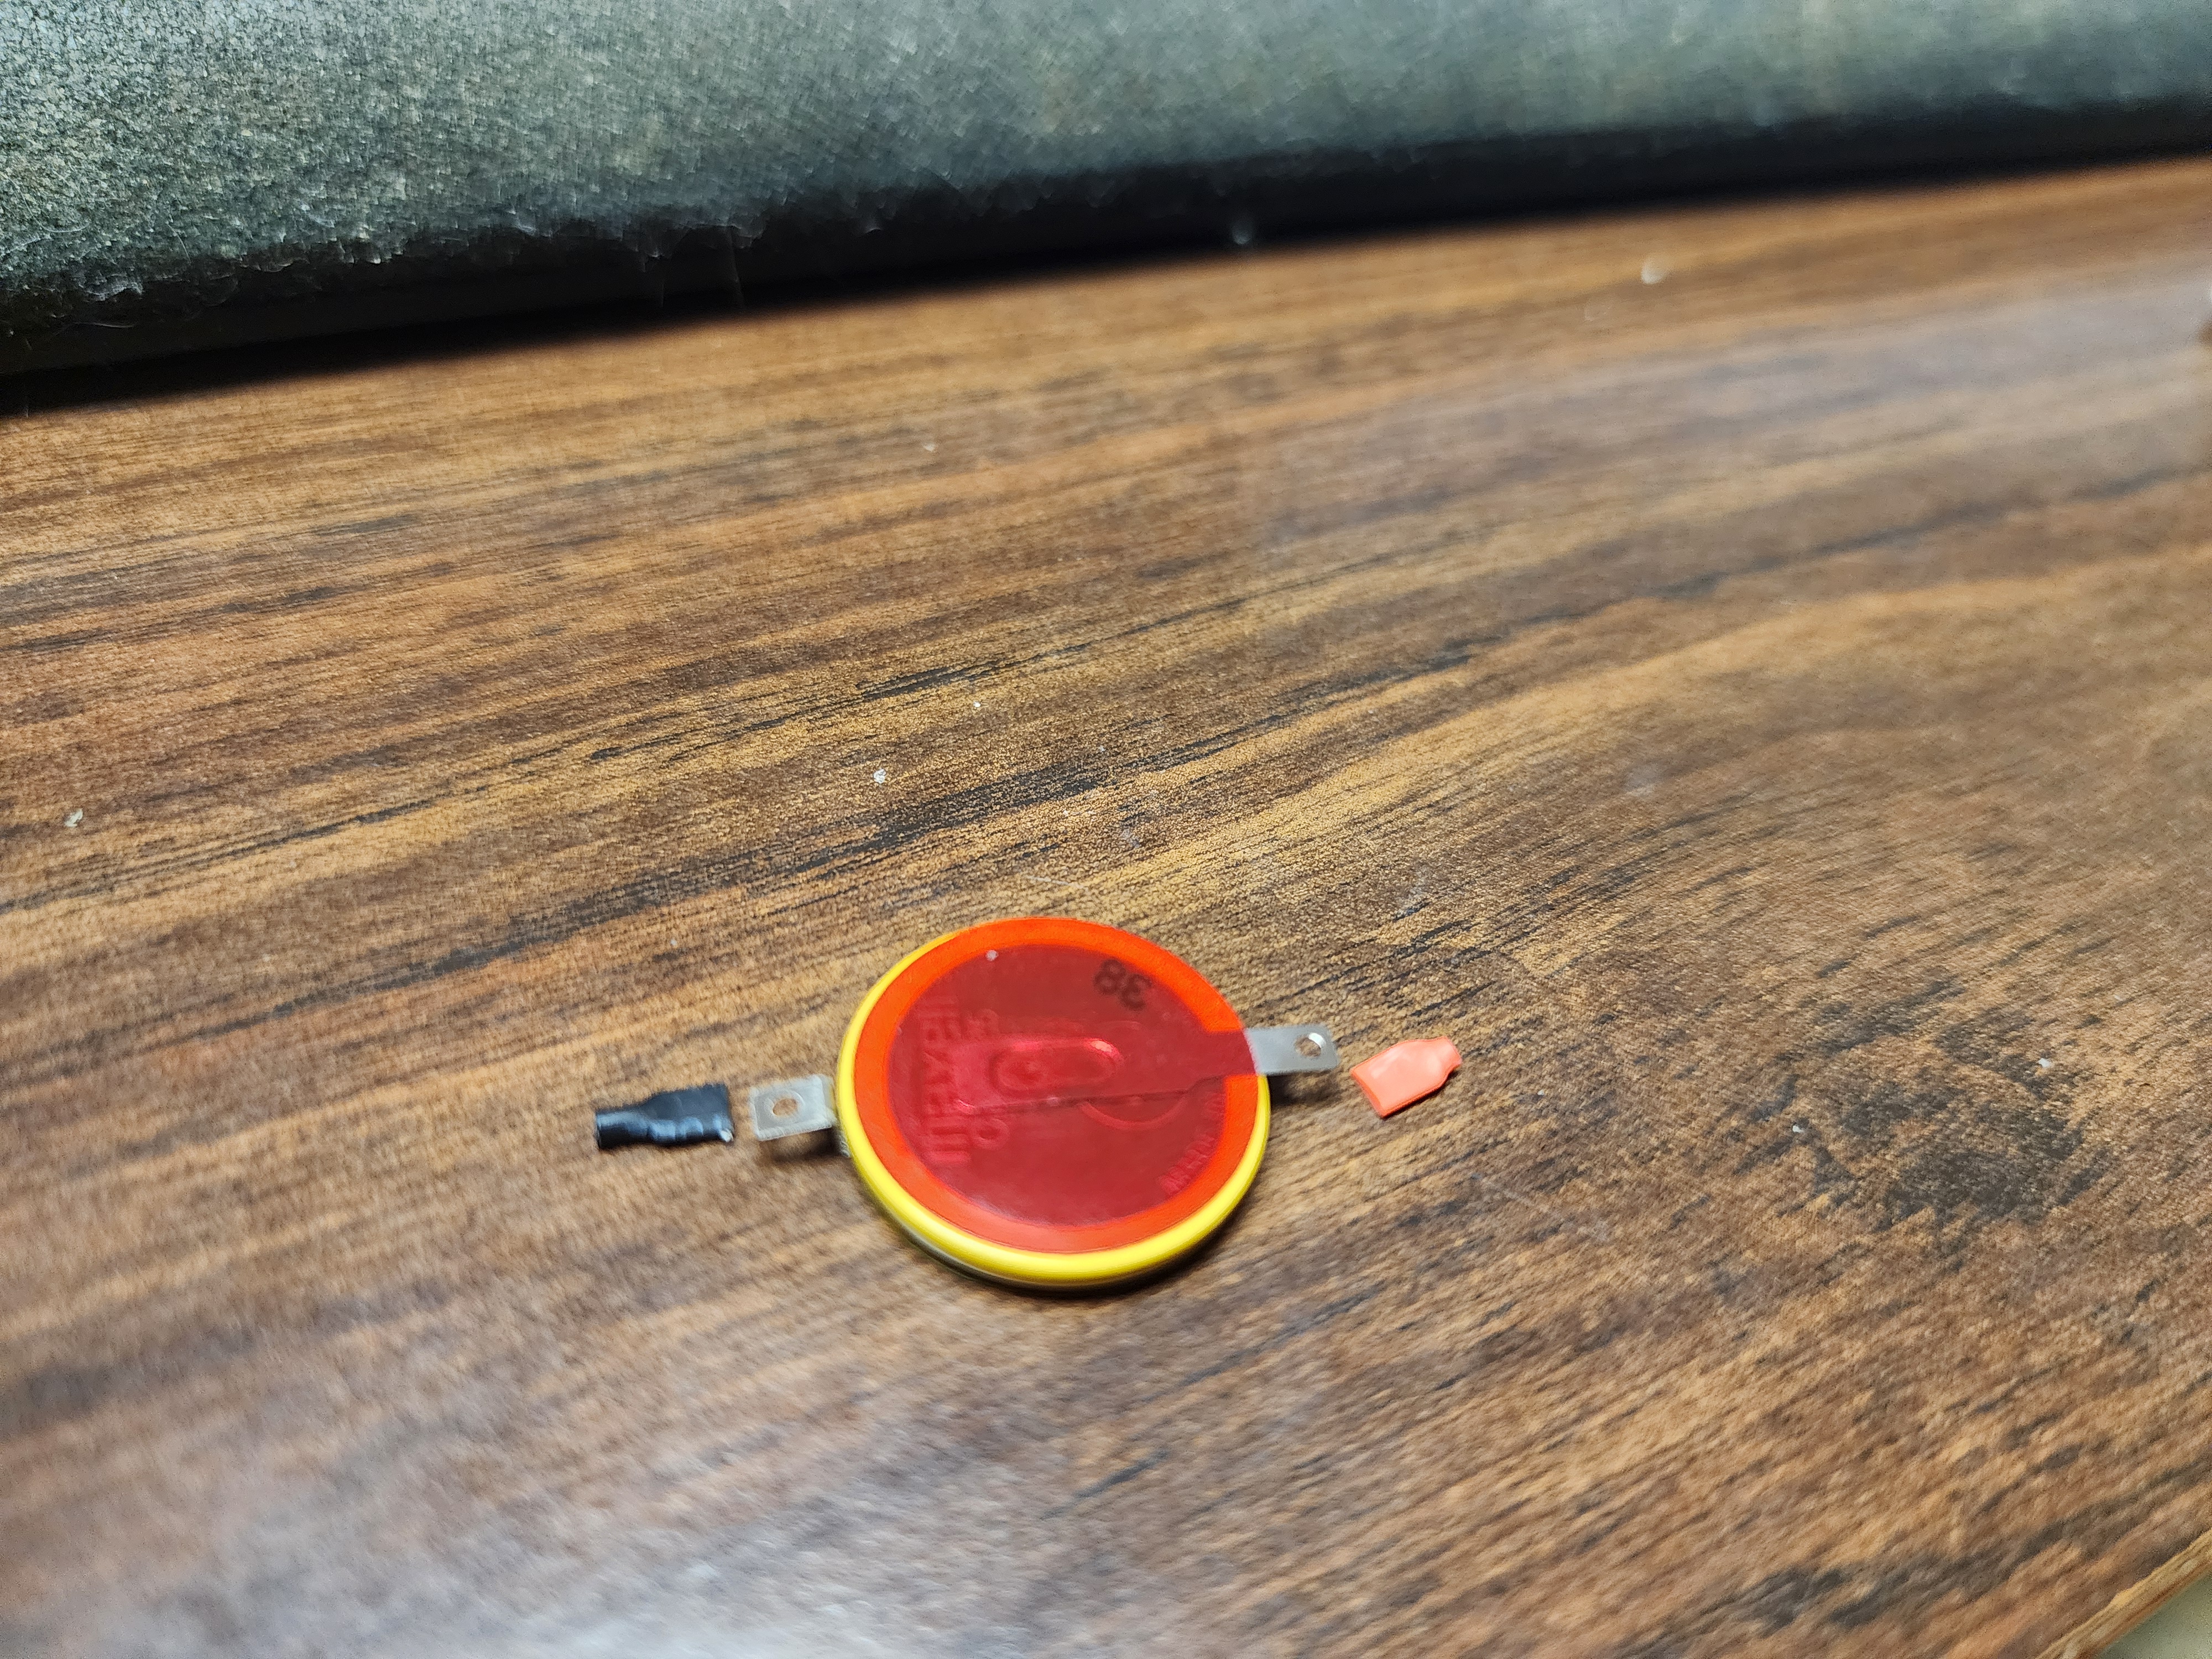
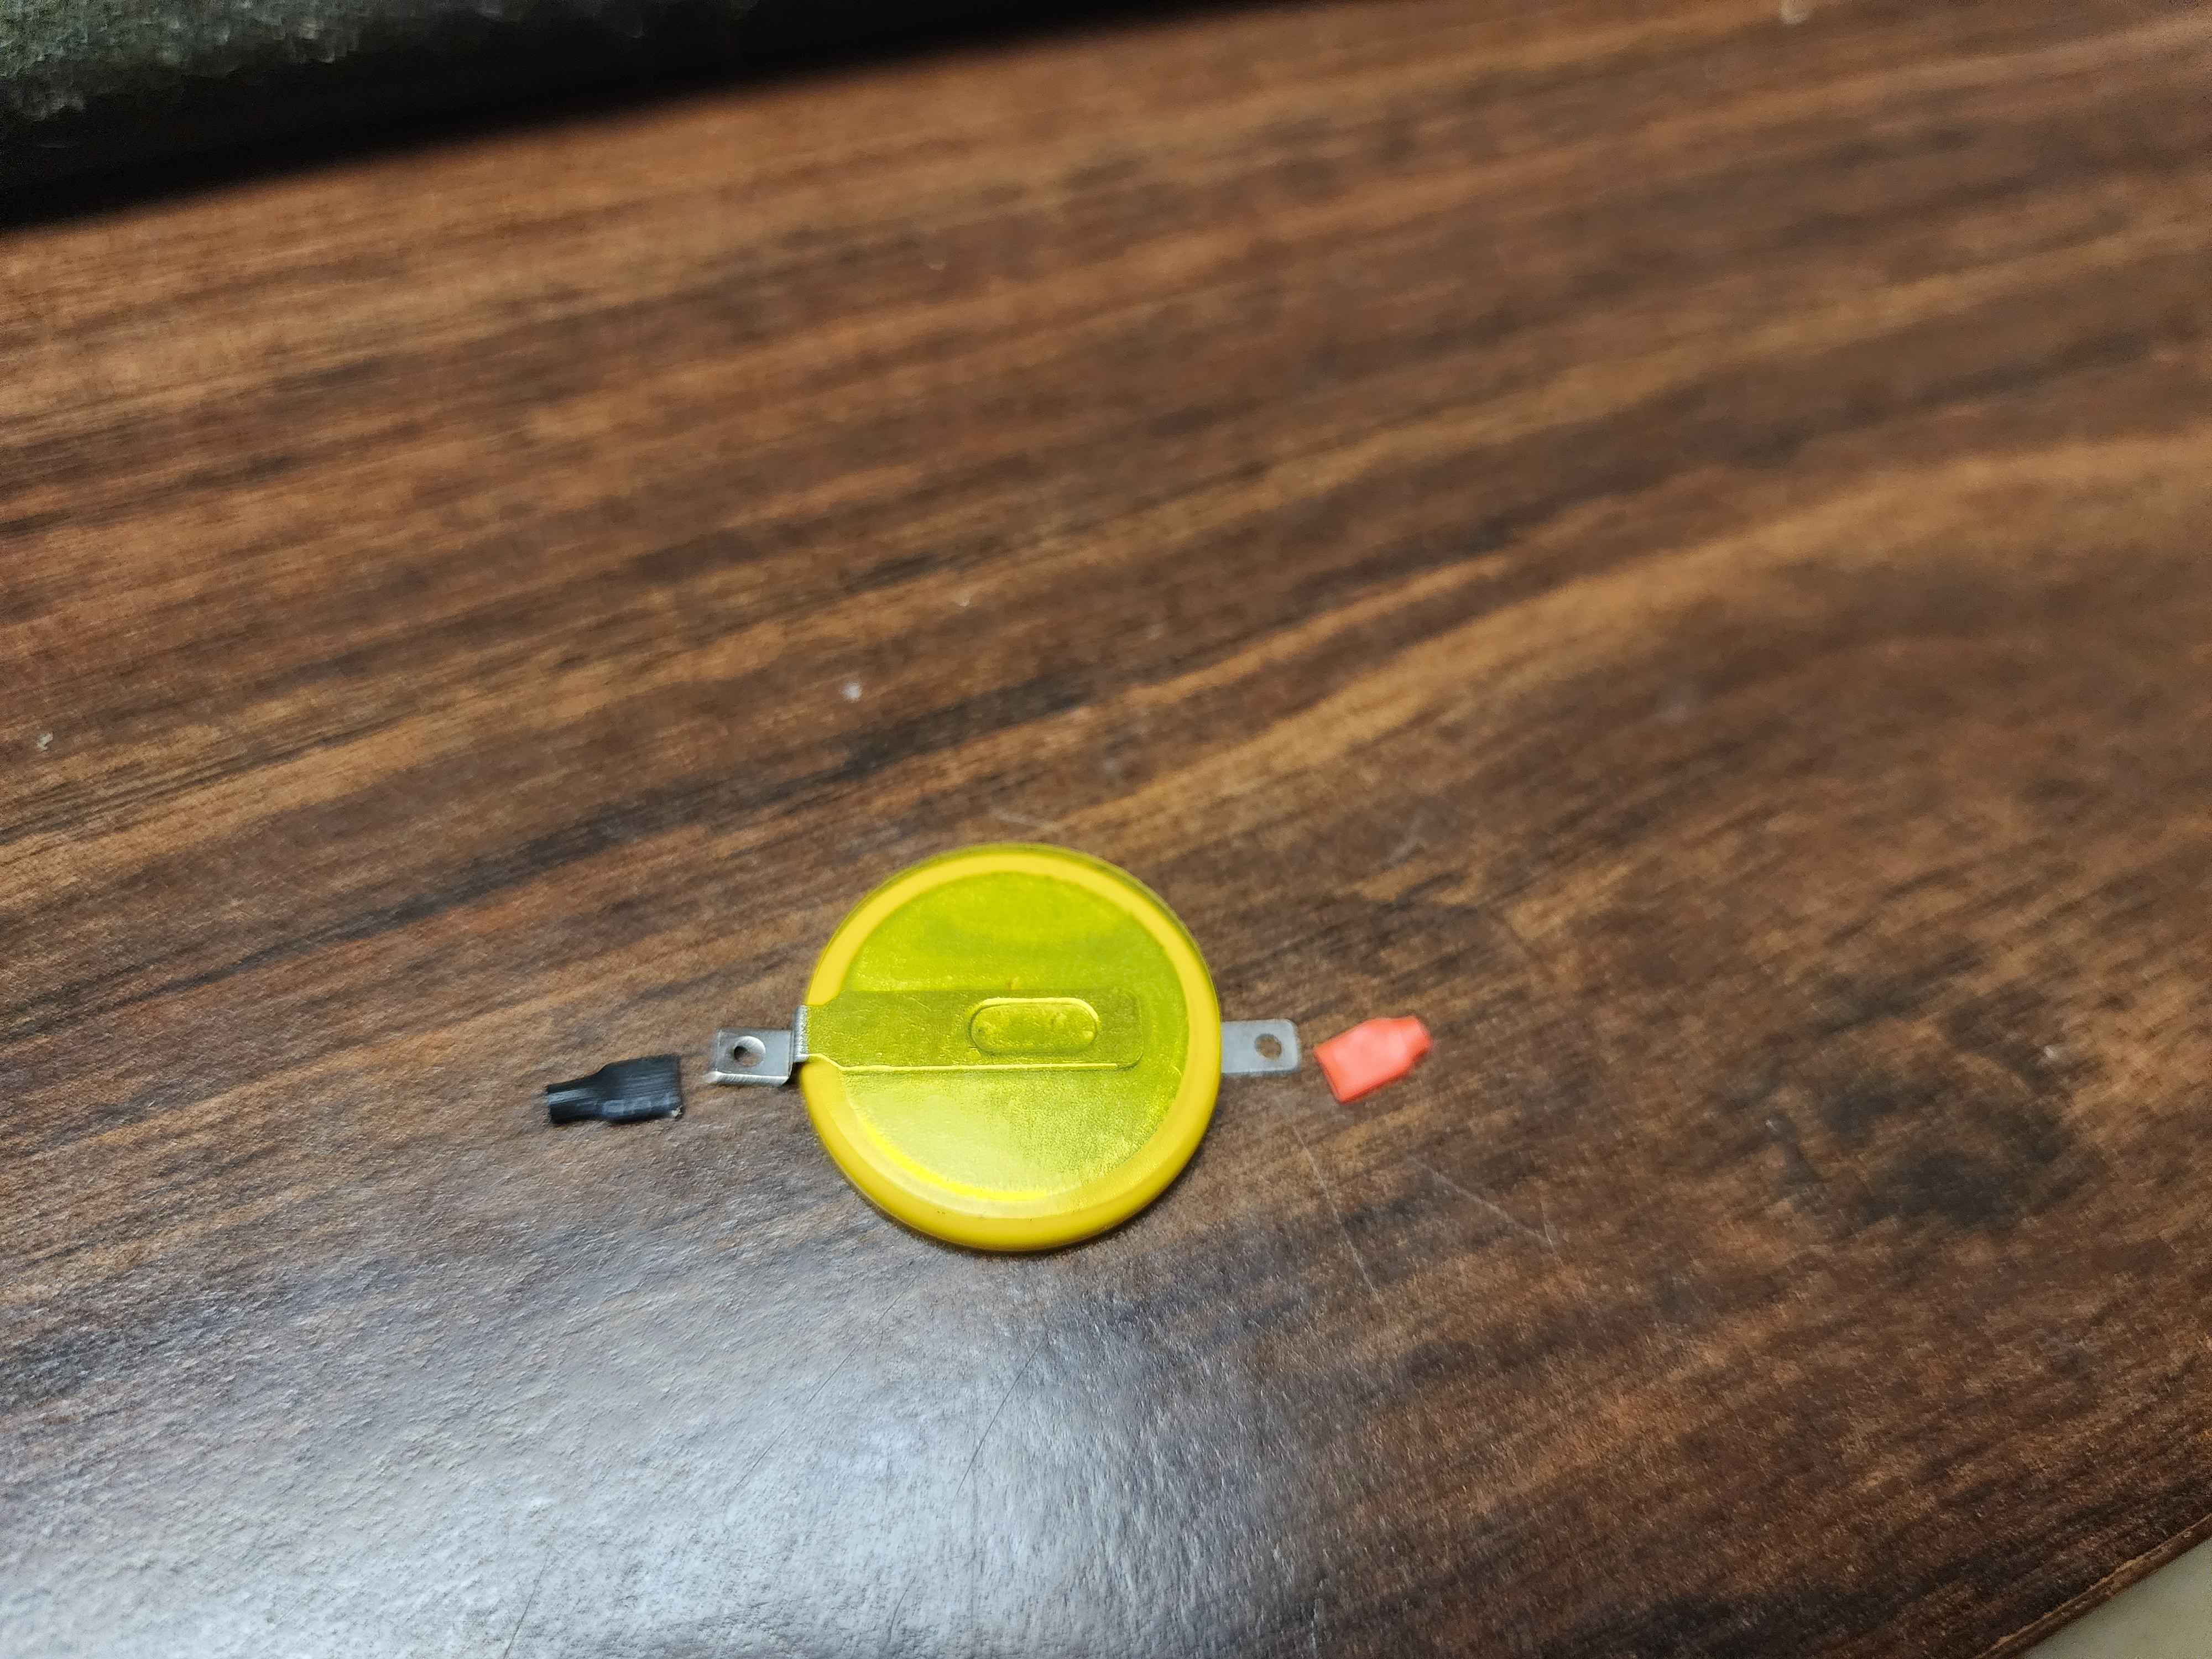
Fig. 1 The radio is opened up.Fig. 2 The radio is opened up; a different angle.Fig. 3 The radio is opened up; a different angle.Fig. 4 The radio is opened up; a different angle.Fig. 5 Close-up of the opened radio, focusing on the coin-cell.Fig. 6 Close-up of the opened radio, focusing on the coin-cell, from a different angle.Fig. 7 The coin-cell has been removed. Note that there are no polarity markings, nor does the service manual contain polarity info, so you might want to mark the paper cover before removal. For the record, the flat side (positive) faces up, and connects to the lower pad in this picture.Fig. 8 The upper solder pad is pretty dirty, so I used a small flat-head screwdriver to scrape between the pads.Fig. 9 After initial scraping.Fig. 10 After additional scraping.Fig. 11 The old coin-cell battery after removal from the radio.Fig. 12 The old CR2025 with the protective "tape" partially peeled away.Fig. 13 The new CR2025 with solder-tabs pre-attached. Note the protective color-coded rubber coatings on the tabs.Fig. 14 The protective rubber coatings are easily removed with just fingernail pressure (and, of course, must be removed before soldering the battery back into the radio). This battery has the bend in the tab on the negative side, so it will be easier to mount in the radio if we flip it over, so that the flat side faces down, which is the opposite of the old battery. This keeps the red/positive tab on the lower pad, and the black/negative tab on the upper pad, close to the "BT 01" label.Fig. 15 Test-fitting the placement of the new battery.Fig. 16 I tried peeling the old protective circular "label" from the old battery, but it lost its "stick-em" in the process. I went looking for some sort of nonconductive glue, and instead found these Avery Color Coding Labels, which are just the right size (19.05 mm).Fig. 17 I put a red label on the positive side...Fig. 18 ... and a yellow label for the "Here I am!" side. I used an ohmmeter to double-check that the labels are non-conductive.Fig. 19 Here's the battery just sitting loosely in-place. Notice that I've already confused myself and gotten the battery in backwards. The negative (yellow) is supposed to be closest to the edge of the radio.Fig. 20 A different angle.Fig. 21 And I've now soldered in the battery. Backwards. D'oh!
Oh! And look what I've done! I soldered the thing in backwards!
I was excited to put the radio back together and have a working FT-470 again. Except ... it didn't work. It still didn't hold my programming. What's wrong?!
So I looked at these pictures, and realized ... Duh! I soldered the battery in with the wrong polarity! Stupid Me!
So I took it apart again, unsoldered the coin cell, flipped it around, soldered it back in, and ... Yay! It now works! I'm glad to know this great little radio is tough enough to handle its firmware battery being connected in reverse polarity. I kind of felt like Geordi La Forge on Star Trek: "We've got to get this thing working! Try reversing the polarity!"
Here's the take-apart pix if you need them.
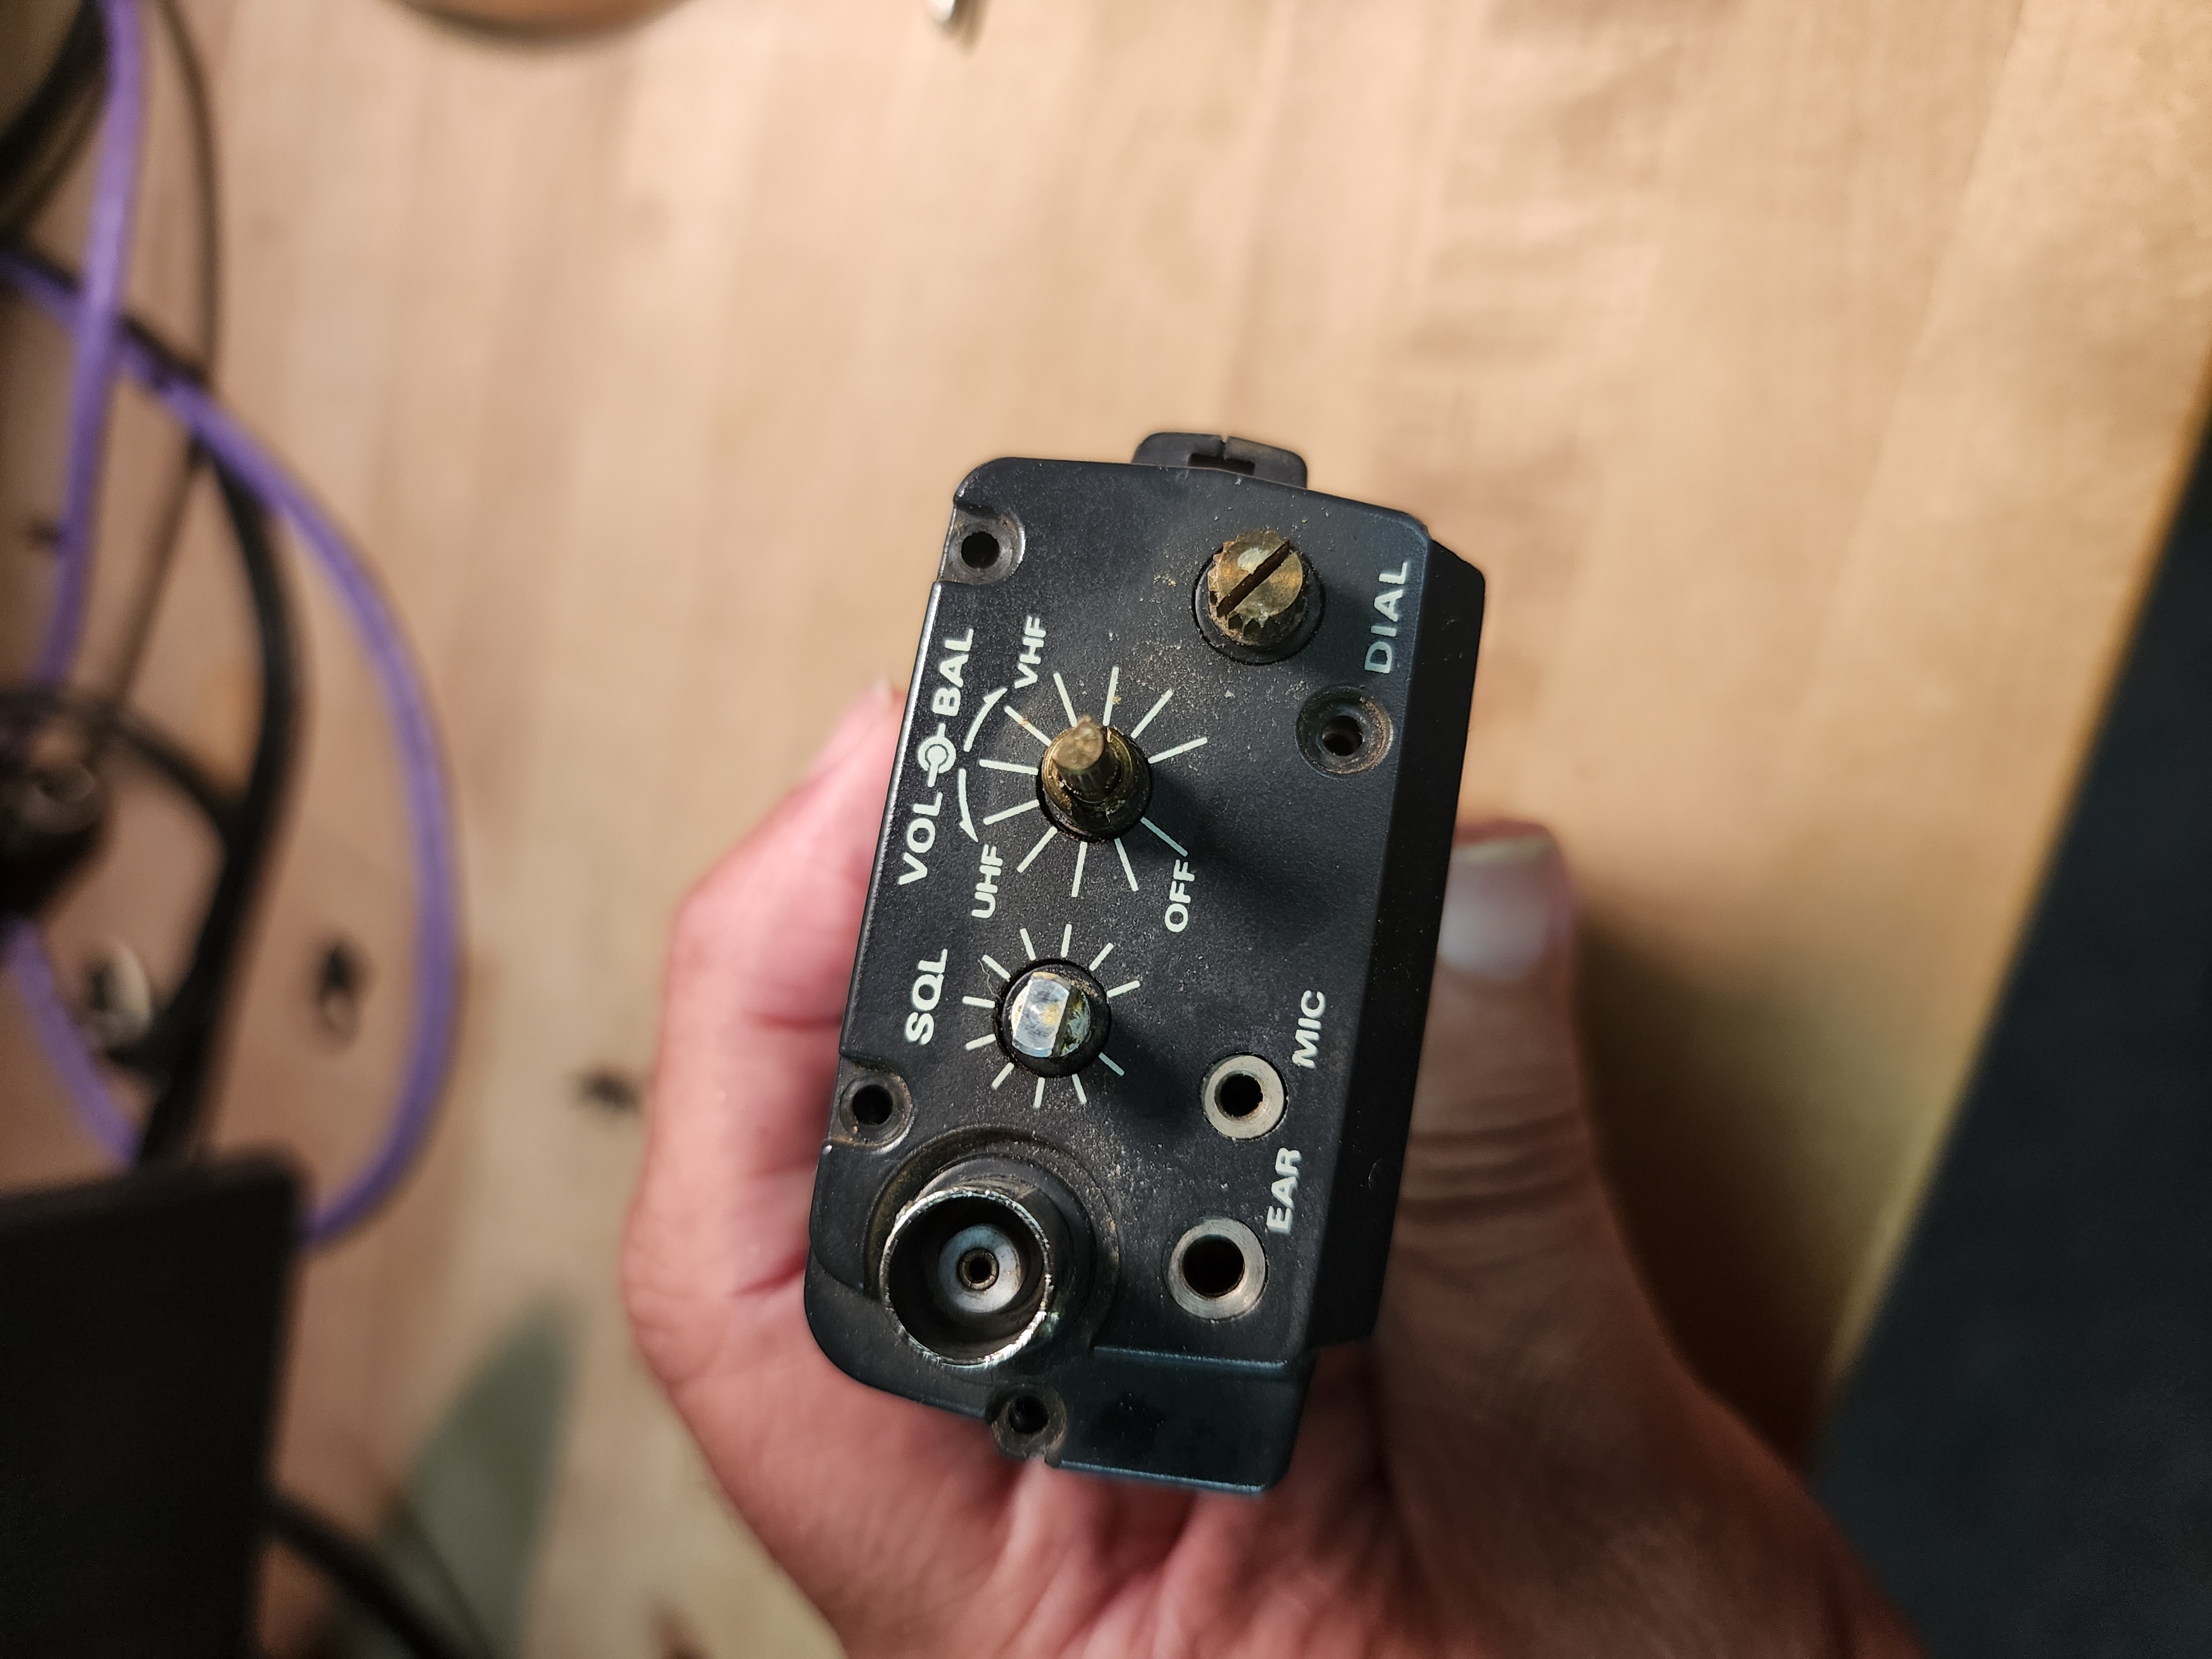
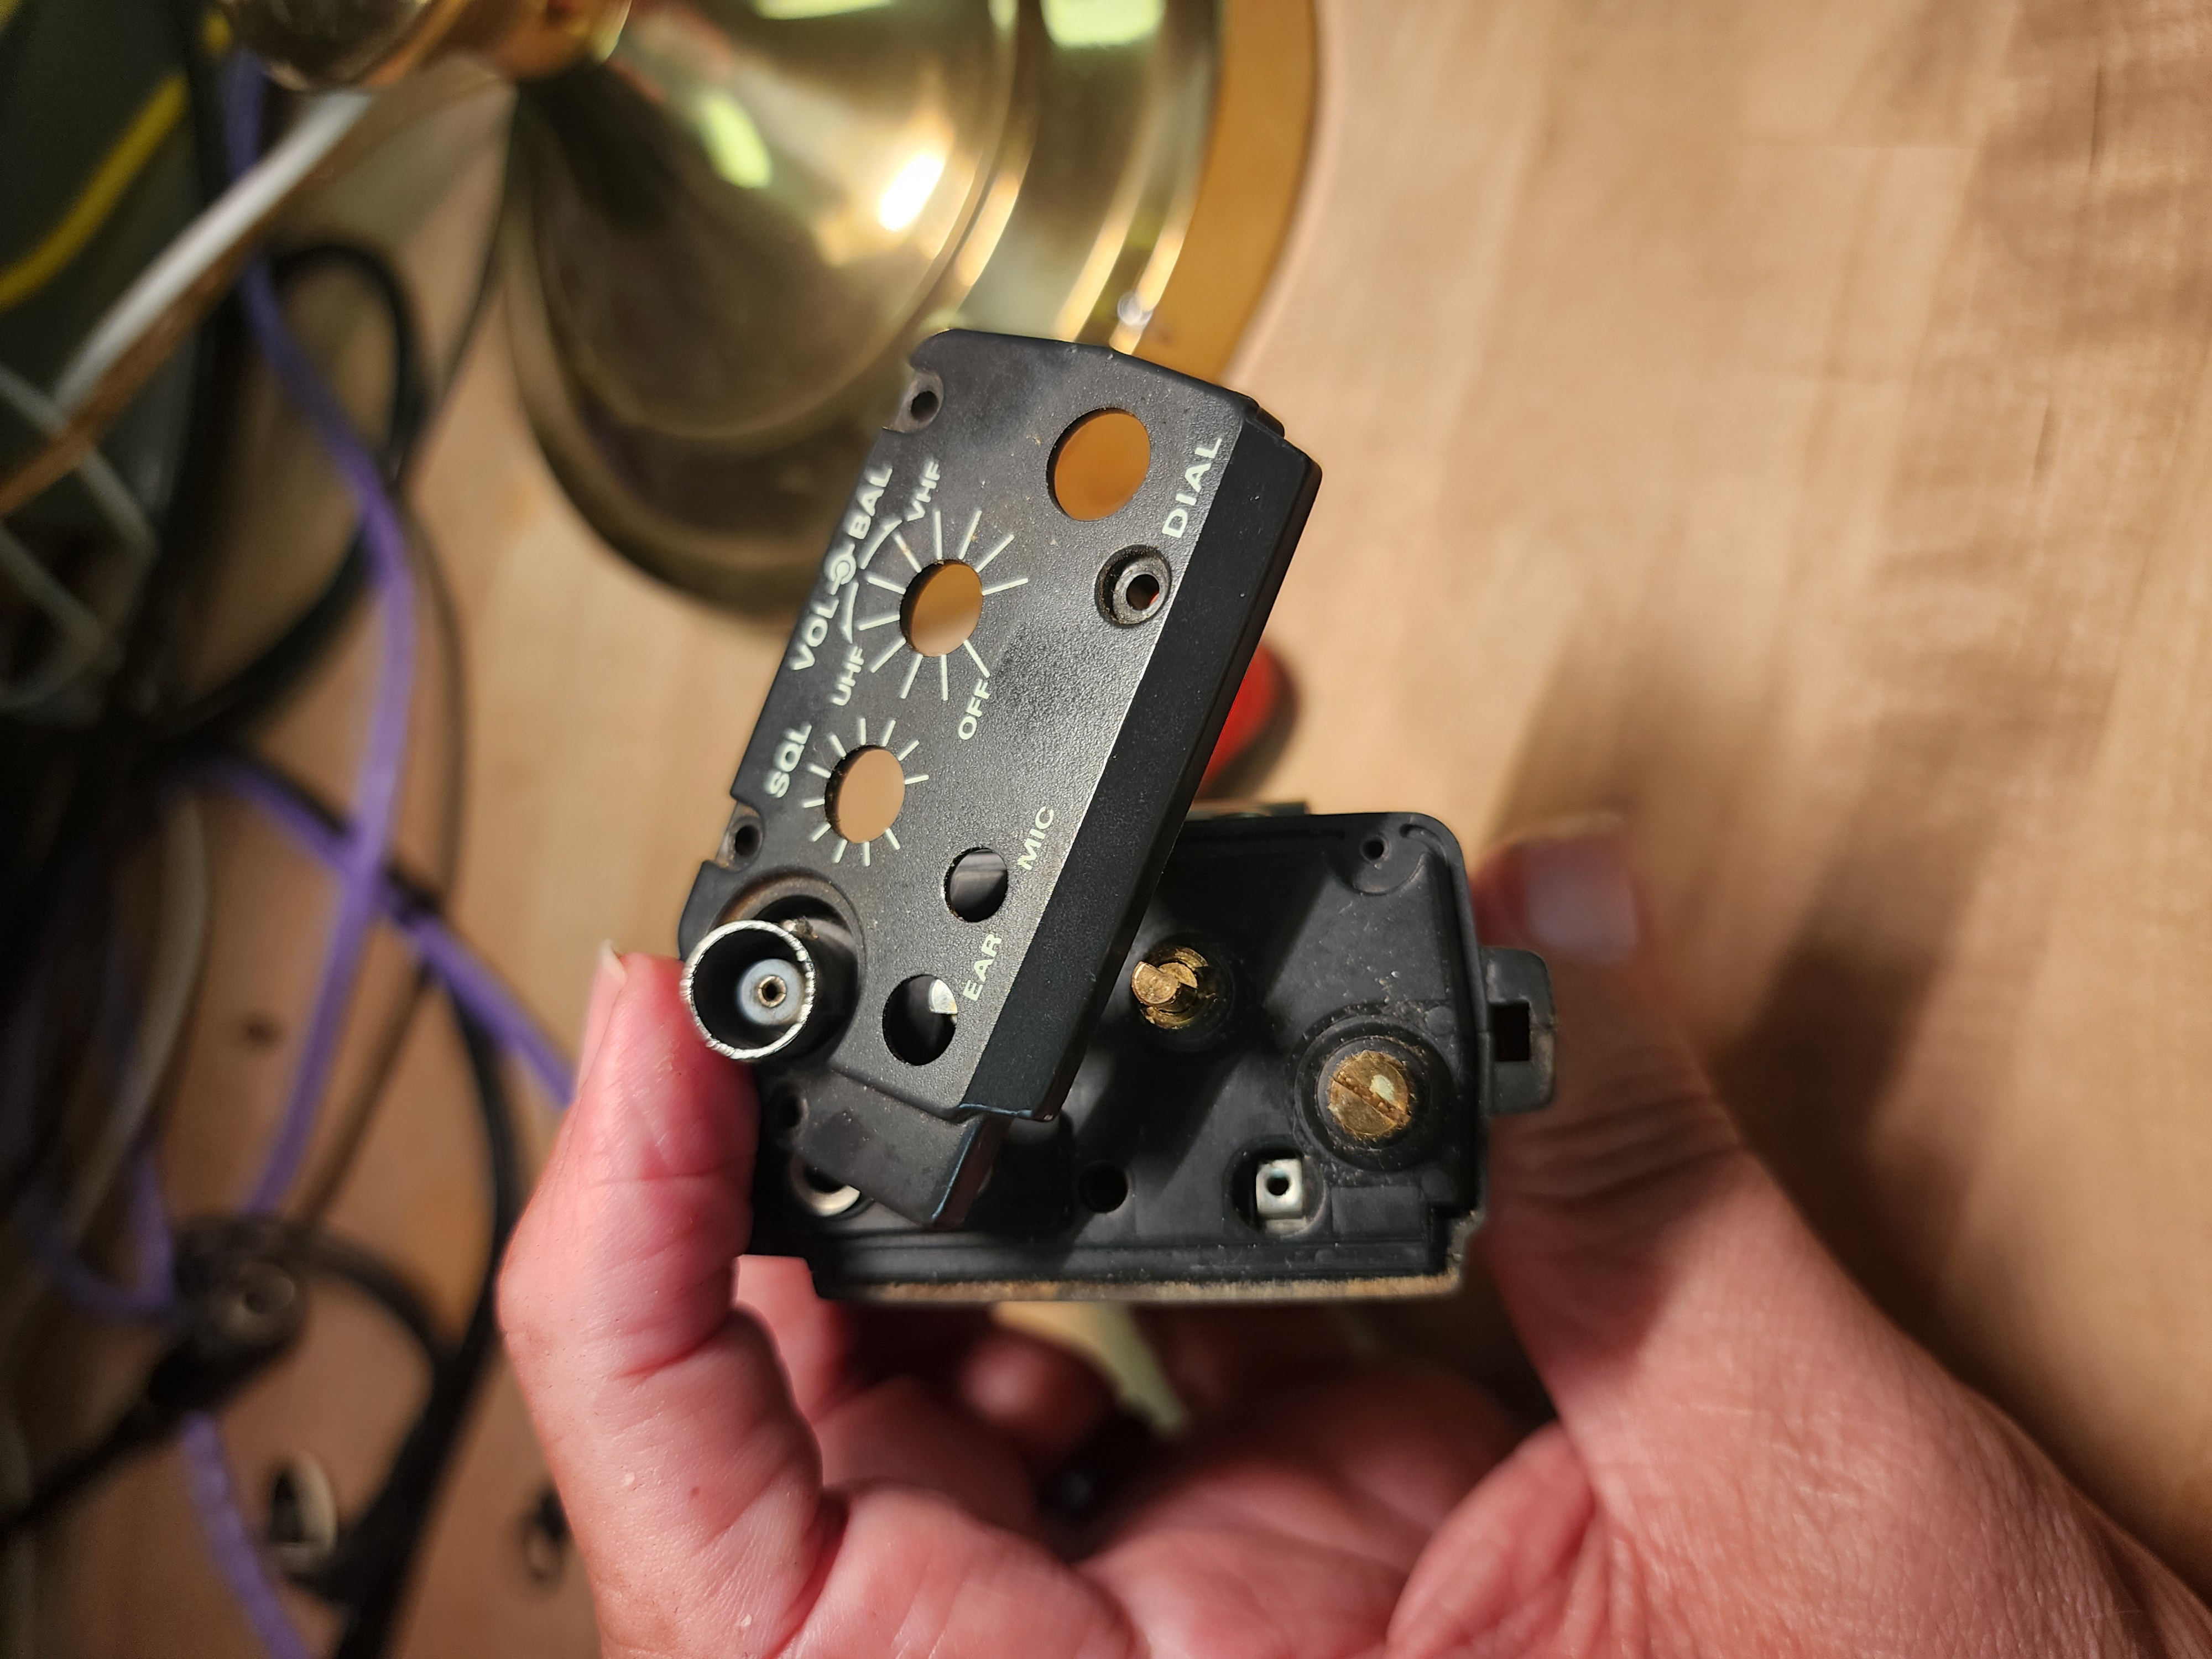
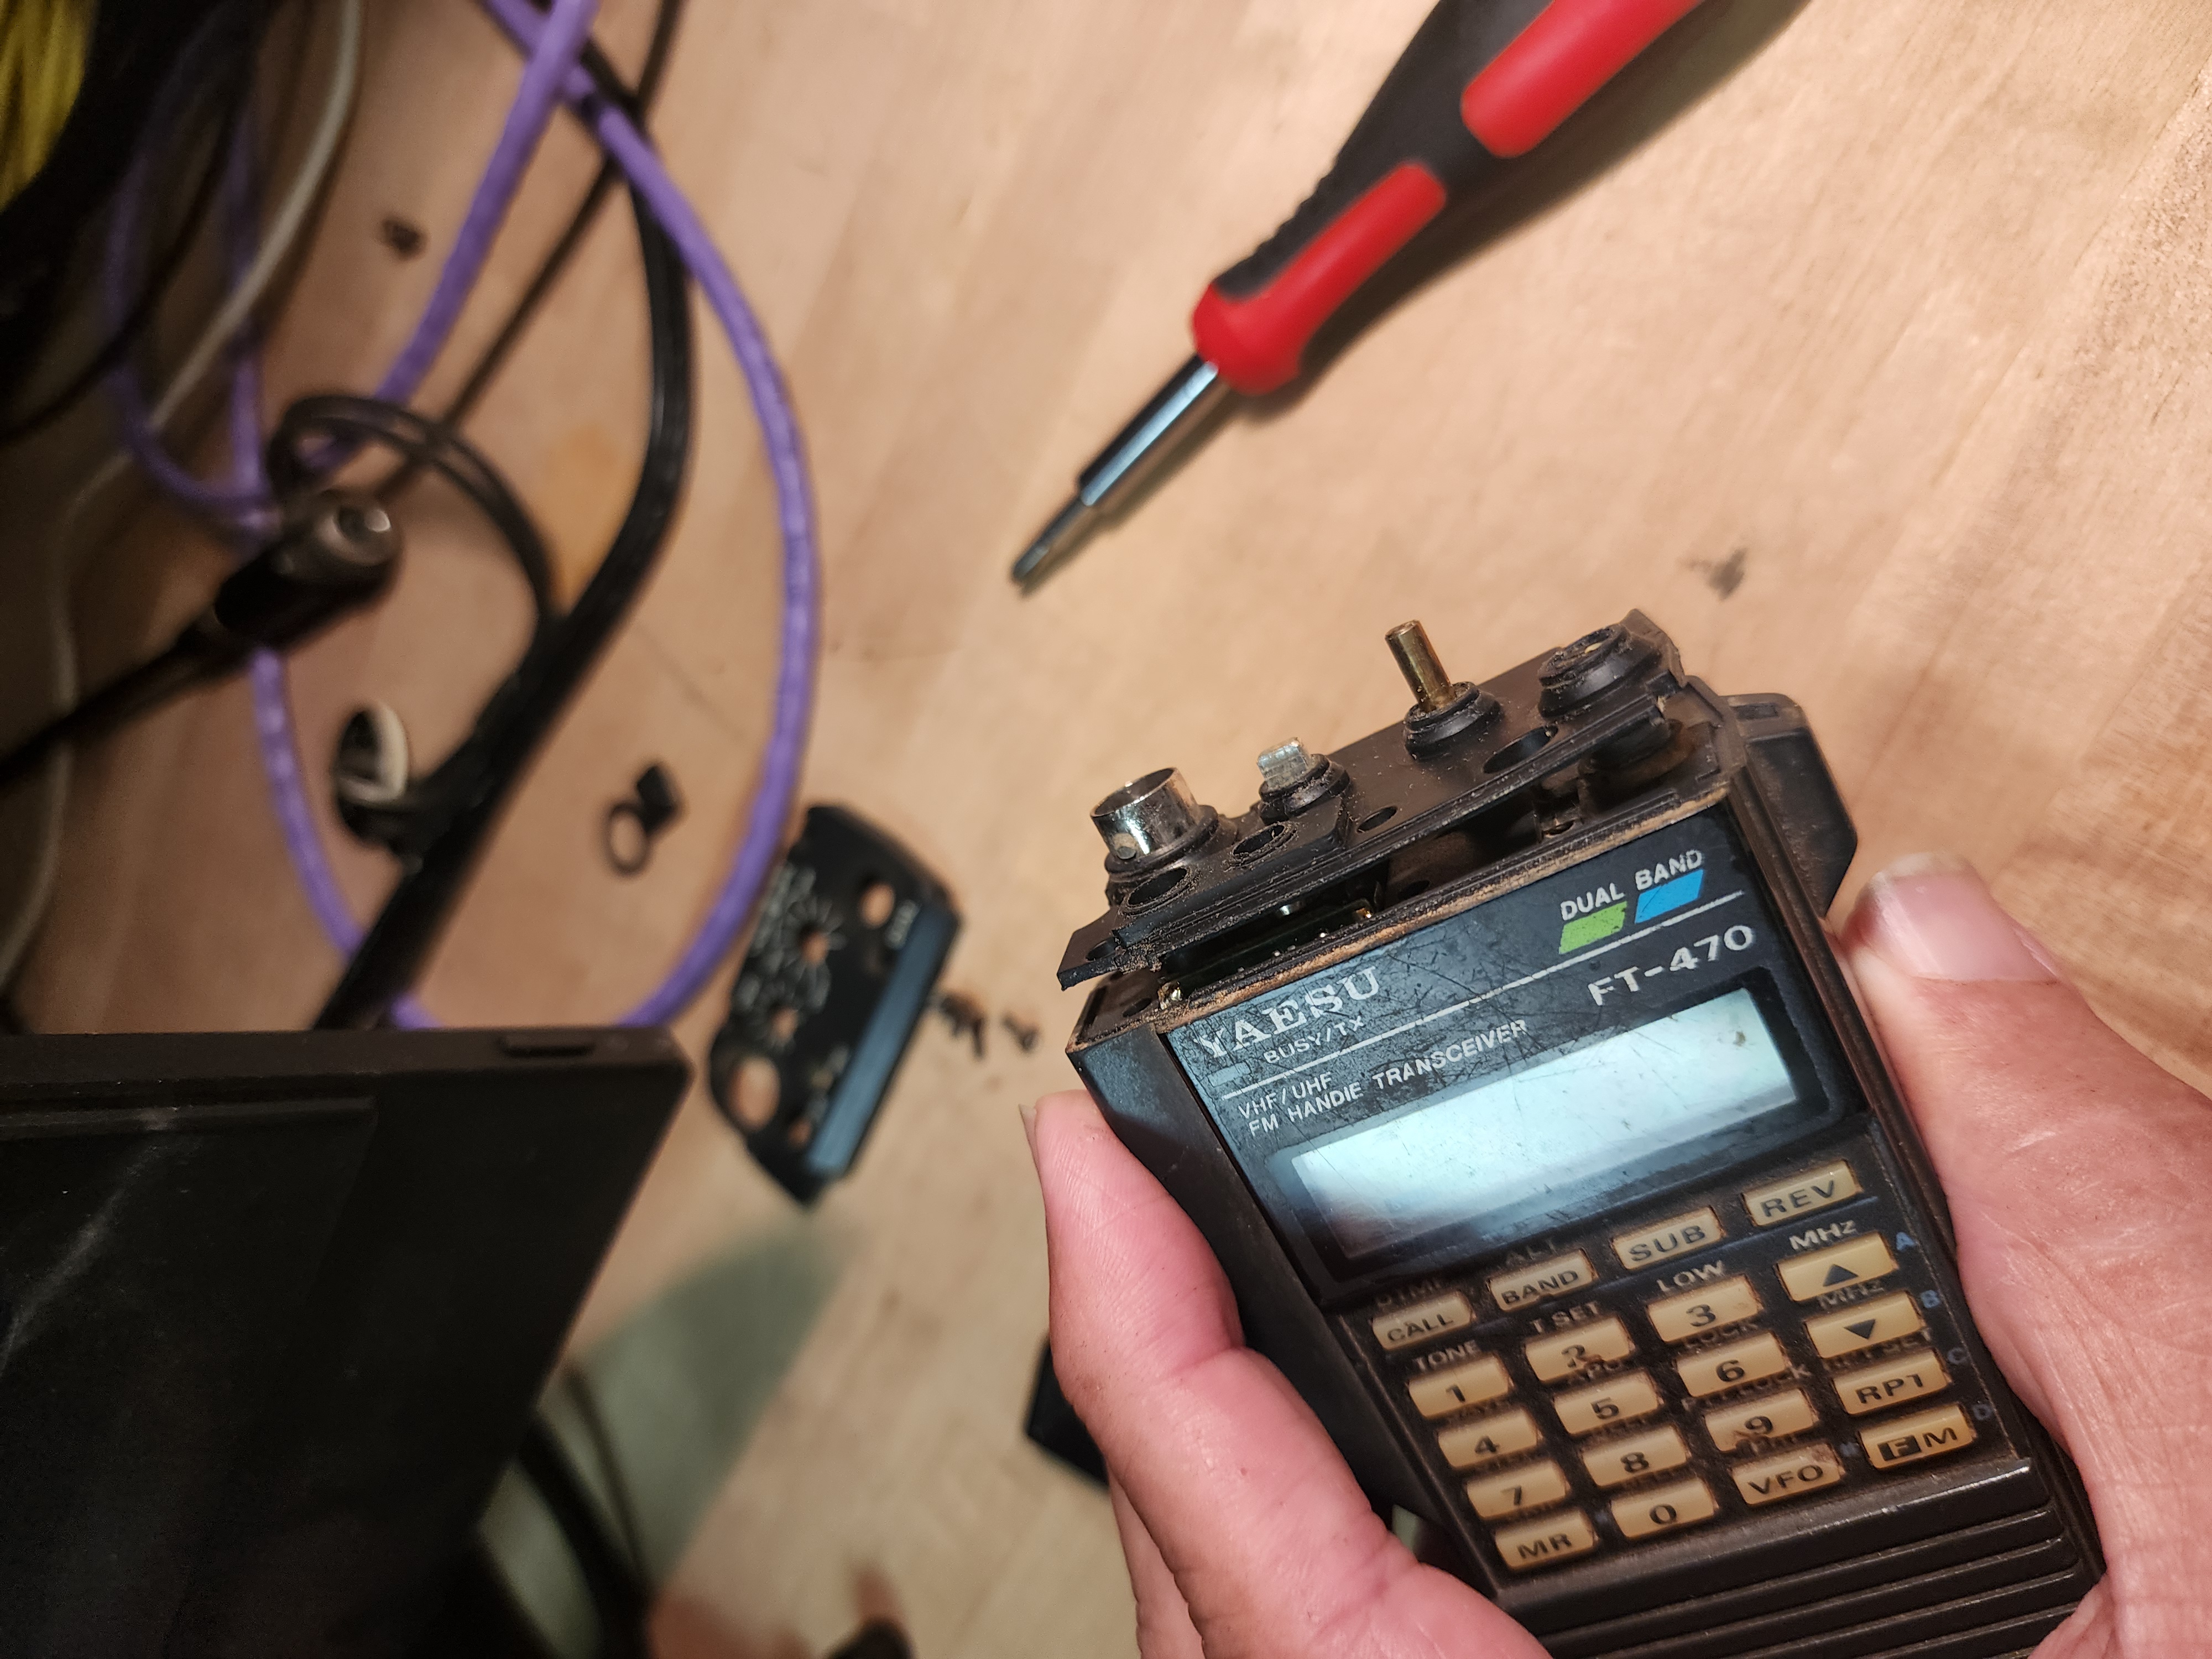
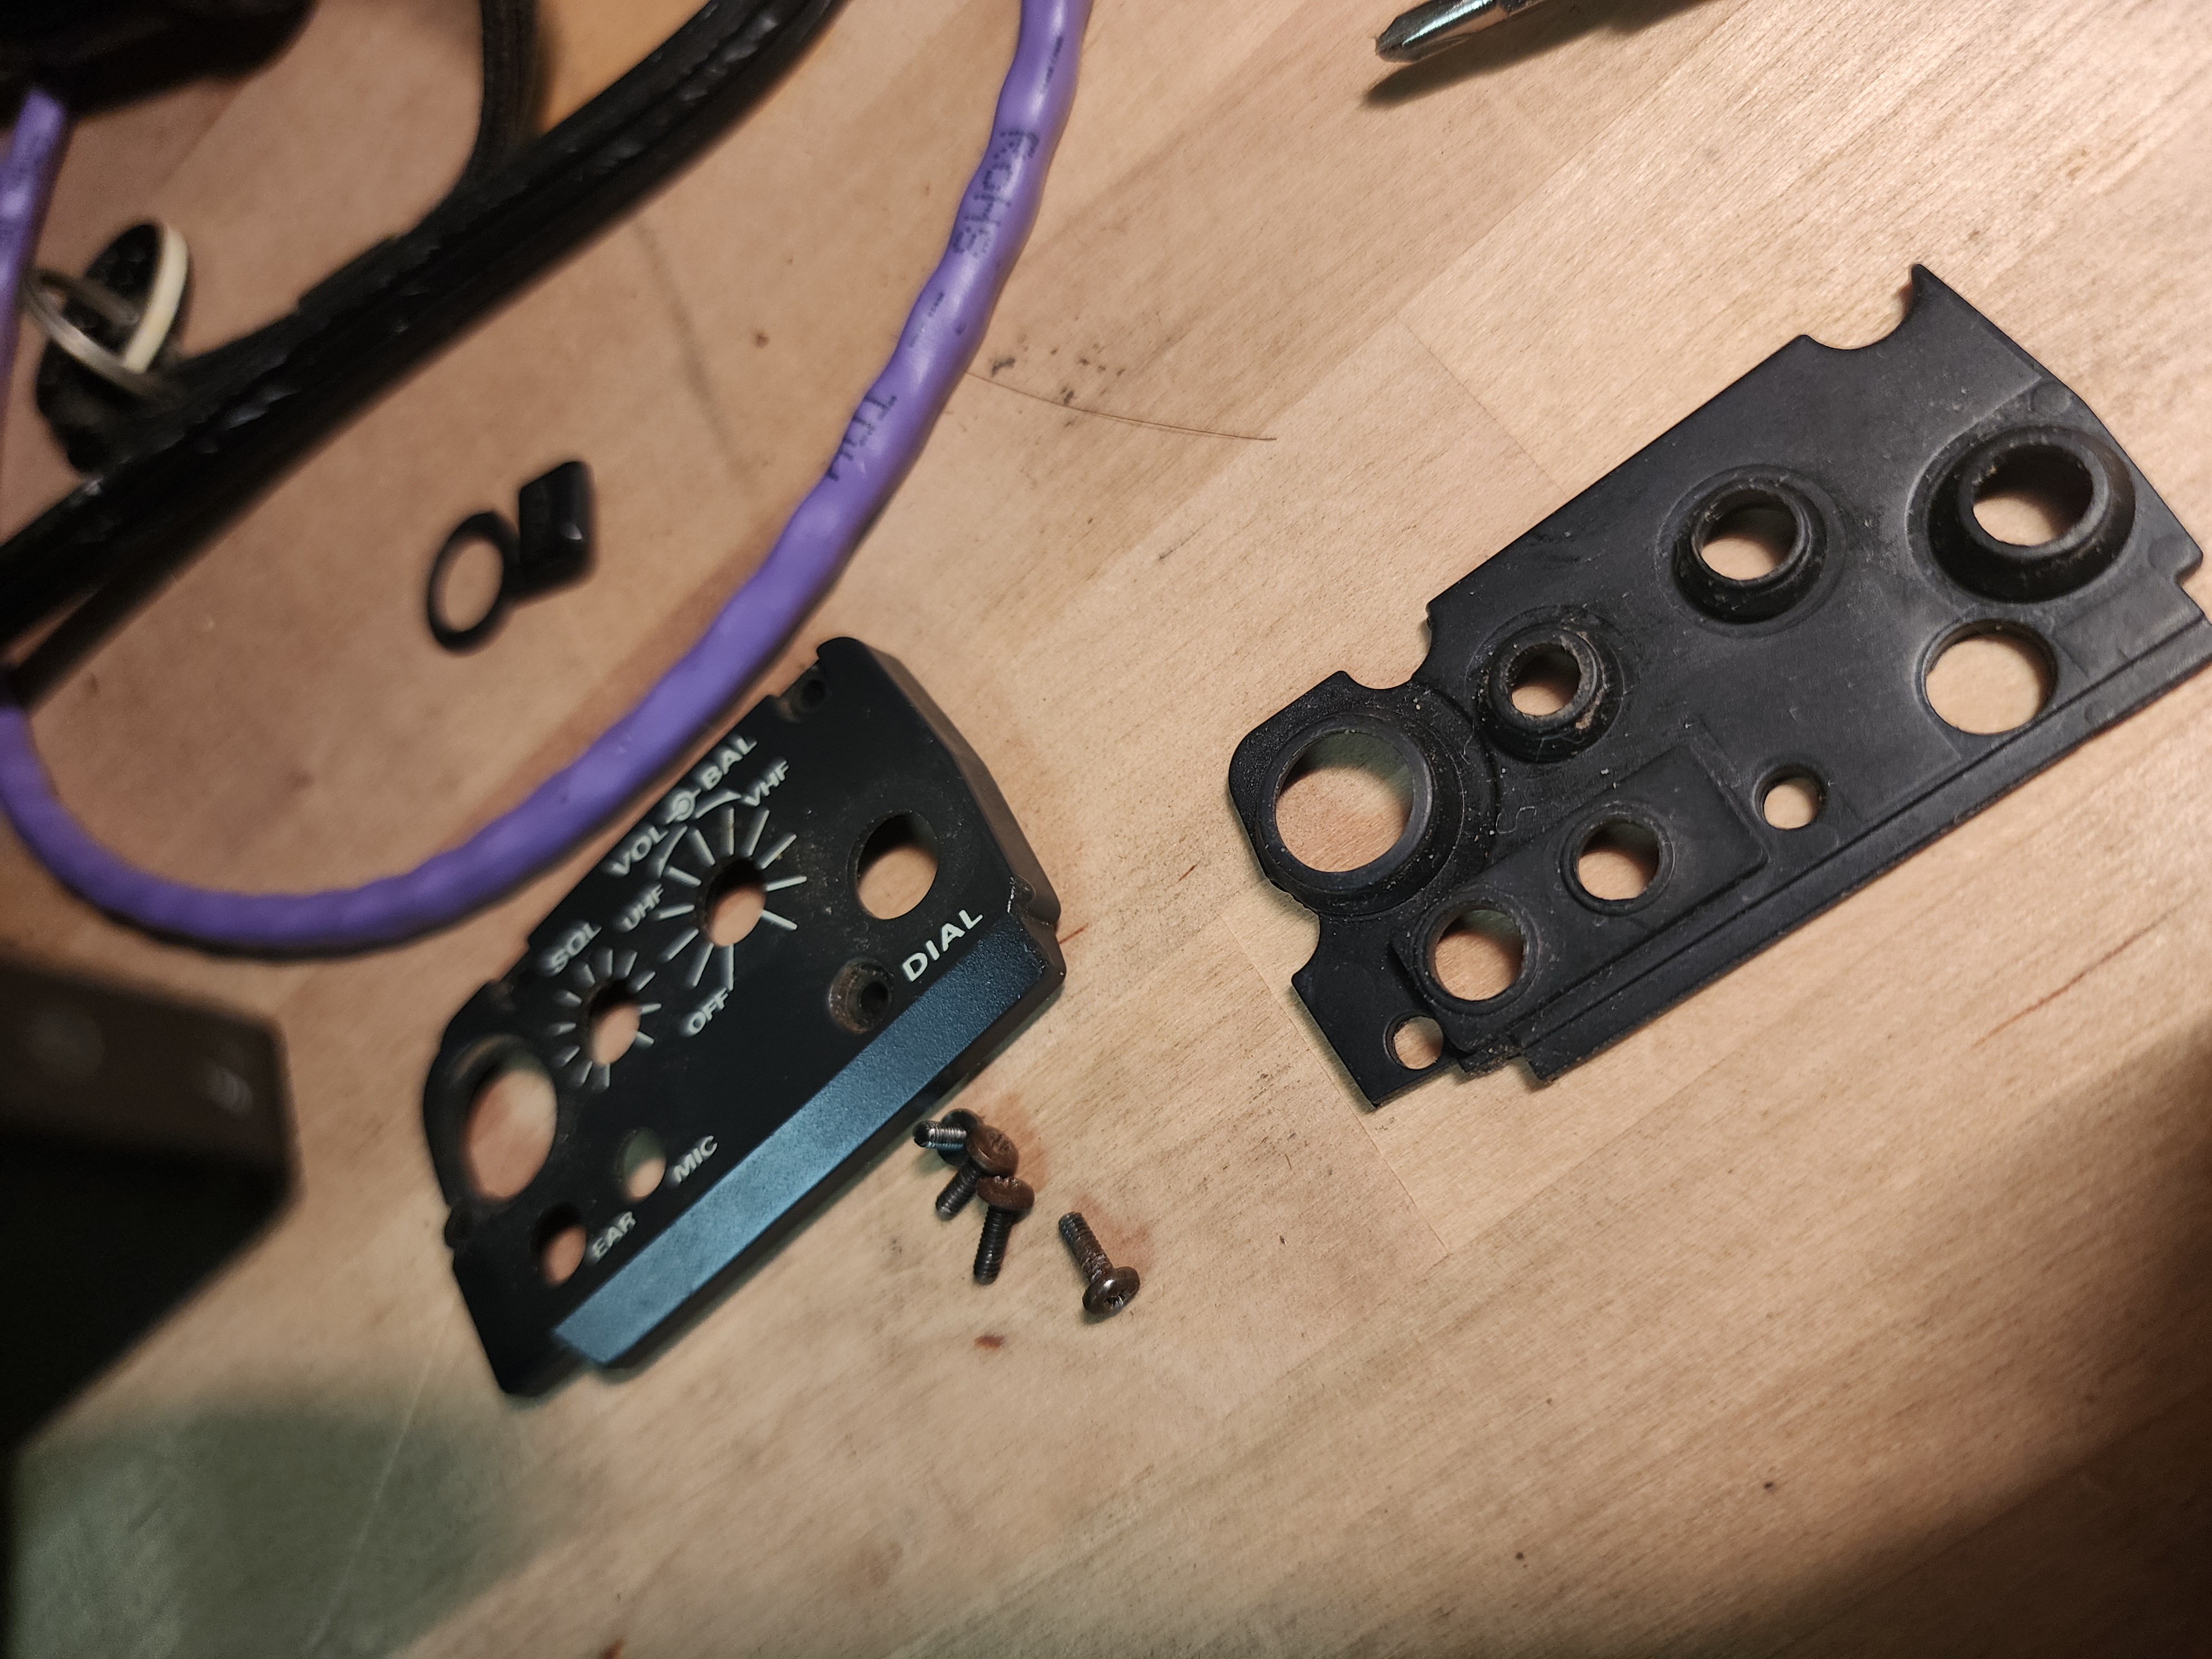
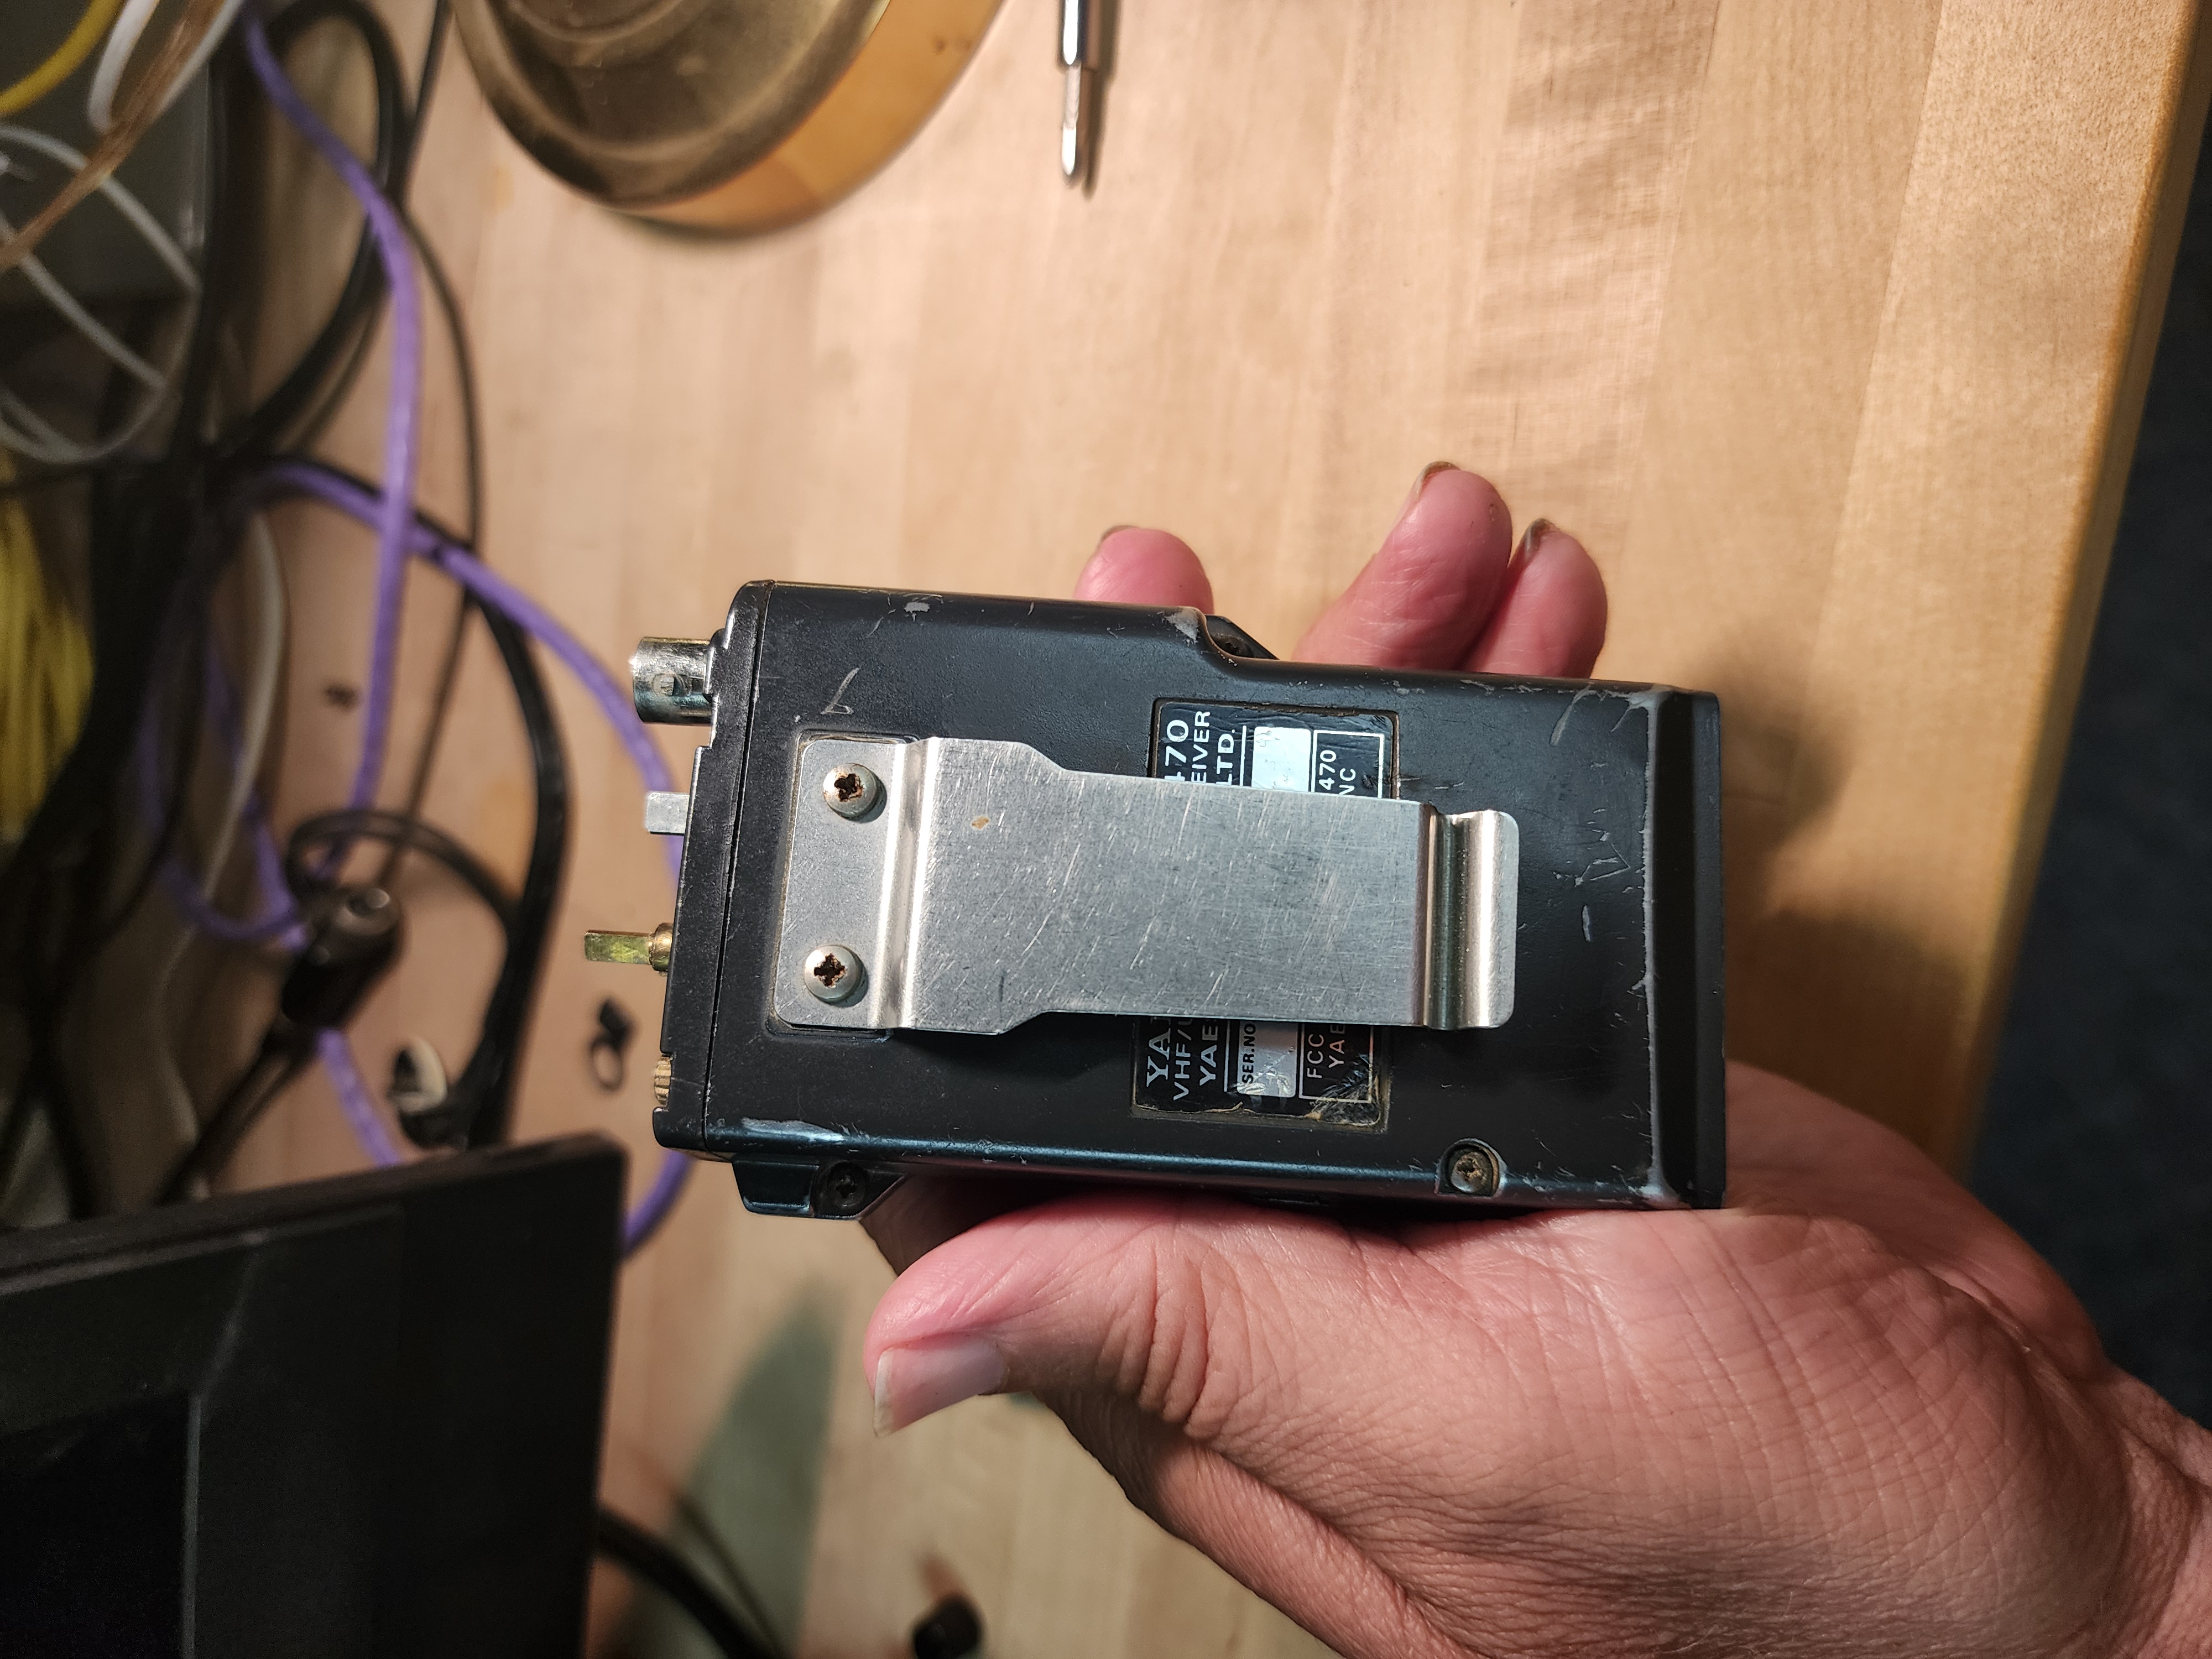
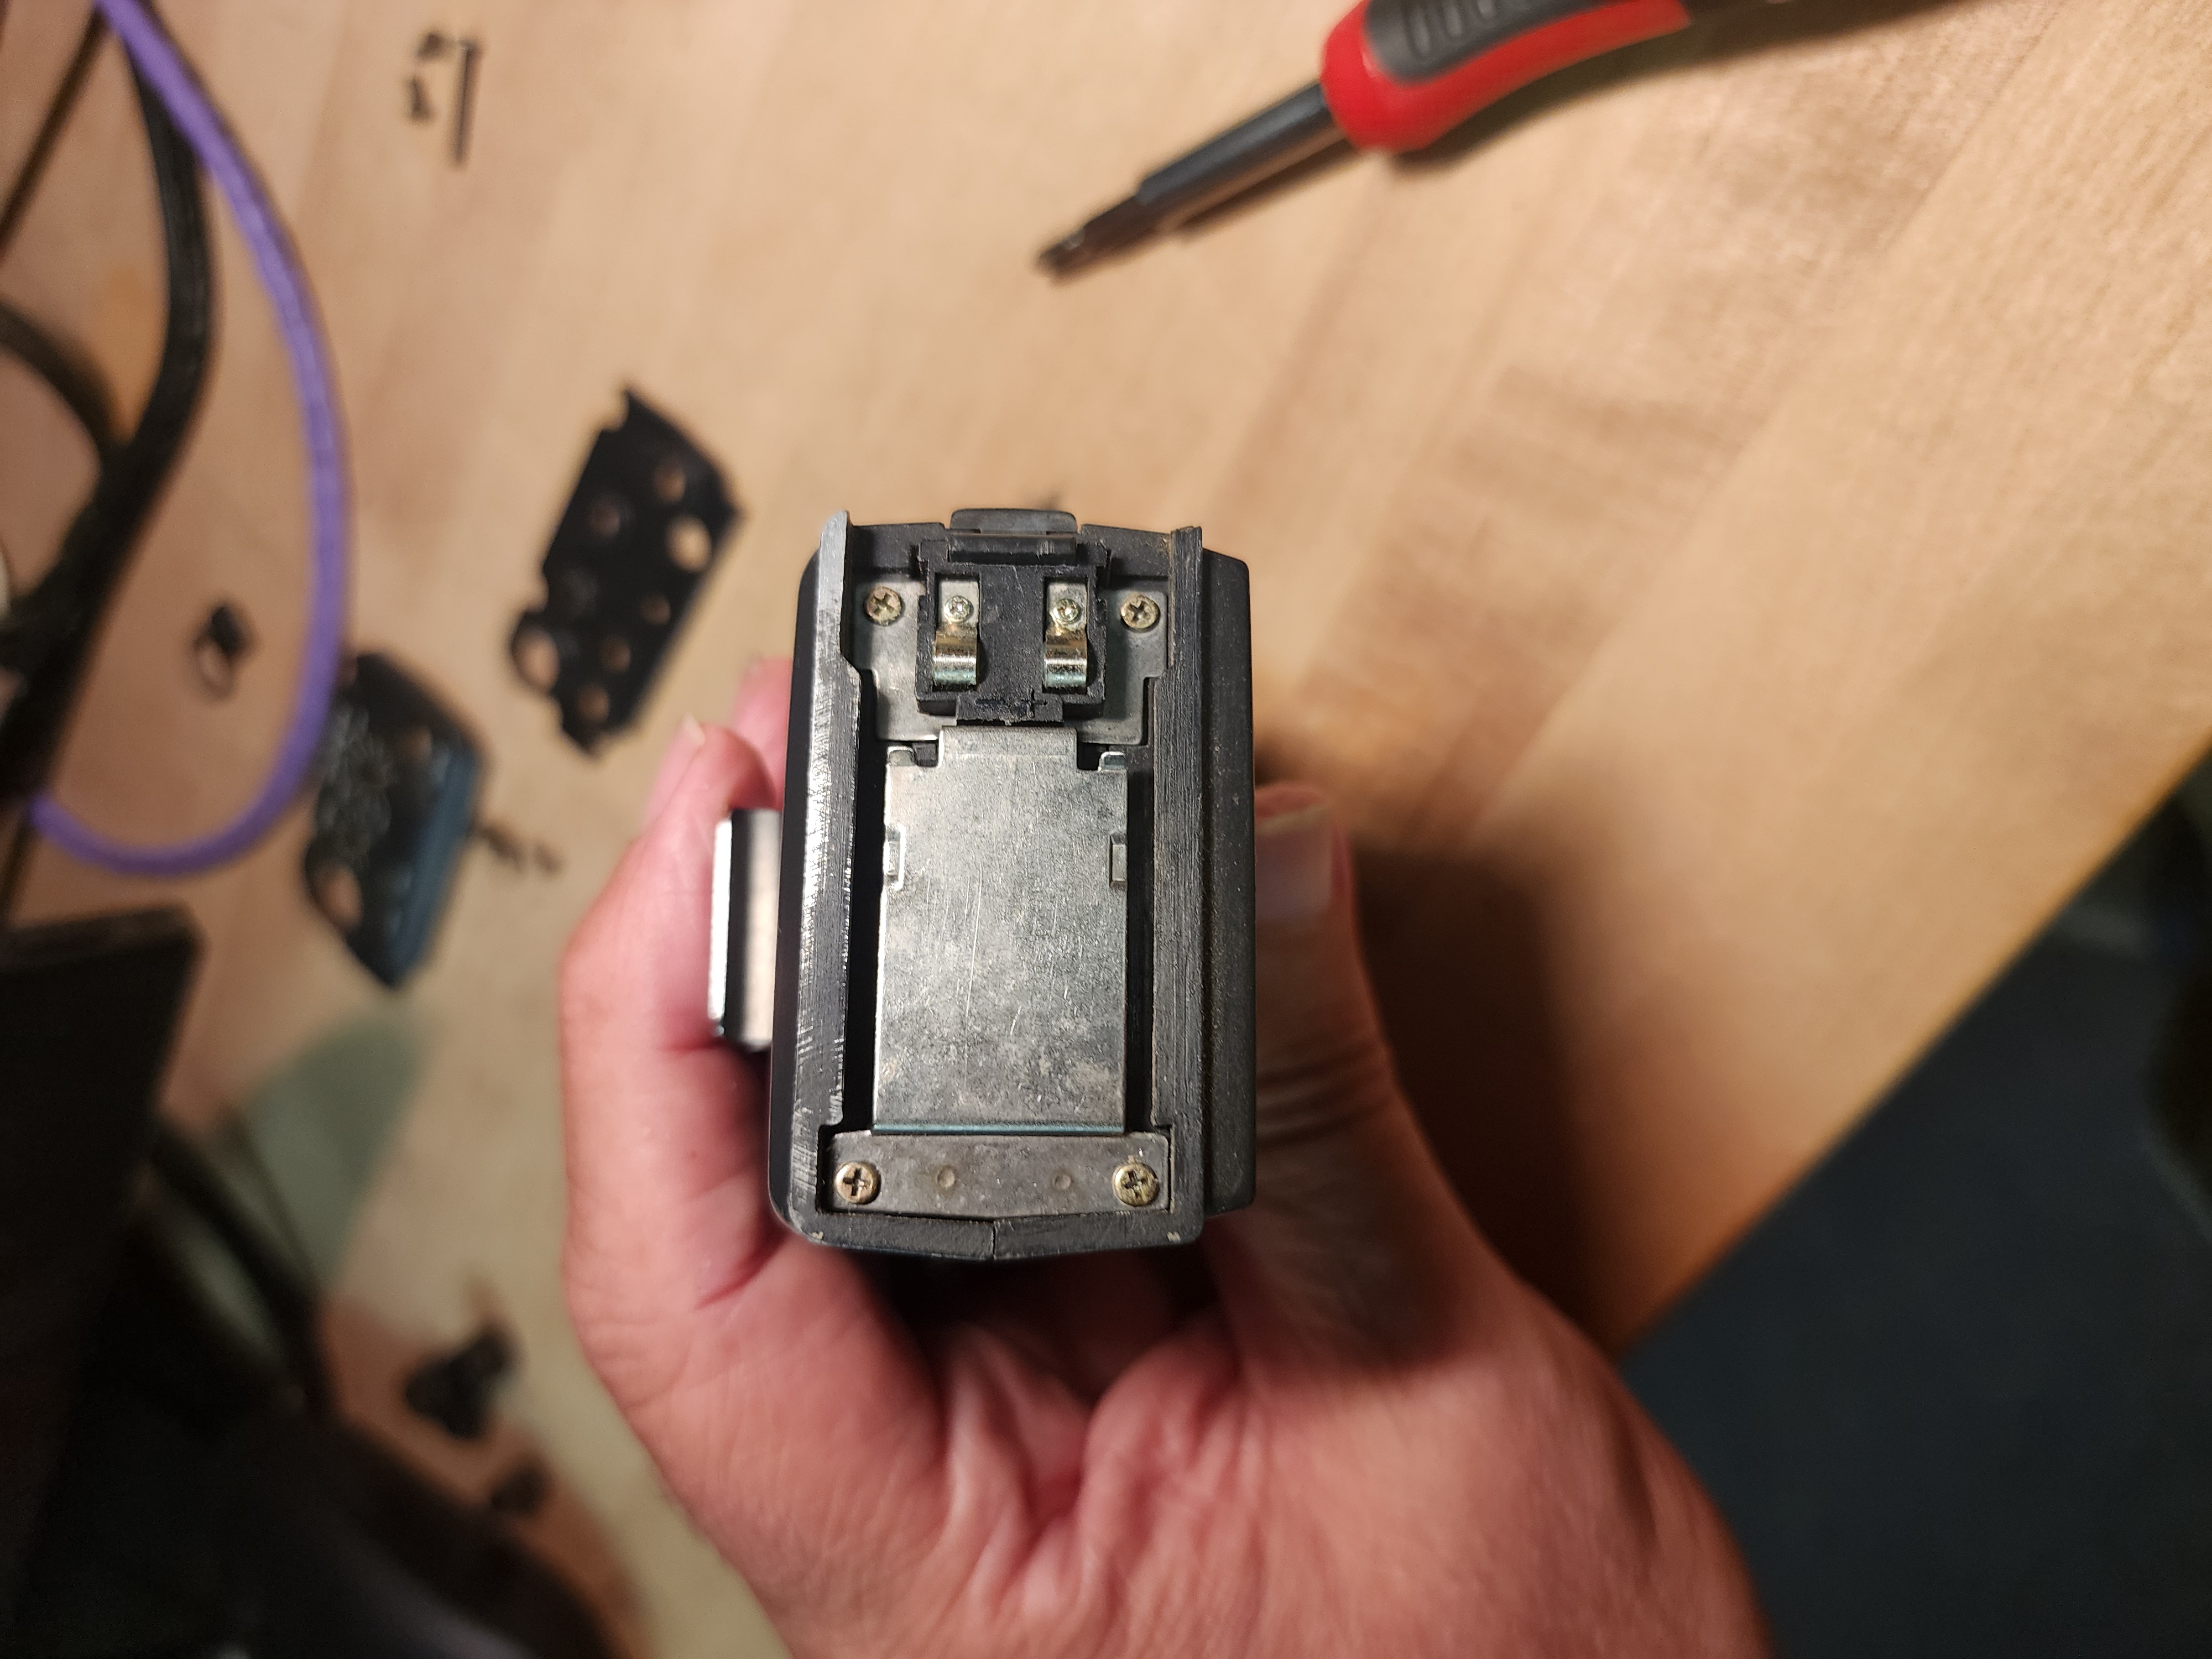
Fig. 22 Front of the radio, without battery or knobs or antenna. I'm confident you can figure out how to remove the antenna. To remove the knobs, just pull straight up; they are just held by friction. A couple of my knobs had come lose over the years, so some time ago I tore a tiny piece of paper and wrapped it over the stinger (not visible here; they fell off during disassembly), like a piece of foil wrapped over an open, half-eaten can of chili, before putting the knob on; that created just enough extra friction to keep the knob on securely.Fig. 23 There are four screws to remove from the top. I'm not 100% confident I put them back in in their original locations, but I'm confident it doesn't matter except for the shortest screw, which goes closest to the PTT button. I think.Fig. 24 After removing the four screws, it's easy to just lift up the top plate and set it aside.Fig. 25 Same for the rubber gasket; just lift it up and off.Fig. 26 Here is the top plate and the top rubber gasket, and the four screws that hold them onto the radio.Fig. 27 The naked top of the radio.Fig. 28 There are three screws that must be removed from the backside; one just under the PTT button; one where the strap is attached (my strap attachment is broken; if I had a new one, now would be the time to install it); and one just to the left of the bottom of the belt-hook. The belt-hook does not need to be taken off, nor those two screws removed, but it doesn't hurt anything to remove it.Fig. 29 There are four screws in the bottom, at each corner. You only need to remove two of them, as long as they're on the same side (front, or back) of the radio. I chose to remove the front-side two.Fig. 30 The radio can now start to be separated into halves. Just pull them apart gently, like opening a fragile book. There's a ribbon-cable inside that you don't want to pull loose..Now you can start back at the TOP of this page to pick up at the battery-replacement stuff.